By Larry Walton
Under the Hood — Install an oven range hood to upgrade your kitchen’s exhaust system.
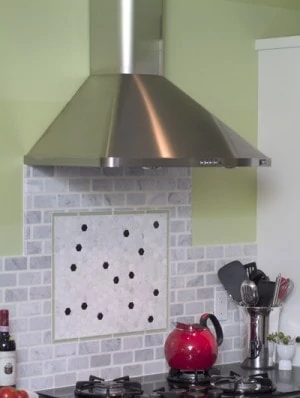
When the Vendettis decided to upgrade their kitchen, one key improvement they chose was to install a commercial-style range hood. Not only would a stainless steel range hood add the flare of a gourmet kitchen, it would also open the room for better sight lines to the windows and adjoining living areas. As an added bonus, the new hood design would offer better airflow to remove cooking steam and odors from the house.
If you are building a new kitchen or planning a remodel using this style of range hood, make sure the wall surface and power supply are already set up. However, if you are removing an existing range hood and the wall cabinets on which it is mounted, you have a little more work ahead of you.
Most of the storage space above the Vendettis’ existing cabinet-mounted hood was taken up by the ducting. They figured they could compensate for any lost storage from the removal of the adjacent wall cabinets by installing some stainless steel shelves, which would provide functional storage while adding to the commercial feel of the kitchen.
How-to:
Step 1: Prepare for this industrial-inspired range hood by removing any wall cabinets that are located above the range. Some homeowners compensate for the lost cabinet storage by installing open shelves and racks near the range hood.
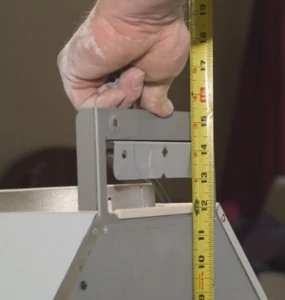
Step 2: Remove the range hood parts from the packaging and position the mounting bracket to get a measurement from the bottom of the appliance to the bracket.
Step 3: Align the chase pieces for a measurement to make sure they will reach the ceiling at the elevation you choose to mount the hood.
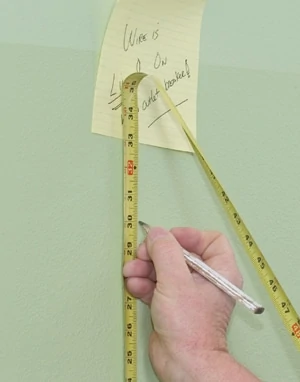
Step 4: Measure and mark the elevation of the range hood mounting plate. Pay attention to the elevation suggestions in the instructions, because this will affect the performance of the hood and how well it removes steam, and heaven forbid, smoke from the cook top area.
Step 5: Use a level to mark plumb lines where the duct pipe and hood chase will be located. For our install, this also determined the location of the required outlet.
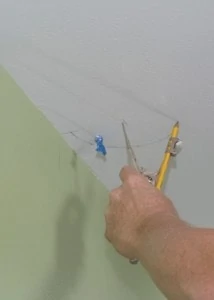
Step 6: Use a compass to lay out where the duct must be cut to go through the ceiling. There is not much room within the hood chase so keep the duct close to the wall.
Step 7: Cut out the opening for the hood duct using a small wallboard saw.
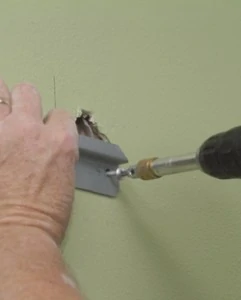
Step 8: Position the mounting bracket and mark the mounting bracket screw locations.
Step 9: If you are able to hit a stud with only one screw, use a wall anchor on the other side of the bracket. Note: If you cannot anchor the bracket into a stud with at least one screw DO NOT install the hood using only wall anchors. You will need to open up the wall and install a backer board.
Step 10: Anchor the bracket to the wall.
Step 11: Hang the range hood on the bracket.
Step 12: Use a level to ensure the hood is positioned properly.
Step 13: After marking mounting locations and adding any needed wall anchors, re-hang the hood and fasten it through the back at the supplied screw holes. Note: You may need to drill a hole or two at your stud locations to make sure you’re fastening to solid backing.
Step 14: Assemble the hood chase mounting brackets as necessary. Test these brackets to see how they fit.
Step 15: Install the hood chase mounting brackets between the chase layout marks and at the right elevation to the ceiling.
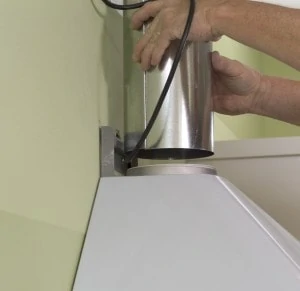
Step 16: Extend a section of duct pipe into the ceiling opening and down onto the duct flange of the range hood.
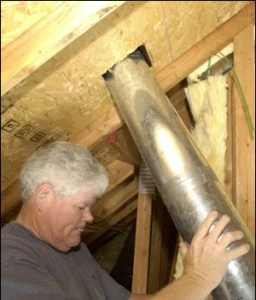
Step 17: Go into the attic space and complete the exhaust duct install. The range hood should be vented out to a roof vent. The range hood’s main job is to remove steam from the kitchen and this steam must be vented from the attic area. Avoid any low spots in the duct work where steam can condense into water and accumulate in the duct.
Step 18: Wrap all duct connections with heat-resistant tape rather than standard duct tape.
Step 19: Seal the duct to the range hood with heat-resistant duct tape.
Step 20: Remove the protective wrap from the hood chase at the locations where the parts overlap. It’s a good idea to leave the wrap on as long possible to protect the finish during the install.
Step 21: Assemble the sections of the hood chase so the length matches the distance from the range hood to the ceiling.
Step 22: Position the hood chase over the duct work.
Step 23: Attach the hood chase to the brackets.
Step 24: Remove the protective wrap from the installed range hood.
Step 25: Install the filters according to the instructions.
Step 26: The completed kitchen features generous open spaces above the cook top area.
SIDE NOTE 1
Range Hood Remodel
To prepare an existing kitchen where cabinets need to be removed means you will need to shut off the power to the old range hood, as well as to the cook top, before covering the cook top and counter with protective cardboard or drop cloths.
Disconnect and remove the existing range hood. Cutting the caulk and removing any cabinet scribe molding will help minimize the wall damage.
Make sure you remove any screws that attach the wall cabinets to the adjoining cabinet face-frames or boxes. Get some help before removing the screws that hold the cabinets to the wall.
Find out from the range hood instructions where the power source needs to be. If the new range hood comes with a plug-in cord that requires a receptacle, you will need to provide this as well.
Make all wall repairs and paint the surface before beginning your range hood install.
SIDE NOTE 2
Installing an outlet for the range hood
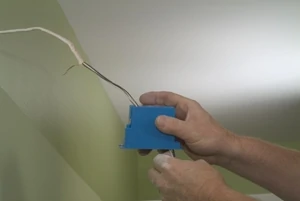
Some appliances require an outlet for installation. If your old range hood was “hard-wired” you may need to install a remodel j-box for the outlet.
Lay out this box within the chase area, but to one side, so the duct will clear when everything is assembled.
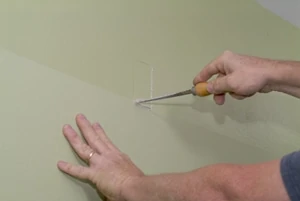
Use a small wallboard saw to cut out for the outlet junction box.
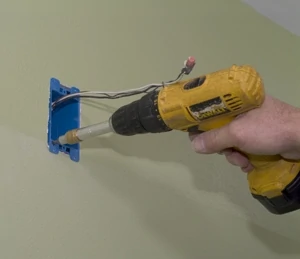
Thread the wire from its original location out through the new hole in the drywall, through one of the holes in the back of the j-box.
Position the j-box in the wall and anchor it using the supplied fastening system.
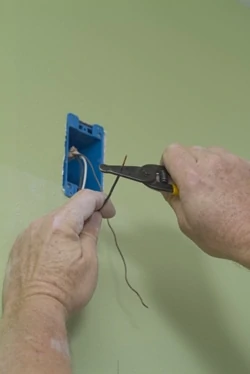
Trim and strip the wire ends.
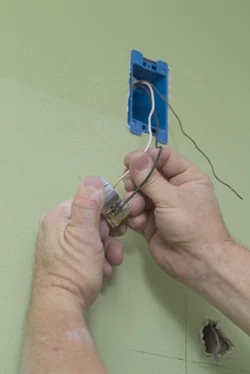
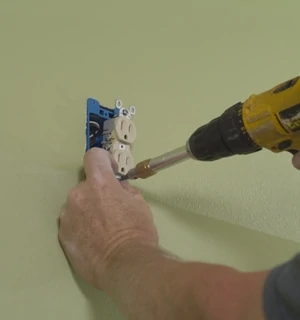
Attach the wires to the outlet—black wire to the gold-colored screw, white wire to the silver-colored screw.
Fold the wire into place as you position the outlet in the box. Attach the outlet to the box with the screws, which should still be attached to the outlet.
Install the cover plate. Flip the breaker back on. Done.


