By Clint Thomas, Esq., / Photos by Zoe Thomas
Concrete, block and smart building techniques solve the problem of a dilapidated retaining wall surrounding a garden bed.
“Do it yourself” and “homemade” are not necessarily the same thing. In fact, the expression “homemade” often invokes the thought that something is less than professionally done. That is just what the raised flower bed at my house was, and by “homemade” I definitely mean less than professional.
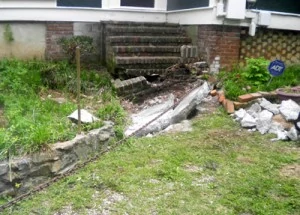
According to neighborhood lore, my raised flower bed sits over an old cistern that had long ago been filled. Whoever did this also constructed a “homemade” retaining wall of sorts out of pieces of cement, rocks of assorted sizes and broken pieces of brick. Over the many years a magnolia tree had taken root and grown up in the middle of the planter.
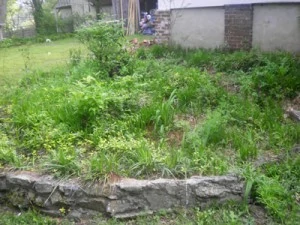
I had the tree cut down professionally because it had grown up into the power lines, and I have enough sense not to play around power lines. So, my first step was to tear out a cement sidewalk and begin breaking apart the makeshift retaining wall so I could get my truck close enough to the magnolia tree’s stump to pull it out.
In order to save money, I broke the sidewalk into pieces with a sledgehammer. It is much easier to break a slab of cement that has a hollow space beneath it than it is to break one that is resting on solid ground. Naturally, concrete is very heavy and not easy to move. This is when a 4-by-4 pickup truck comes in handy. I attached a logging chain around one corner of the cement slab and hooked the other end to my truck, and with the truck in four-wheel-drive low gear, I pulled the slab up and out enough so that I created a hollow space under part of it.
I then beat it with a sledgehammer over and over in the same spot until the cement broke. I repeated this procedure several times until the entire sidewalk was reduced to a pile of broken pieces no larger than soccer balls.
My attention then turned to the “homemade” retaining wall, which came apart with very little effort. With a few firm whacks, it fell into pieces.
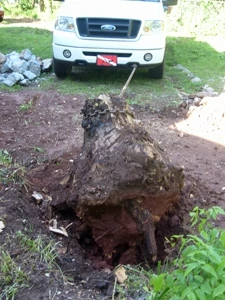
The next step was to remove the old magnolia stump. I accomplished this by digging around its perimeter to expose the main roots, which I cut with an axe. After all of the roots had been cut, I wrapped a logging chain around the uppermost part of the stump to have maximum leverage and used my pickup, again in 4-by-4 low, to rip it out of the ground.
New Wall Construction
With the major impediments removed, I squared up the planter. Originally, it had been shaped like an irregular circle—or perhaps a circle with a bulge is a more accurate way to describe it. I reshaped it by manually shoveling the dirt to where I wanted it so I could lay the new retaining wall with a 90-degree corner.
Once the site had been prepared, I began the actual construction of the new planter.
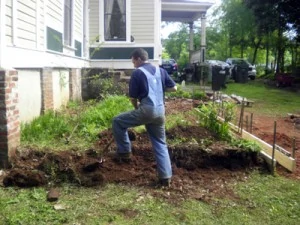
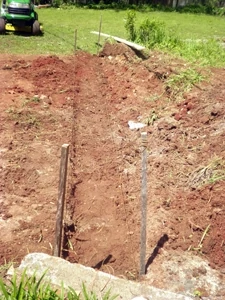
The first step was to dig a level trench around the outer perimeter that formed a right angle at the outside corner. I used a pick-axe and a shovel to dig the trench, throwing the dirt into the bed of what would be the new planter.
With the trench dug, I placed a couple of stakes in the ground at the corners and ran string from one stake to another. It is crucial at this stage to make sure that the stakes are square to one another and that they are the same distance apart. The string acts as a guide to show you where to build a wooden form.
The ground sloped toward the back of the house so I had to compensate for this by digging one end of the trench deeper than the other end and recess one end of the form below grade. Recessing one end of the form allowed me to keep the top of the form level all of the way around.
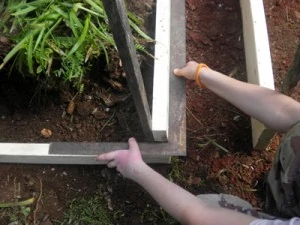
I built my form out of leftover 2-by-4 material, and used some scrap pieces of oak across the top of each one to tie them together. When the form is being built, use a level and a framing square to constantly check for square and to make sure the sides of the form are level. Remember that whatever you build, it is only as good as the foundation, and if the foundation is crooked, uneven and unlevel, then everything built on top of it will be crooked, uneven and unlevel.
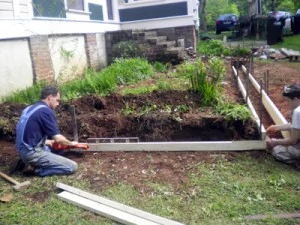
I discovered that I had a tendency to push down on the part of the form that I had just gotten level while leveling the next section, throwing the previous section out of level. Fortunately, I kept re-checking for level and discovered this before I poured any cement.
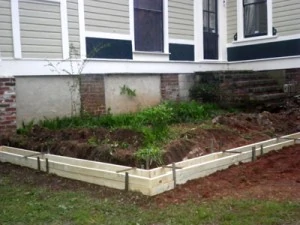
With the form secured in place with wooden stakes, I was ready to pour in the cement. In all, I used 27 60-pound bags of cement, and mixed them all by hand in a wheelbarrow with a shovel. A cement truck would have been much faster, but my labor is free and cement trucks aren’t.
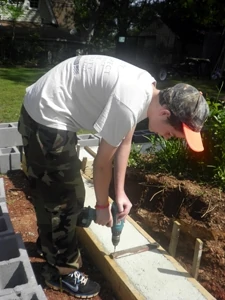
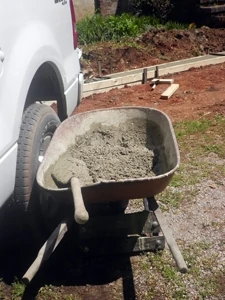
I wet the entire form and the ground around it with my garden hose before I started adding the concrete to the form.
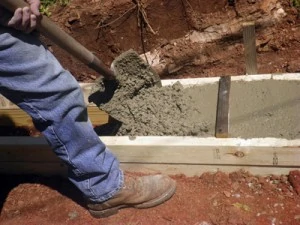
As I shoveled in each bag of cement, I used a piece of scrap 2-by-4 as a screed board to smooth the surface of the cement. I then only had to wait for it to dry before I began laying block on top of it.
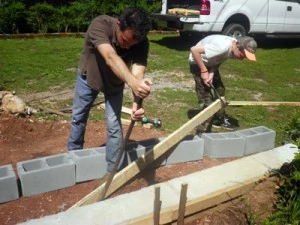
The following weekend, I laid out a row of block around the entire project to make sure I had enough blocks, and also to have each one ready at hand when my cement was wet. I mixed up bags of mortar in my wheelbarrow and laid the first course of block after I wet the entire cement slab with my garden hose.
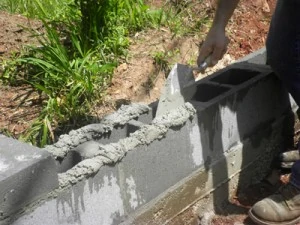
Again, it is of paramount importance to check and make sure that every block that is laid is level with the other blocks. I initially had some trouble buttering the ends of the block, but I discovered that if I wet the ends of the block that the mortar clung to it better and made the job much easier.
I lined the lower 6 in. along the back edge of the block with pebbles, gravel and small pieces of broken cement that I collected from the sidewalk demolition. This will serve as a French drain and help to keep water from pressing against the block by allowing it to drain more freely.
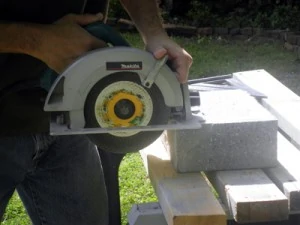
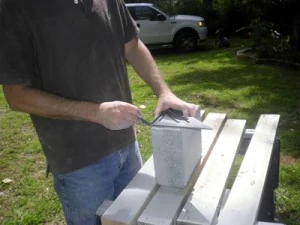
I followed-up the block by laying a course of 4-in. thick solid cap blocks on top to help give it a more finished appearance. A couple of these had to be cut, and I used a circular saw with a 7-in. carbide blade. The blade cut through the solid concrete block with ease, but it also dulled out after the second block.
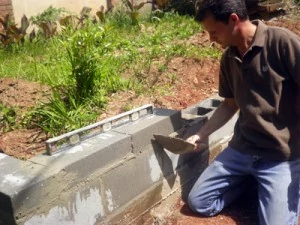
Finishing Moves
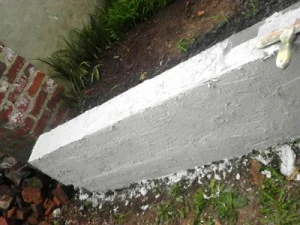
My final step was to apply a 1/8-in. thick coat of Quikwall Surface Bonding Cement to the outside of the block. Quikwall is a product that is a mixture of Portland cement and fiberglass, and it is designed to be used on cement blocks that are dry-stacked together without any mortar. I had mortared my blocks together so the Quikwall will only make it that much stronger and also provide a smooth finish to the outside of the block wall, which was my primary goal.
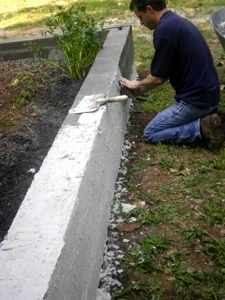
In order to achieve a somewhat smooth finish, my choice was between traditional stucco and Quickwall. I opted for Quickwall because it is strengthen-enhancing product and will make a wall that will last for many years. I applied the product with a 6-in. taping tool working from the bottom of the wall toward the top. After applying a section, I used a 16-in. taping tool as a trowel, running it over the wet mix to smooth it out. It is very important to hold the taping tool so that it is almost flat against the surface of the wall to achieve a smooth finish. If the taping tool is held in any other position the fiberglass fibers will stick out and give the wall a hairy appearance.
I had barely finished the construction of the new retaining wall and my wife, Shellye, had already begun planting a vegetable garden and transplanting flowers along the back edge.
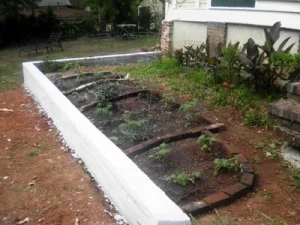
We planned the garden after the French intensive gardening style that utilizes inter-cropped plants in loose, well drained soil. To help achieve this, my wife added forty 40-lbs. bags of topsoil to the new bed along with several bags of humus and manure. She then sectioned off the various plants with old bricks.
When this summer’s growing season comes to an end, I will add more topsoil and a healthy amount of compost from my compost pile to further enrich the soil. I have hopes of making Plexiglas covers for some of the different sections and try growing crops year around in what are commonly referred to as cold frames.
Thanks to several weekends of hard work, what had been an overgrown embarrassment had now been transformed into a giant garden bed with a neat and orderly appearance.
Side Note:
Don’t Forget: Prep Soil for Frost Heave
Soil preparation beneath concrete foundations, such as footings, slabs and walls, is crucial for long-term performance. You need to prepare the soil for proper drainage and dig the trench deep enough to avoid frost heave, which is more prevalent in colder climates than in warmer regions of the U.S. Freeze-thaw cycles and frost heaving—when water in the soil freezes and expands, raising everything sitting on top of it—can result in cracking of the slab or mortar joints. Down in Alabama, frost heave is not often a problem but up North it’s a very big deal. When building any sort of foundation, always check with your regional building codes to determine the best soil preparation for your project.


