

By Larry Walton
Photos by Mark Walton
Out here in cattle country, the ranchers and dairymen often partition off their pastures with temporary fences for rotational grazing, which increases production while giving unused parts of the pasture opportunity to recover. We can take a page out of the ranching playbook by temporarily fencing off a portion of lawn for repairs and maintenance. For the most part, our kids and dogs aren’t grazing on the grass, but they can damage areas of new growth and get into more mud than usual while repairs are going on. Also, we will probably want to use some chemicals, and a temporary fence can keep our offspring and their canine companions safe.
We found a 100-ft. roll of high-visibility green safety fence at the home-improvement store for under $50 (we could have gotten it cheaper in orange, but being Duck fans, we wanted to avoid an Oregon State Beaver color).
We already had lots of bamboo on the property for fence posts. Also among the random stuff I keep on hand were a supply of fence staples and some zip ties (aka cable ties). Additionally, we found tent stakes useful for sealing the bottom of the fence to the ground to discourage dogs from taking the “under” option.
One of the primary considerations when planning how to divide the lawn is access and traffic flow. We have gates to access the lawn from both ends of the house for doing yard work, so we terminated the fence at the house near the dog door. This allowed the dogs direct access to their side of the yard through the dog door, and when we wanted to switch sides, we could move the end of the fence to the other side of the dog door.
Keep in mind that the fence does not have to go in a direct line or remain square across the yard. If your access point is at one end of the yard, you may want to get more of the repair area by taking an angle. Your fencing route should also avoid landscaping features where sealing the bottom could get complicated. Also, be mindful of irrigation lines when setting the temporary fence posts.
Step by Step
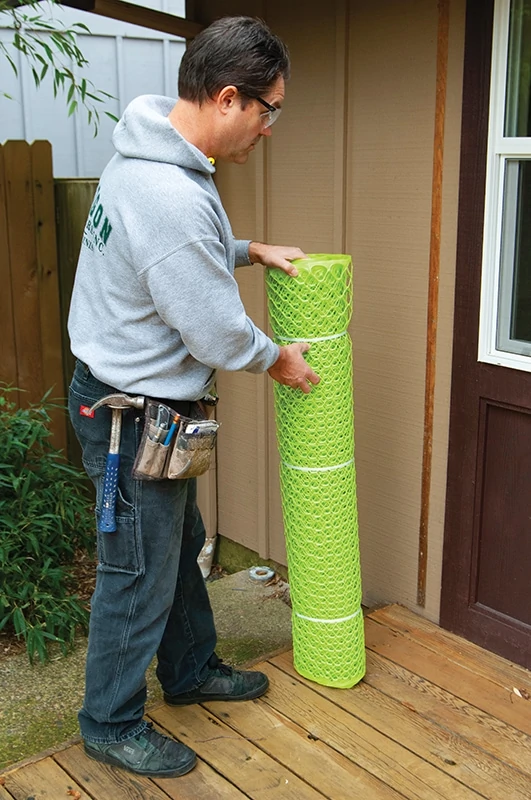
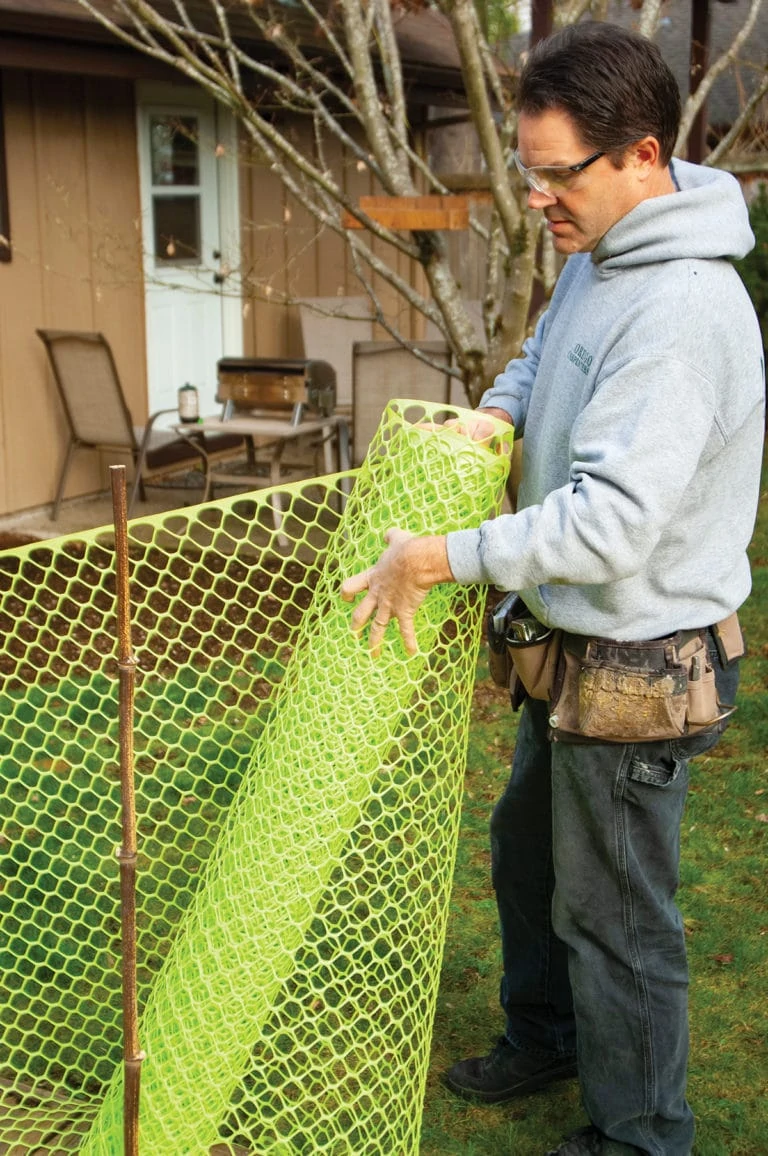
We found this 100-ft. roll of safety fence at our local home-improvement center. It is strong, flexible and can be easily stored for reuse.
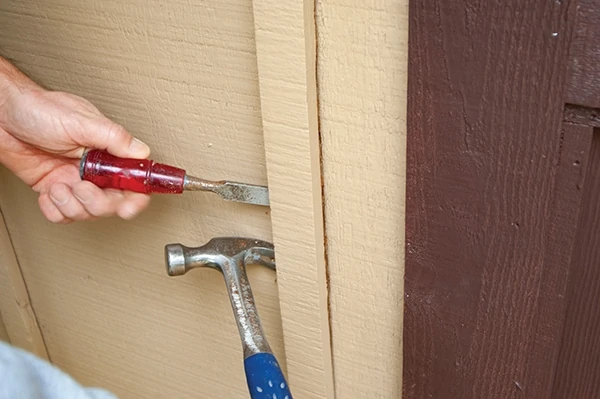
Because of our siding design, we could remove a batten board to access attachment points for our fencing, which allowed us to staple to the house without worrying about extra holes. Depending upon your situation, you could also use a fence post at the house, or pin the end of the fence to the house with a furring strip. The idea is to make it secure while avoiding a big repair when the fence is removed.
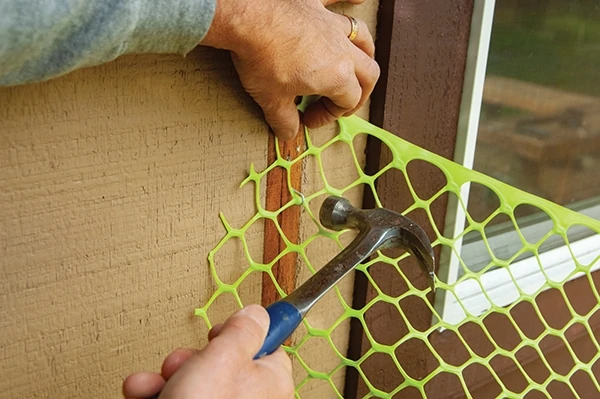
Because the fence is temporary, you can leave some extra material on the ends and add fasteners where it makes sense to allow for angles where you are following the slope of the ground, coming down off a deck, or going over or around landscaping features.
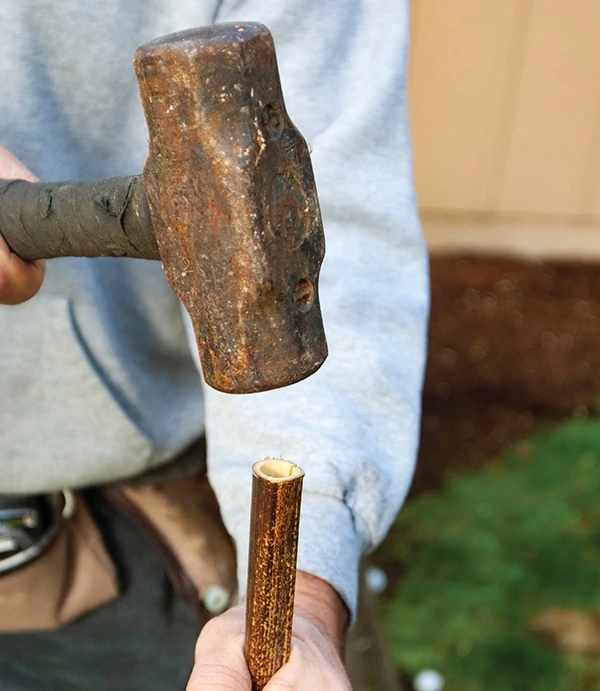
After drilling holes in the ground with an old spade bit (slightly smaller than the diameter of the bamboo), we drove our temporary posts into the ground. The posts do not need to be perfectly straight or plumb.

We drilled holes near the top and bottom of each post to accept a zip tie for attaching the fencing. We did this rather than going around the post with the zip ties so the dogs couldn’t slide the fencing up the posts.
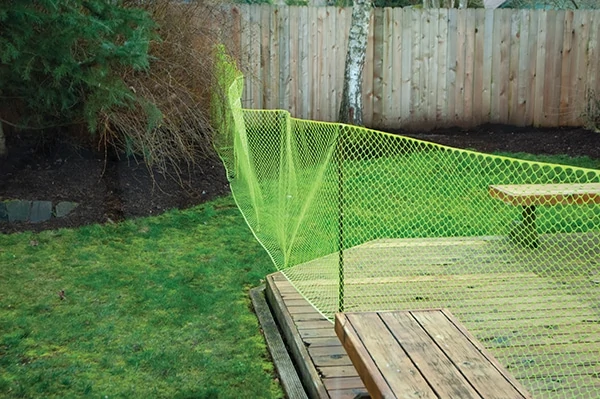
We let some of the fencing lap out onto the ground to avoid any tempting openings for the dogs. We also fastened the bottom of the fencing to the deck in places and staked it to the ground where we had concerns about escape routes.
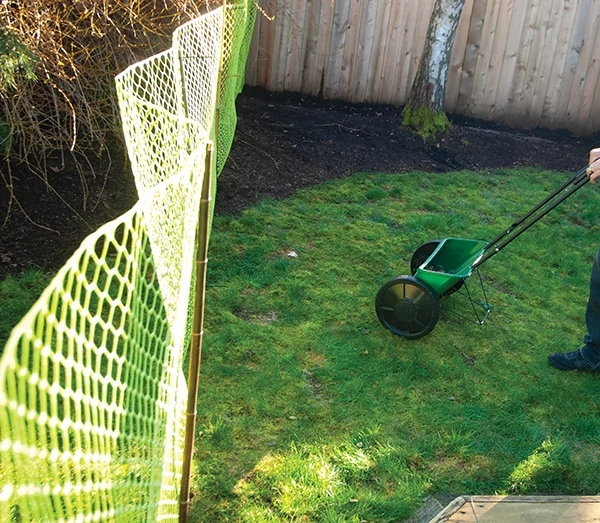
Our temporary fence allowed us to go through several steps of lawn repair including killing moss, filling in low spots with lawn base soil, and planting new grass. When the one side was healthy enough for animal use, we switched the house-end of the fence to the other side of the dog door and finished the repairs on the other half of the lawn. The fencing was easily rolled up for storage when the job was done.
