

Bathroom Remodeling ABCs
Since the advent of indoor plumbing, bathrooms have become the most indispensable room in the house and top the list of renovation projects for growing families. However, they also present a moisture-prone environment that can lead to the presence of mold and mildew. A remodel should be designed to keep the water at bay, from paint to flooring.
Bathrooms also offer unique functionality with a variety of accessories that must be planned and located in a logical manner. A detailed installation plan will help streamline the process of laying out the various fixtures. Here’s a quick look at some critical basics for bathroom renovations.
Pro Tips for Painting
When repainting a bathroom, start with a clean surface. There’s no use in applying paint over existing grime or mildew mildew.
Most industry experts agree that a 3:1 mixture of water and bleach will kill existing mildew. Apply the mixture to the infected area plus a 1-ft. margin. Leave it on the surface for at least 20 minutes, adding more if it dries early. Thoroughly remove the mixture using plain water.
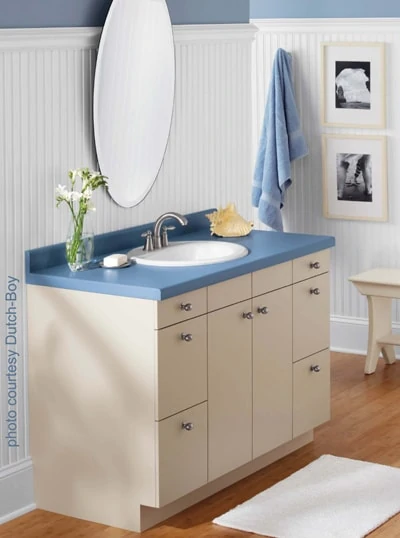
To minimize the chance of mildew growth, start with a latex stain-blocking primer, which will have a high degree of adhesion and low porosity. For the top coat, use a quality latex paint, because oil- and alkyd-based paints tend to be less resistant to mildew. Some premium paints are water-based and specifically designed to withstand the harsh conditions of the moisture-prone areas in your home. These mildew-proof products are self-priming, and some are guaranteed to prevent mold and mildew growth on the paint film for up to 5 years. The higher the quality of paint, the more mildewcide it is likely to contain.
When painting, apply a satin or semi-gloss finish, instead of flat. Flat paint is more porous and receptive to mildew. Apply all coats as heavy as possible to block mildew from the organic material in the surface being painted. Two coats perform better than one.
Water damage and mildew problems are the reason wood flooring is generally avoided in bathroom environments, in favor of more moisture-resistant options such as tile, vinyl or linoleum. For the same reason, consider using synthetic trim near the floor. For example, base moulding made from PVC, rather than wood, readily accepts paint and is unaffected by contact with water.
Organize the Layout
“Where does this thing go?” It’s a common question of the DIY’er who is remodeling a bathroom. The bathroom is full of features and amenities, from soap dishes to toilet paper holders, which make the space as convenient and functional as possible. While you can technically locate the fixtures anywhere you want (within code), it’s wise to stick within the diagrammed guidelines, which became standard because they represent the most user-friendly locations for the average person. Plus, adhering to a commonly accepted bathroom layout will pay off when reselling your home.
An easy way to organize your bathroom game plan is to sketch a rough drawing on paper, noting each fixture and accessory in accordance with the measurements in this article. Graph paper will help with accuracy, mapping out the bathroom at a 1/2-in. scale where two 1/4-in. squares equal a foot. Use your sketch as a guide when installing the fixtures.
