Geometry Lessons from a Math Teachers’ Past
By Clint Thomas, Photos by Zoe Thomas
How many of us asked at least once, and probably multiple times during our academic careers, “Why are we learning this? I’m never going to use this.”
I asked the same question quite often in math and geometry classes throughout my schooling. However, it is ironic how often we end up eating those bold words of youth once we enter adulthood and have to deal with the realities of life. This experience recently happened to me while framing an arched doorway for my daughter’s new closet. Framing a door opening, in and of itself, is relatively simple. It requires two king studs, a couple of jack studs, a header, and most importantly, every angle is a right angle. See, we just started with that math stuff that we didn’t need to know—right angles, acute angles, etc.
An arched doorway is simple to frame out once the archway is made. The difficult part of framing an arched opening of any type is drawing out the archway so it will be on the same radius throughout its span. This process involves an excessive amount of geometry to accomplish. Simply put, we have to draw out a rectangle that will serve as the circumference of our arch, then mark out an isosceles triangle inside that rectangle. We then use the sides and the apex of the triangle to determine points beneath the rectangle, strike lines through certain of those points in order to establish the final point that will serve as the base pivot point for the arch. Sounds complicated, right? In actuality, it is quite simple because, just as our high school math teachers tried to explain to us, many mathematical concepts involve formulas. If we know the formula then we can work the problem with ease. The same is true in this case.
Multiple Measurements
To frame an arched opening, begin by taking an exact measurement of the rough opening from left to right. In my project, the rough opening measured 37 inches from left to right. Be sure to measure along the top of the opening in case the studs are not exactly plumb. What might measure 32-3/4 inches at the top may only measure 32-1/2 at mid-level.
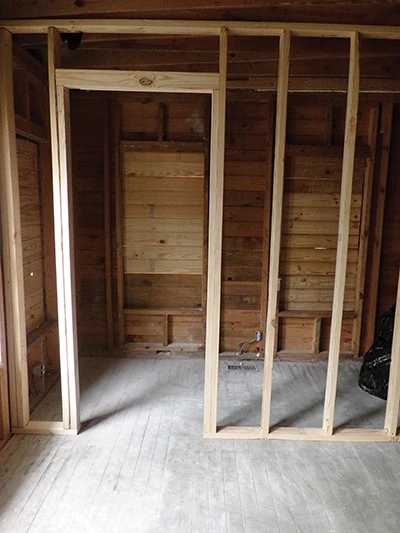
Next, it is necessary to determine how “thick” the arch is going to be. In other words, determine the measurement from the top of the rough opening to the top of the finished arched opening. If the archway is too thick, meaning that it hangs down too far, then a tall person will hit their head on it. Most rough door openings are framed to be 6 ft., 8 in. inches high. I framed mine so it is 77-1/2 inches tall. Given the height of the rough opening and taking into account the height of the average person, I decided to design my arch to be four inches thick.
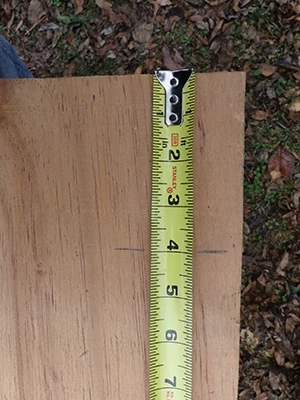
With these two measurements in-hand—the width of the rough opening and the desired thickness of the arch—the next step is to lay out the pattern for the archway on a sheet of plywood. Half inch BC-grade plywood works best. Always be sure to work off a factory edge, as you know for certain that they will be square. From one corner of the plywood, measure out the width of the rough opening and put a mark. Using a T-square, or chalk line, draw a straight line from the mark parallel with the opposite side of the plywood. (A piece of plywood is 48 inches wide; you may be reducing this down to 37 inches.) This mark, and the line that you extend therefrom, will be the outside edge of the project.
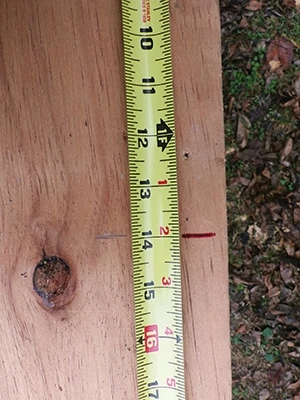
From the top of that outside edge-line, measure downward the desired thickness of your arch and put a mark. In my case, I measured down both sides 4 inches.
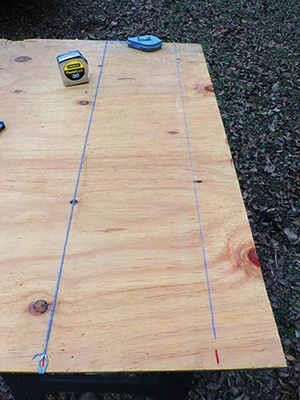
With the width and the thickness of the archway marked we now must determine what circumference that will be used for the arch itself. There is no exact formula required here. It is simply a matter of personal taste. In my case, I decided the opening should arch downward ten inches on each side. Therefore, I measured an additional 10 inches down from my first 4-in. mark on each side, for a total of 14 inches from the top edge.
I then drew a line connecting the two marks at 4 inches and another line between the 1-in. marks. The line at 4 inches will be Line A and the line at 14 inches will be Line B.
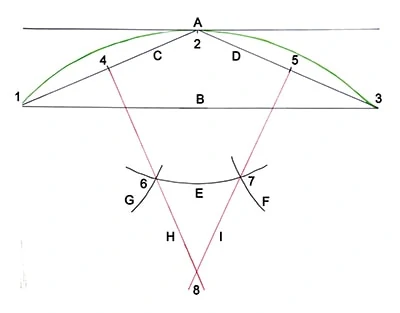
Find the center of Line A and place a mark. This is Point 2. Using a straight edge, draw a line from the beginning point of Line B, which is Point 1, to Point 2. This line will be Line C.
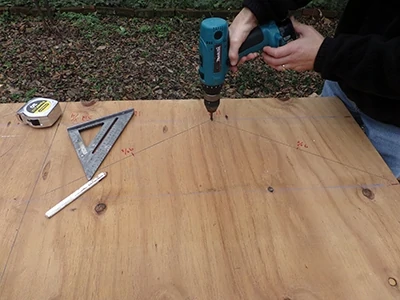
Draw another line from the end-point of Line B, which is Point 3, to Point 2. This line will be Line D. We now have both the rectangle and the triangle laid out.
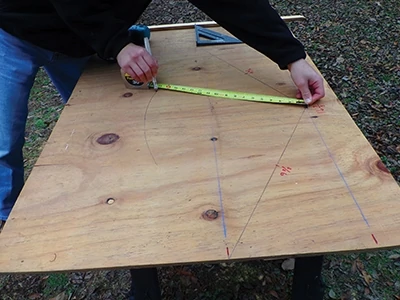
Next, mark the midpoint of Line C (Point 4). Do the same for Line D, which will be Point 5.
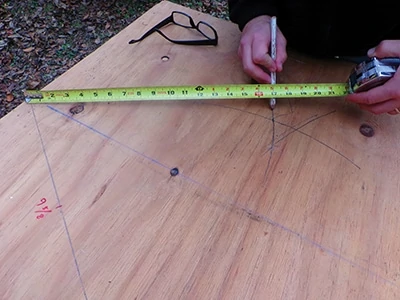
Tape Measure as Compass
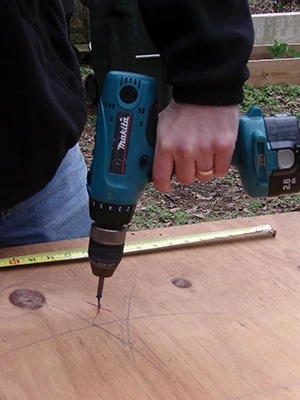
For the next several steps, it is necessary to insert a screw in the corners at Point 1, 2 and 3. Tighten the screws until only the head remains above the plywood to hook your tape measure. These screws will serve as pivot points for your tape.
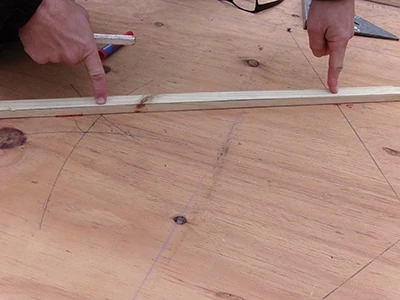
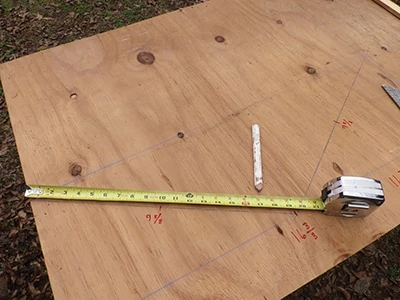
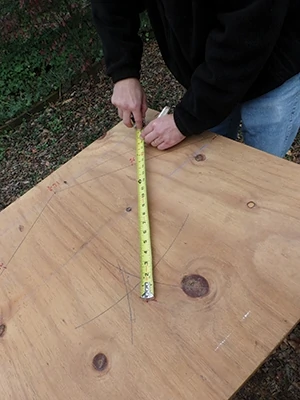
Begin by hooking the tip of a tape measure on the screw at Point 2 and extend it straight down past the bottom of the triangle to any length that is more than half the length of Lines C or D (which are the same length). For example, if Line C and D are 19-3/8 inches long then the halfway point is 9-5/8 inches. Therefore, we would extend the tape measure from point 2 to any measurement past 9-5/8 inches. I prefer to go several inches beyond and used 17 inches as my marking point.
Hold a carpenter’s pencil precisely at the desired measurement point (17 inches for me) and slowly rotate the tape measure, pivoting on the screw while marking a curved line as you go. This is Line E. Repeat the same process off Points 1 and 3 to make two new curved lines that intersect Line E: Line G (from Point 1) and Line F (from Point 3).
Confused Yet?
At the intersection of Line G and Line E, mark a point that will be known as Point 6. At the intersection of Line E and F, mark Point 7.
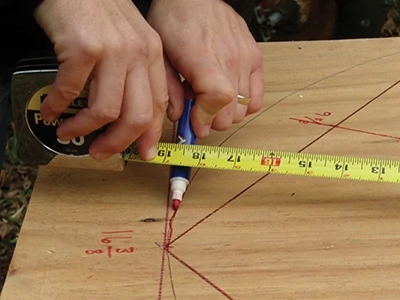
Using the straight edge again, draw Line H between Point 4 and 6, making sure to extend it well past Point 6. Next, strike Line I from Point 5 to 7, also extending it past Point 7. The intersection of Lines H and I, is Point 8. Insert a screw into point 8.
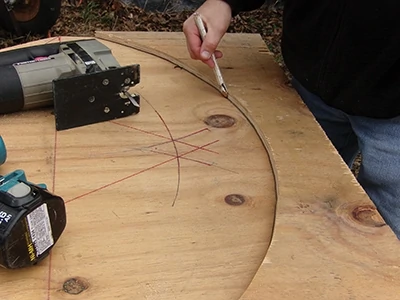
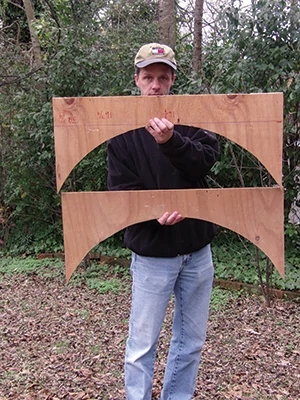
The final arch is scribed onto the plywood by hooking a tape measure onto Point 8 and extending it up to Point 2. Place a carpenter’s pencil at the measurement for Point 2 and then rotate the tape measure to Point 3 while dragging the pencil to make a line. Repeat the same procedure from Point 2 to Point 1 for the remaining side of the arch. If all of the measurements and corresponding geometry are correct, the circumference of the arch will curve exactly from Point 1 to 2 then to 3 with no variation.
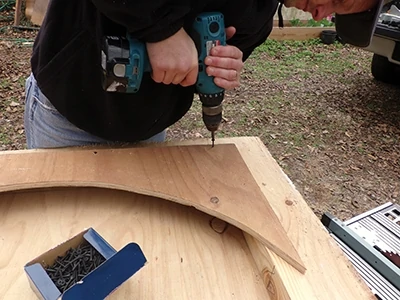
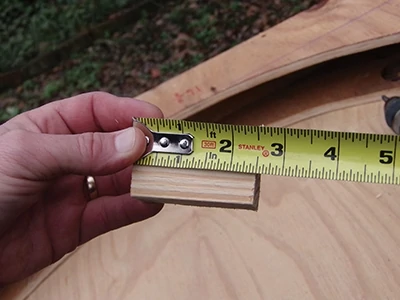
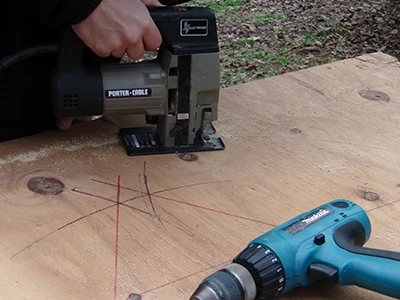
Use a jigsaw to cut out the archway. Before proceeding, take this one piece of plywood and dry-fit it in the rough opening to ensure it is the correct size. It is much easier to trim off any excess wood before it is assembled into a form. Once the correct sizing has been verified, the archway that was just cut out can be used as a template to cut out a second matching archway. Arched openings are made by building a plywood form to fill in the top of a right-angle doorway, requiring two arched plywood panels, one for each side with filler pieces in between. Two pieces of 1/2-in. plywood make up a full inch and door openings, if framed with 2×4’s, are actually 3-1/2-in. thick. Therefore, one inch of plywood will leave a 2-1/2-in. cavity that has to be filled with pieces of wood. Filler pieces can be made out of scrap 2×4 studs that are cut down to 2-1/2 inches and then screwed or nailed into place.
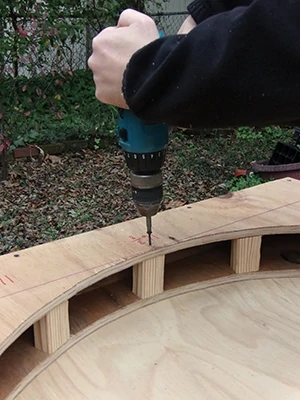
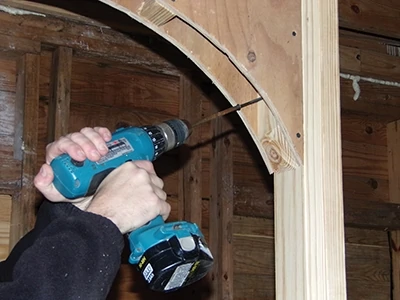
I used 1-1/4-in.drywall screws to build the entire form and then used 3-in. drywall screws to attach it in place. Be sure to leave out the end pieces of filler to have room for inserting insert a screw-gun to hang the arched form. Once it is secured in place the remaining two filler blocks can be attached.
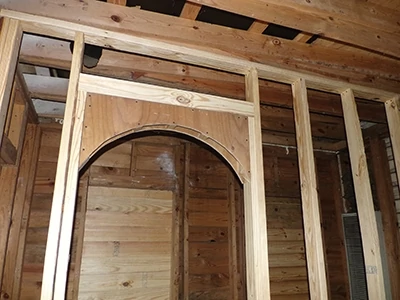
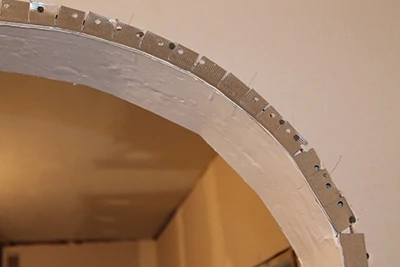
Unless this formula is used to determine the layout of an archway, it is difficult to get a uniform and even circumference, making any attempt at an arch end up crooked or lopsided. As much as we may not like admitting it, our teachers were correct and also wise to give us the knowledge that they did, because we do end up using it later in life.
