

Outdoor Improvements with a Natural Look
A dry-stack landscape wall is a popular way to integrate natural materials into the design of your outdoor living space. The term “dry-stack” refers to the mortarless look of the assembled stone. Although mortar cen be used during construction of a dry-stack wall, it is hidden near the rear or interior of the wall, so only the natural rock is visible.
Common Applications
The popularity of this method of construction is due in part to its versatility. A dry-stack wall can be integrated into a retaining wall system, used as a low-profile landscape border, or built as a freestanding wall.
When used as a retaining wall, a dry-stack wall will have maximum strength if it slopes in two directions. This means the face of the wall must batter (lean backward) into the slope it retains, usually about 1/2 to 1 inch per foot. The top course should also pitch slightly toward the slope with the outward edge of the rim as the high point.
A freestanding dry-stacked wall gets its strength from its structure, which is essentially a double-sided retaining wall. Instead of leaning into a slope, each side batters against the other which presses the stones together and holds the wall upright.
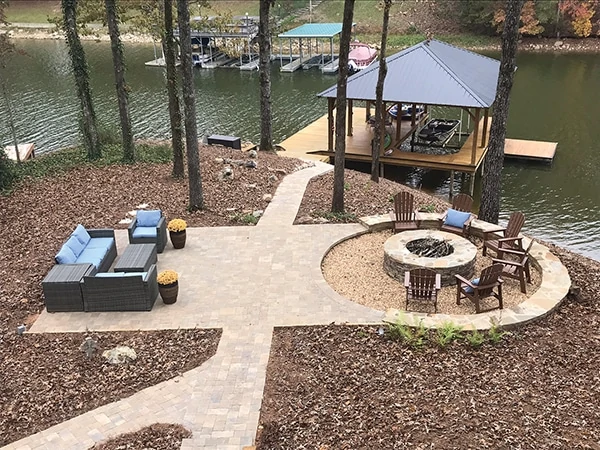
On a recent landscaping project, the EHT staff was on site for construction of a patio, sidewalk and multi-tiered fire pit, in which dry-stack construction was used for multiple aspects of the project. Here’s a look at the basics of this popular construction method.
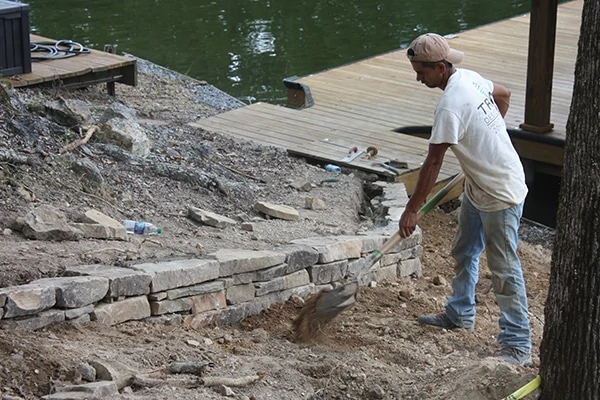
Sidewalk Retainer
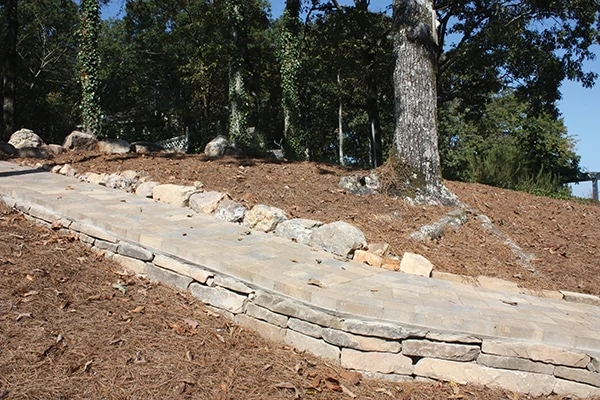
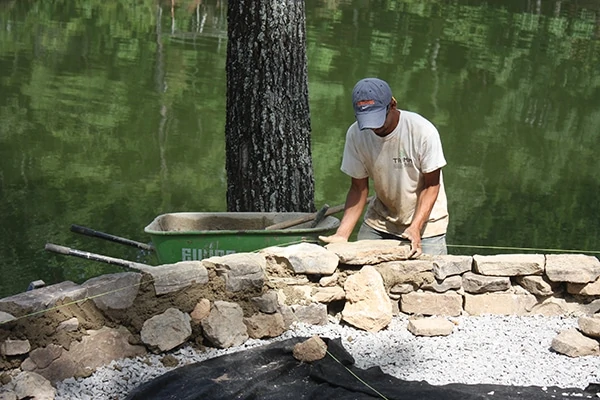
Retaining walls are commonly built on hillside lots to hold back the slope of the land, as seen on the lakeside lot of this landscaping project. This particular lot sloped in multiple directions, requiring one side of the sidewalk to be shored up as it routed downhill toward the water.
Note: If you have a steep slope, you should consult a soil engineer or landscape professional to help design a plan to handle drainage and mitigate erosion. Some local building codes require soil engineers to approve plans for retaining walls above 4 feet tall.
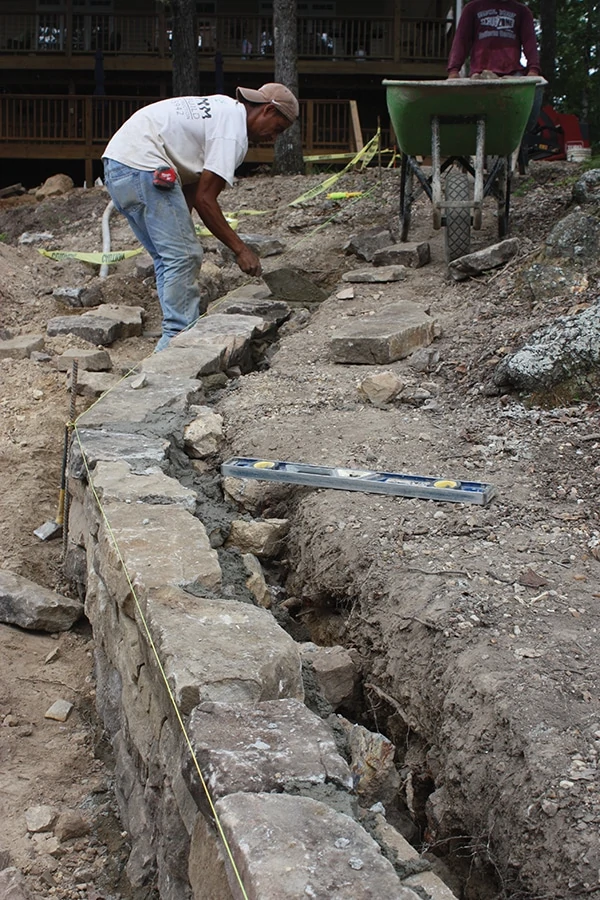
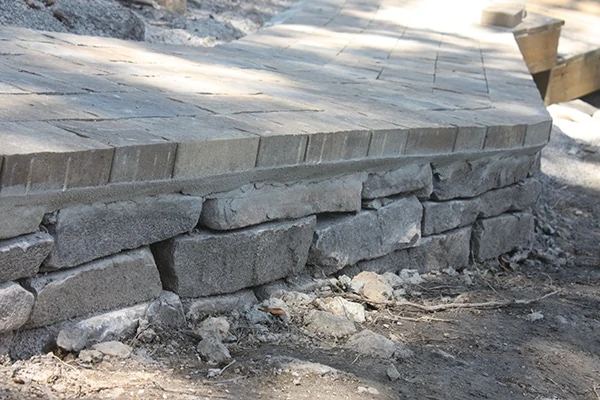
First step in building a retaining wall is to excavate the ground in the rough shape you want the wall. On the project shown in the photos, a short wall was built to border the downhill side of the sidewalk. In general, you want to dig into the face of the slope at the same angle that the wall will batter. Another option is to construct the retaining wall at the bottom of the slope and then fill behind it with gravel and soil. In some cases, site and soil conditions require a combination of both methods. Be sure to leave room behind the wall for drainage gravel.


The wall shown was constructed of multiple stone courses, the last of which was covered with the final layer of surface pavers. The course of pavers was mortared onto the border wall and served as the capstone. After the wall was completed, the bottom couple of wall courses were buried beneath a berm of compacted earth to help hold it in place along the slope.
The sidewalk border shown won’t retain a great deal of earth and water. In fact, once completed the sidewalk’s paver surface will shed much of the runoff and rainwater. Taller retaining walls
that hold more earth are a different story however, and accumulated water will add weight and hydrostatic pressure that pushes outward against the wall. Therefore, taller walls require better drainage (see sidebar).
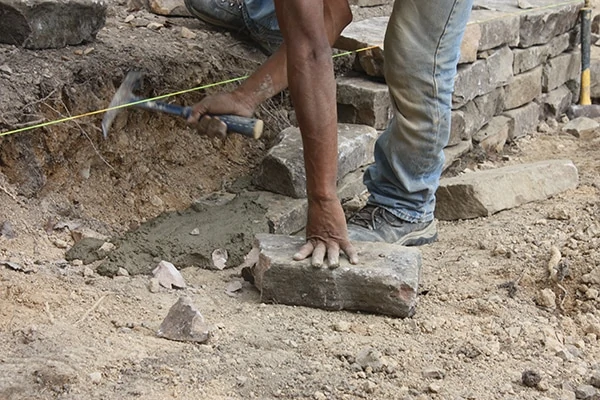
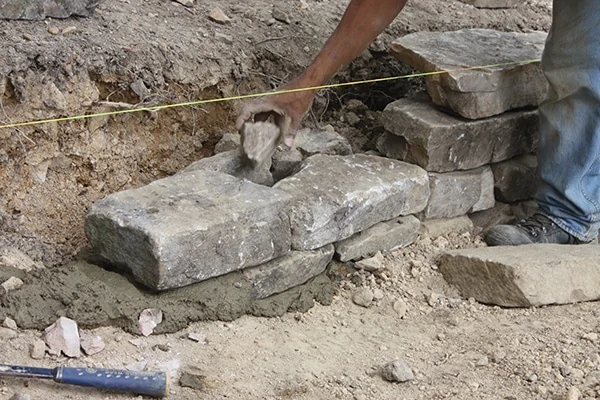
Shaping the Stone
Working with natural stone means dealing with irregularly shaped building materials. Unlike manufactured block which neatly stacks and interlocks, natural stone takes a lot more persuasion when assembling a wall. The installer needs the ability to envision the wall as a whole and the individual pieces he needs to make the wall, and then they need to create the shapes they need when they’re not readily available.
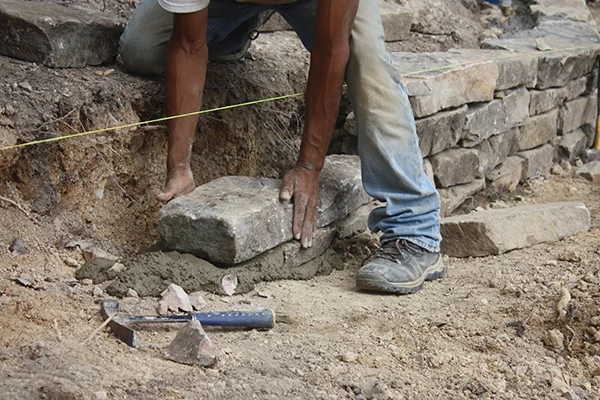
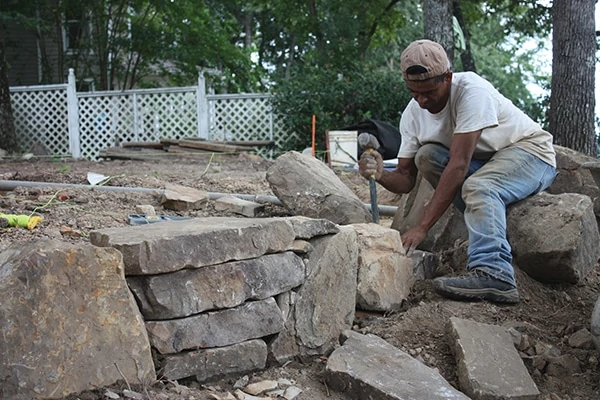
Working with stone might require digging out the trench beneath the first course to set a rock that has an uneven bottom surface. You might need to use a hammer to chip away projections from a stone to give it a flat surface to stack the following course. You’ll often need to split the length or width of a rock to fit your wall design. These cuts are made on-site as need using a brick hammer to maintain the natural cleft face of the rock (as opposed to using a wet saw which would achieve a smooth, obviously man-made cut).
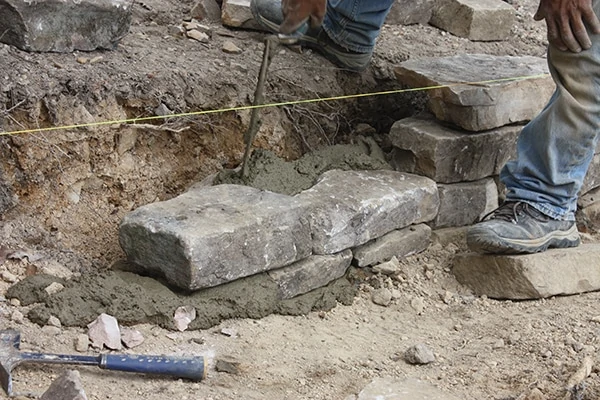
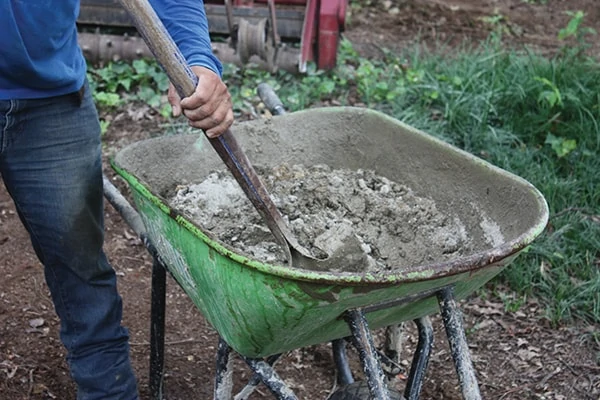
The courses are laid using masonry cement beneath each, applied along the rear edge of each course. The irregular shape of the stones leaves several gaps and voids in the wall. These voids should be filled with smaller rocks that are back-buttered with mortar then strategically inserted to strengthen the wall and give it a more uniform appearance. The cut-off waste pieces are often used to fill these voids, but many of these gaps require particular shapes which have to be shaped with the brick hammer for a snug fit.
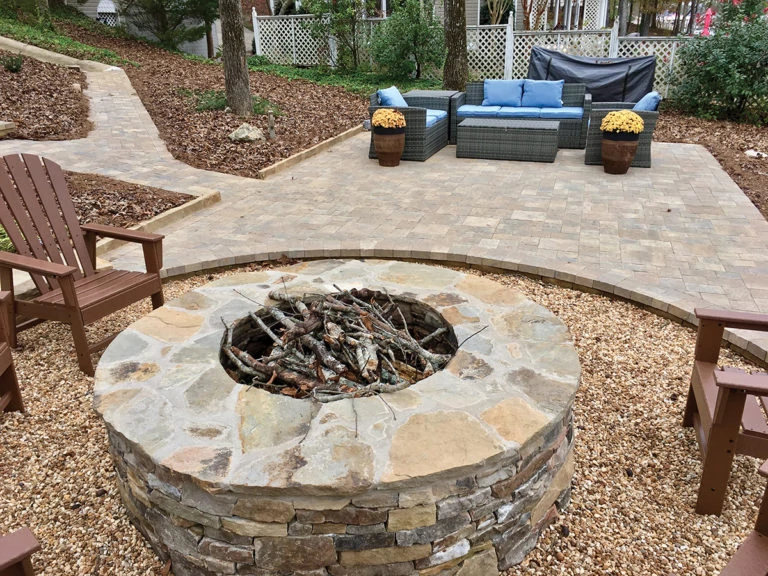
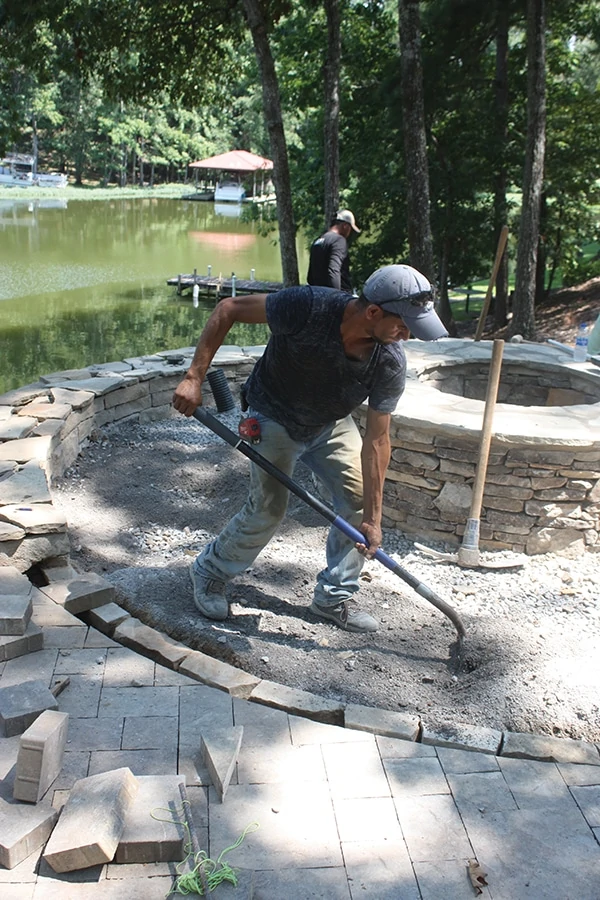
Natural Stone Fire Pit
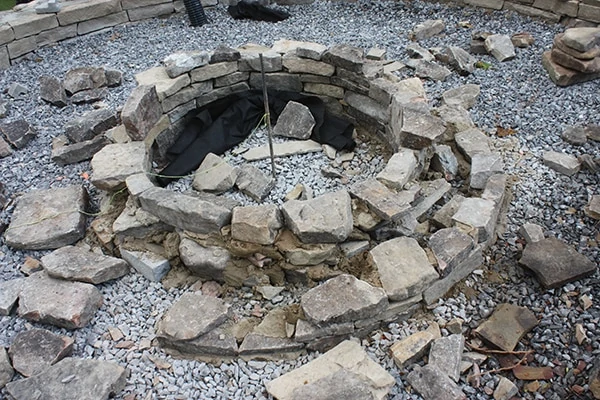
The focal point of our recent landscaping project is a large fire pit built using a freestanding dry-stack stone wall. The fire pit itself was surrounded by a larger secondary wall built in the same manner.
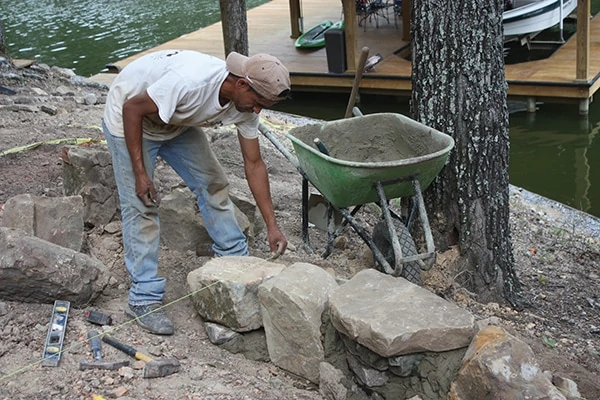
The site was first excavated, graded and compacted in preparation for the walls, creating a depression several inches deep along the base. These larger walls call for much larger stones, and the largest selections are used for the base course.
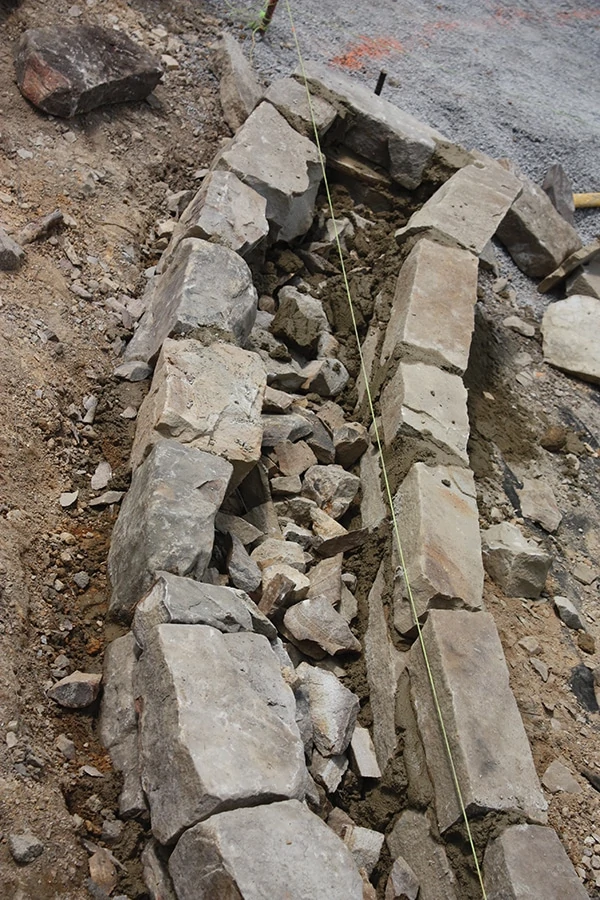
To build the walls, arrange the base stones with their flattest and widest face upward, so you can make the best selection as you work. It may help to line the face of the wall with stakes for a visual reference. Install drainage pipe at this time as needed.

Place the large base stones inside the trench and align the front faces along the edge of the wall. Choose pieces that nest well together, which might be stones of complementing shapes or a combination of large stones and smaller ones. Apply mortar and replace the base stones after you determine their final position. Experiment with different stone shapes and orientations to ensure a good, sturdy fit, because the rest of the wall rests on the base course. Try to use stones that are partially squared off on two sides, or use the brick hammer to change their shape accordingly. Note that a freestanding wall should be built with a base that is wider than the top course.
For the following courses, you should also use “tie stones” (also called bond stones) at each end of the wall and every 6 or 8 feet. Tie stones are long enough to span the thickness of the wall. If the tie stones don’t reach all the way through the wall, use pairs of stones that each reach 3/4 through the wall, and set them so they butt tightly together.
As you progress, you can strengthen the wall by placing one stone over two, then two stones over one. Save the broadest, flattest stone’s for the wall’s cap.
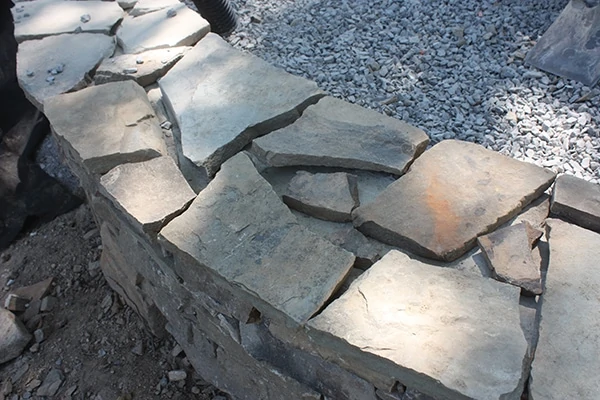
For freestanding walls, you’ll be building two walls with their presentable faces in opposite directions. The void between the walls should be filled with smaller stones of alternating sizes. Fill gaps in the wall face with small stones, and add any necessary filler stones as chinking to keep pieces from wobbling.
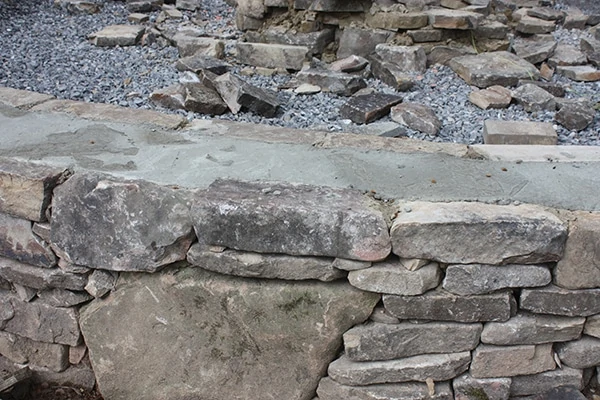
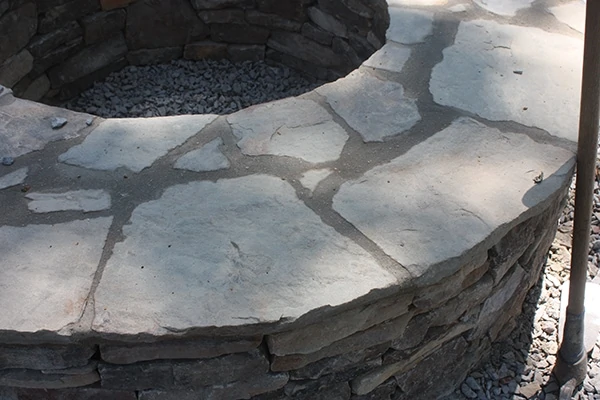
The wall should be capped with a top course of large flat stones that overhang the edges of the wall. Lay a 1- to 2-in. thick bed of mortar then press the top course in place.
On the project shown, this type of dry-stack construction was used for both circular walls that surround the large stone fire pit, which now highlights a beautiful backyard retreat that overlooks the water between the cool shade of tall trees. It makes a nice place to visit and is a heck of a home improvement.

Side Note 1
Better Drainage for Your Landscape
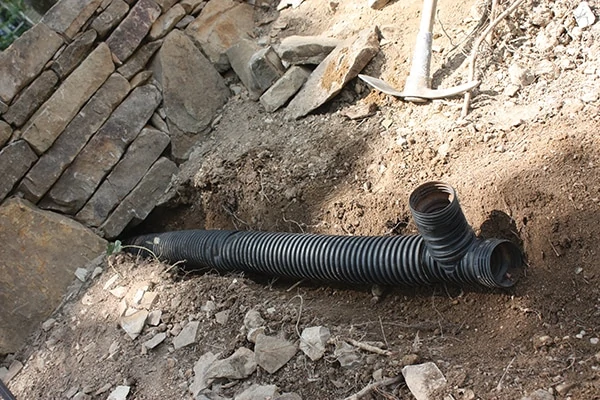
Since water always moves downhill through the path of least resistance, you need to design a path of least resistance that protects your walls and inhibits erosion of your landscaping. You can give the water an easier way out than through your wall by diverting it through flexible perforated drainpipe. Along the uphill side of the wall location, dig a trench and slope it downhill to where you want the water to go. Then, build the wall as usual. Line the trench with landscaping cloth and drape it up the slope. Lay the pipe with its holes pointed down, toward the back of the trench. Fill around the pipe with gravel, then fold the cloth over the gravel and cover with dirt.
Side Note 2
 Phone Before You Dig
Before breaking ground on a major landscaping project, be sure to call your local municipality for the appropriate permits. Also, call 811, the national “Call Before You Dig” number, designated by the FCC to protect American homeowners and professional excavators from the injuries, expenses and penalties caused by digging-related accidents that result in damages to underground utilities.
