

Photo Illustrated Step-by-Step Pre-Assembled Window Trim Project
By Rob Robillard
Pre-assembling trim is faster, more efficient, neater and produces near perfect joints every time. This approach does require a completely different way of working, but the advantages are worth it.
Pre-Assembly vs Piece Meal Method
Piece-by-piece installation is inefficient because you’re always running back and forth between your miter saw and wall, or up and down a ladder or scaffold. Plus, any imperfections, on the nailing flange or unevenness in the wall, translates into uneven/open trim joints.
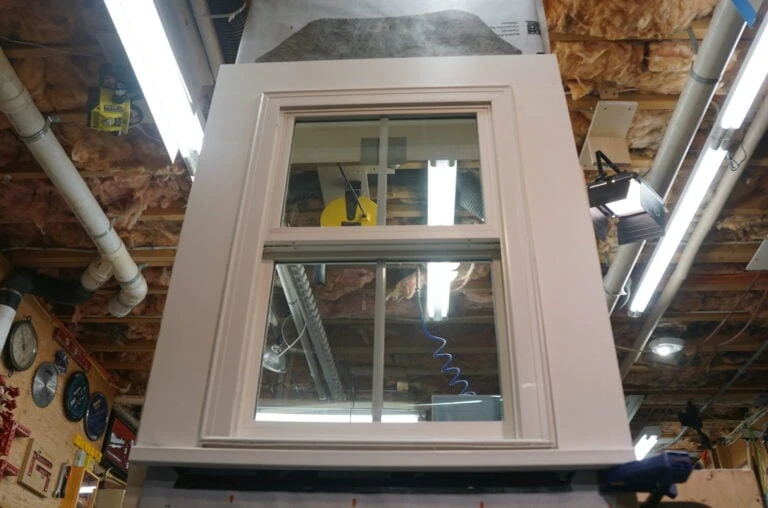
It’s far easier to build the trim surround as one piece on a flat surface. When installed as one piece it sits better with tight joints.
Using PVC Trim – Rot Resistant
PVC trim boards are widely popular for being weather-resistant, termite-proof, and rot-proof, making them one of the most reliable materials for exterior building. One of the biggest advantages is that is doesn’t need to be painted.
Measuring and Fitment
Measuring pre-assembled trim should always be done off the window itself. You can accomplish this on the ground, prior to installation, or after the window is installed. When feasible, I prefer the former method.
With multiple, same size, windows, this method can become an efficient, fast, best practice way to finish a projects exterior window trim.
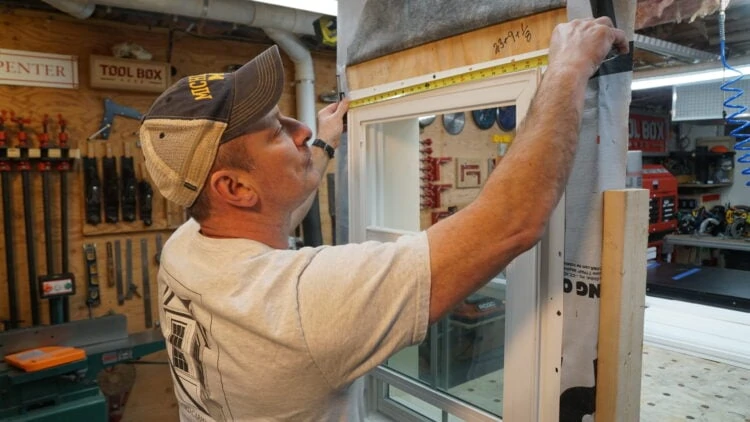
Horizontal Measurement – cutting head trim and sill
When measuring horizontally, measure the furthest protruding part of the window. Take your measurement point to point to outer most point – and ADD 1/8” plus the thickness of your trim X2 to that measurement. This will give you the total length of the top trim and windowsill.
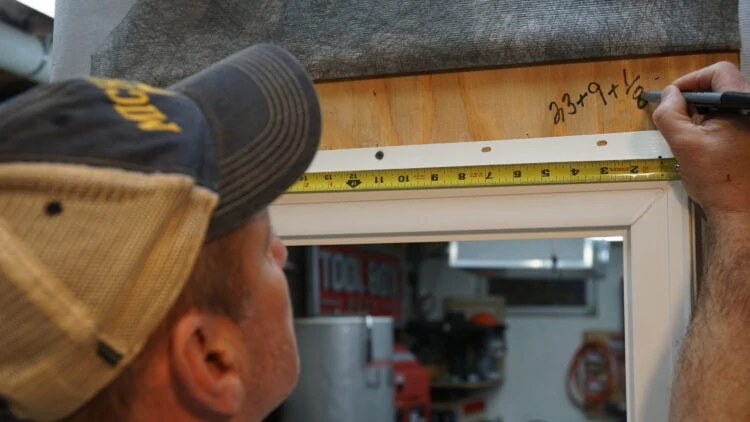
The 1/8” measurement gives some adjustment room for fitting and sealant.
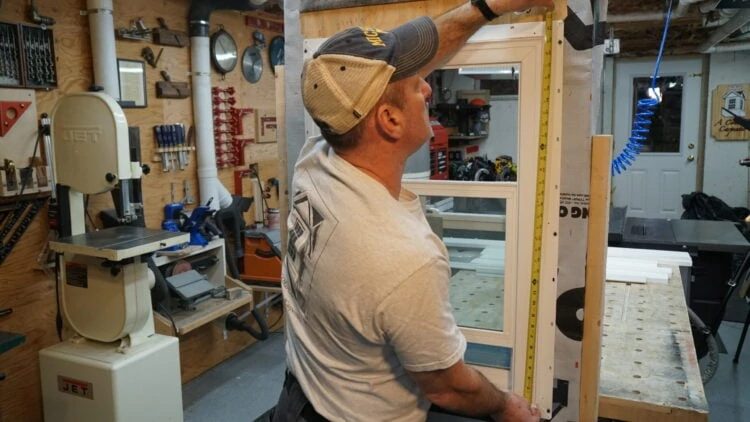
Vertical Measurement – cutting legs
When measuring vertically measure the furthest protruding part of the window. Take your measurement Point to point to outer most point – and ADD 1/8” to that measurement, this will give you some adjustment room for fitting and sealant. This measurement is the length of your window trim.
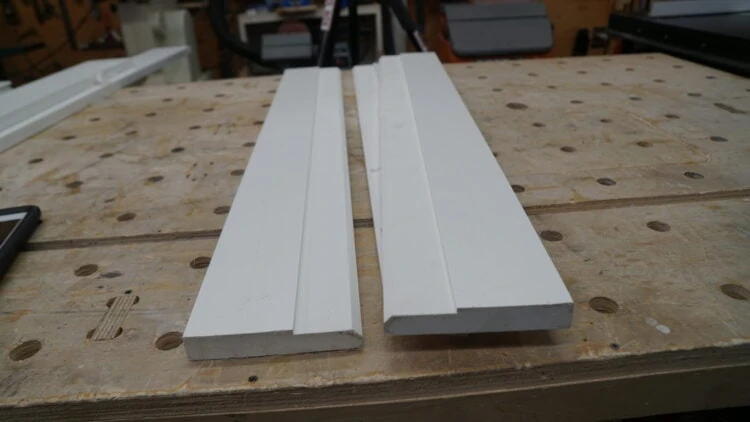
Cutting Sill Bevel and “Rabbet” Channel for Nailing Flange
You will need to determine the bevel cut of your windowsill and cut the bottom of each leg trim to that bevel.

Pro Tip: Prior to cutting your rabbet channel mark the back of the leg parts to avoid errors. It’s easy to flip a board around and cut a bevel or a rabbet channel on the wrong end or edge. I mark the back the trim bevel end and rabbet edge to avoid these errors.
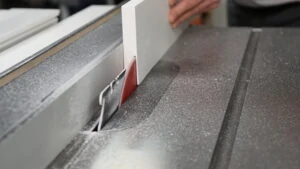
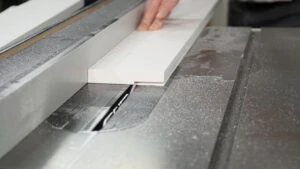
Cut a rabbet channel on the back of the trim by making two cuts on a table saw. The rabbet width cut is usually ¼” wider than the nailing flange and as 1/16-1/8” deeper than the thickest part.
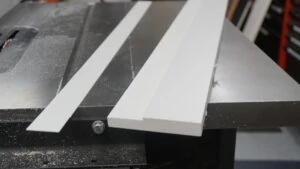
This rabbet creates a space for the nailing flange so the trim can sit tight to the wall sheathing, without rocking or interference.
Windowsill Considerations
Exterior PVC sill can be bought or made on site; we chose to use a pre-made sill for this project.
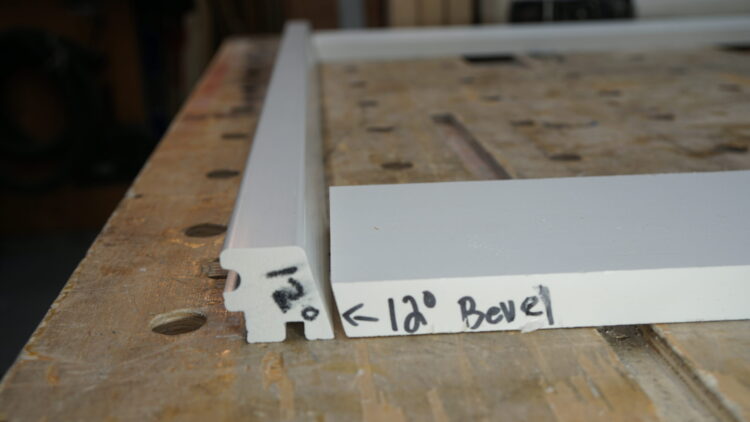
Windowsills typically have a 10–15-degree bevel to drain water out and away from the window. The sill should project out away from the window, leg trim and siding for water management, off and away, from the house.
The bottom edge of the sill should have a drip groove installed to break the surface tension of the water and prevent the water from running back to the house siding.
A rear groove under the back side of sill allows for house siding to tuck up and under the sill for an overlapping weather coverage.
Pre-Assembly Process
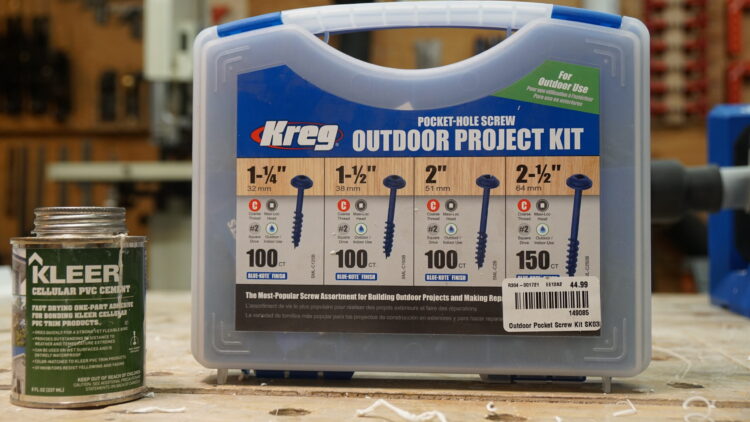
Preassembly requires eight [8] screws total. Each vertical window leg gets 2 exterior pocket screws [4 total] and PVC cement to secure the legs to the head piece. The windowsill to leg attachment will receive four longer, exterior grade screws and glue.
Note – You should always use PVC cement adhesive to secure the joints and prevent separation or visible gaps between the boards. Best practice to keep your joints tight, and boards secure is to use a combination of glue and mechanical fasteners.
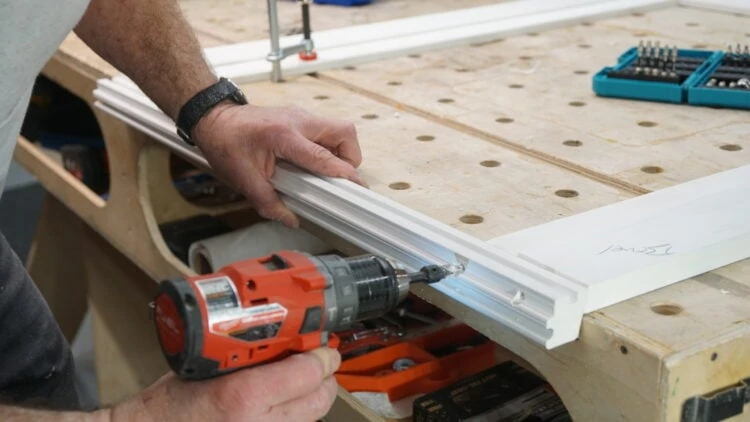
Drilling And Fastening Steps
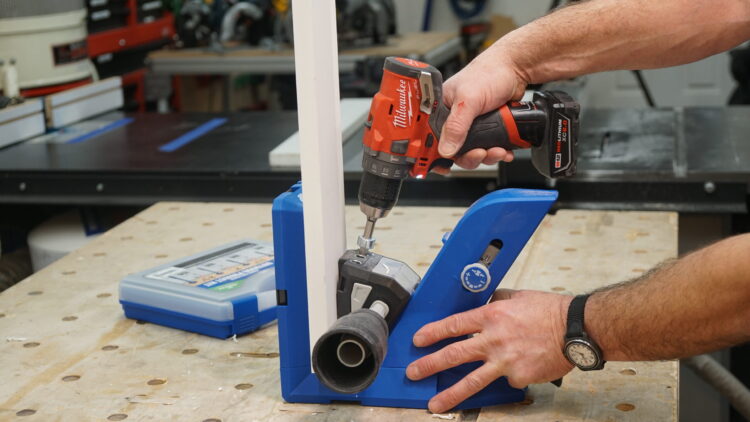
Drill two pocket holes into the tops of each window leg casing.
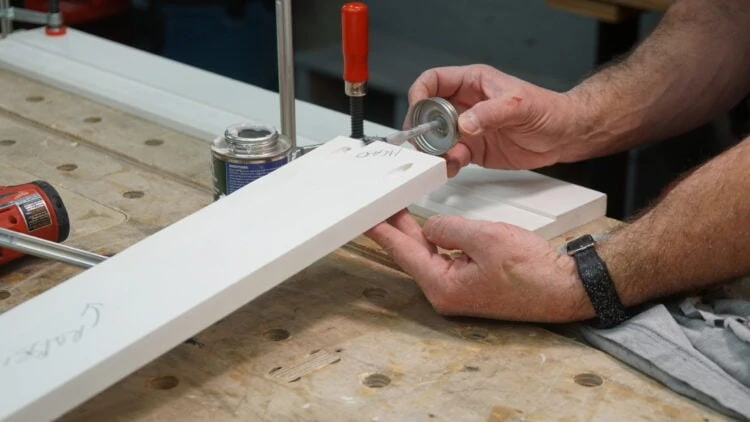
Apply PVC cement to both parts being fastened and allow glue to become tacky. The glue melts the PVC creating a permanent, new bond to each other.
Align the vertical leg to the top casing and clamp so the joint is flush. Once your pieces aligned, install the pocket hole screws. Repeat the process on the other end. The screws till hold the joint tight, without the need for clamps.
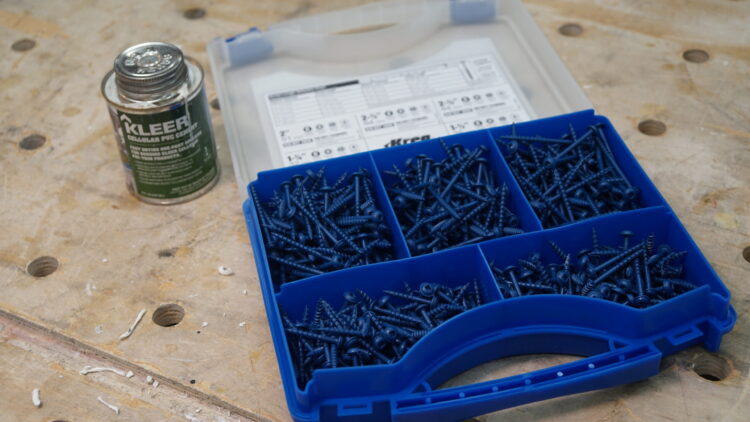
Note – Use pocket hole screws rated for exterior, they’re easy to spot as they are blue in color.
Pro Tip: if you have a pocket screw blow out because you drove it too far, leave it in place until the PVC glue has dried. Once dry, back out or remove that screw and fix it on the sanding stage.
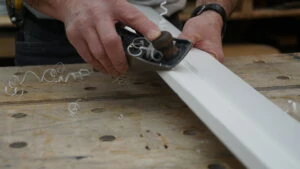
Sanding

After assembly, sand off the glue, or any unevenness at the vertical leg and head trim joint.
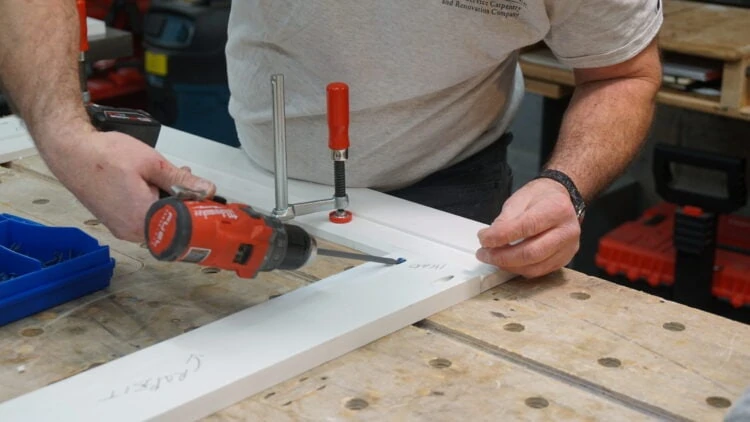
Attaching the Windowsill
With the window trim assembly backside facing up, line up the back of the windowsill with the pre-cut nailing flange channels on the vertical legs. Clamp down the leg casing and drill 2 pilot holes through the sill into the leg casing. Use exterior screws, long enough to penetrate the leg casing by an inch, preferably more.
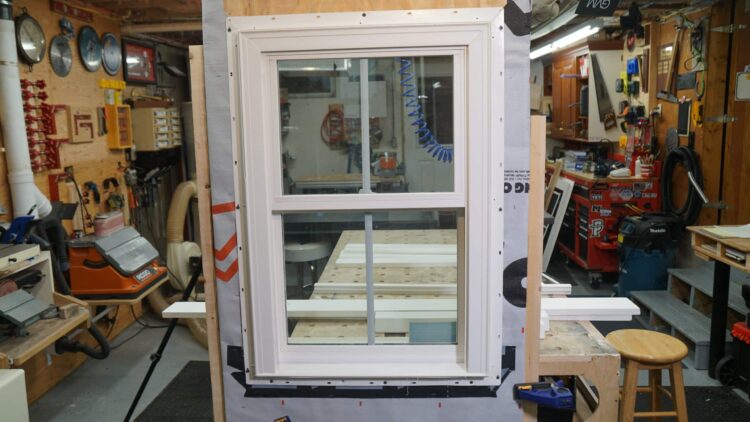
Installing The Pre-Assembled Trim
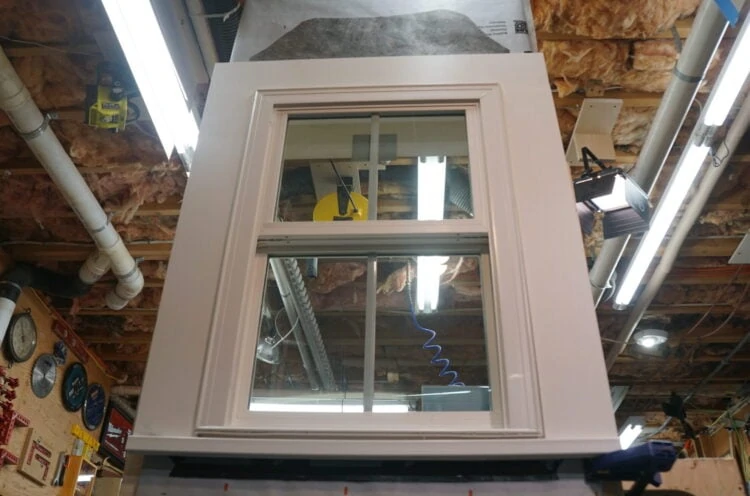
Slide the trim assembly over the window frame, evenly splitting your reveal gap. Install 2-3/4” Cortex hidden fasteners every 16-20 inches apart.

The Cortex fastener bit installs the screw and creates a perfect hole to insert a PVC plug. When fastening, take care to drive the fasteners straight / perpendicular to the trim surface, so the plugs sit flat.
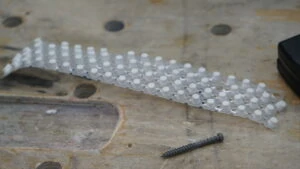
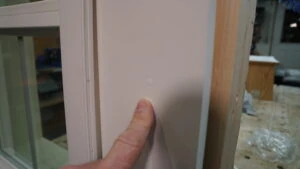
Once the fastener is installed place a tapered PVC plug into the hole and tap it flush.
The result is a faster, more efficient installation near perfect joints!
