By Monte Burch
Brighten your life with Low-Voltage and Solar powered outdoor lighting.
The fun doesn’t have to stop when the sun goes down if you spice up your yard, garden and home with low-voltage and sun-powered solar lighting products. According to the American Lighting Association more and more people are using outdoor lighting to enhance the looks of their home and property. These economical lights also provide safety by illuminating walkways, steps and decks and can discourage prowlers. Statistics show that an unlit home is three times more likely to be burglarized than a lit one.
A wide range of low-voltage and sun-powered lighting products are available and are very easy to install. They also provide cost-effective, energy-efficient outdoor lighting options. Low-voltage lights are extremely safe. Because most systems require only 12 volts of power to operate, there is no special electrical expertise required. Some systems, such as Intermatic Inc.’s standard Malibu low-voltage lighting system, can be installed in 60 minutes or less. The low-voltage transformer reduces regular household electrical current (120-volts) to a harmless 12 volts. Even if you were to touch an exposed low-voltage wire or cut a buried low-voltage cable, there would be no electrical shock.
Solar-powered lighting is even easier. For solar lights, the only requirement is to ensure the solar panel receives direct sunlight. There is no digging to bury cables and you can place them anywhere in your yard that receives sunshine. In fact, if you decide later there is a better spot for your light, all you have to do is pick it up and go.
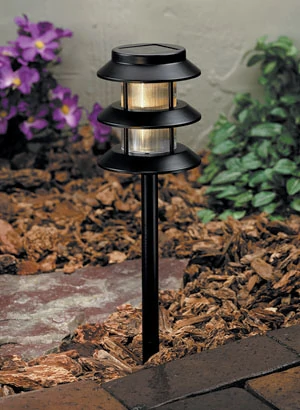
The length of time solar lights stay on is in direct proportion to the amount of sun exposure during the day. This is one of the main reasons solar-powered lights are not meant for every lighting application. Under ideal conditions, solar lights will remain on for up to 15 hours a day, providing total coverage throughout the night. They must be installed in direct sunlight for recharging to take place. During cloudy, rainy or wintery weather conditions there will be some diminished light. Overhanging trees, shrubbery and shadows are all potential limiting factors.
You will probably wish to use both solar- and transformer-powered lights. Low-voltage lights are brighter and ideal for areas that require illumination for security and safety, such as lighting walkways, accenting steps and curbing, outlining driveways, accentuating landscape, highlighting architectural features and decorating patios, decks and flower beds. Solar-powered lights are the perfect complement for remote garden pathways, accenting gardens, decks and flowerbeds, marking an entrance to a long driveway, decorating fish ponds, water fountains and swimming pools, or outlining winding walkways.
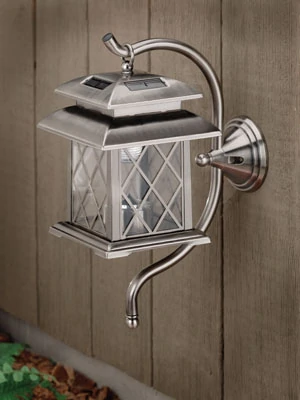
Many lights are available as complete light kits, including cable and transformer, or as individual fixtures. Basic light systems range from around $50, and you can start with a basic kit. Or you can go all out for the ultimate outdoor lighting system, which will run around $150. You can also add lights as you desire, even as you change your landscaping.

Outdoor lighting systems, such as the Malibu fixtures demonstrated in this article, have greatly improved over the years. Dozens of unique styles, finishes and designs are available. The economical Mix & Match assortment of lights offers a less expensive line of outdoor landscape lighting products.
The Canterbury Collection is a distinctive assortment of high-quality landscape fixtures, featuring halogen lighting technology, durable metal construction, lifetime limited warranty and several attractive natural metal finishes. The Malibu Metal Lights are a group of architectural-grade light fixtures in both traditional and contemporary designs. The most unusual are the New Natural Accents line of lights for outdoor lighting that blends in with the surrounding landscape.
Time to Design
In designing landscape and outdoor home lighting, it’s important to match the different light types to the situation. The first step is understanding the different types of lighting techniques and their benefits, including:
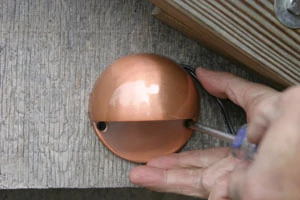
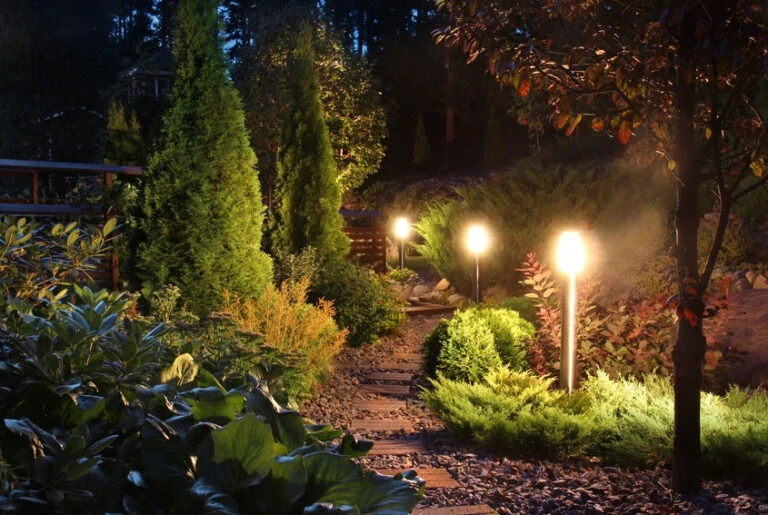
1. Downlighting — Lights are placed above an object or area and aimed downward to imitate natural light. Downlighting is often used to provide security to an area. The best places for downlighting is along walkways and steps, to outline driveways, mark garden paths and flowerbeds and accent patios and decks. Fixtures of this type may include flood or spot lights as well as in-ground fixtures.
2. Backlighting — Often used for security, backlighting is usually placed to cast a silhouette on a wall or directed onto a surface behind the object to be lighted. Backlighting highlights architectural features, behind large bushes, around doors and windows. The best places for backlighting is to accent trees and bushes, illuminate walls and fences and to light up a home’s exterior.
3. Uplighting — Lights are placed at ground level with the lights aiming upward to highlight focal points in the landscape. The light’s upward positioning allows the light source to create dramatic patterns of light and shadows. Uplighting is used to beautify specific areas and best used to create a focal point, highlight small trees and shrubs and to illuminate fountains and garden statuary.
The second step is to create a drawing of your home and lawn and garden layout with the general elements you wish to light. Include walkways, steps, driveways, patios, landscaping, gardens and decks. Assess the property by walking around the yard and deciding on a focal point and other areas that will benefit from outdoor lighting. Determine the most attractive features of your yard that you want to show off. And determine which areas need light for security and those that need light for safety.
With a sketch in hand, the third step is to determine the different types of solar and low-voltage lighting products available to suit your design. There are six different types of lighting options, and many of these fixtures are available in a complete light kit or as individual fixtures, as well as many different styles.
1. Floodlights — Floodlights direct light from the ground up, drawing attention to landscape foliage. They are often used to accent shrubbery and large trees so you can enjoy their beauty at night. Floodlights are also useful to illuminate fences and architectural surfaces.
2. Walk Lights — Walk lights are usually taller fixtures that allow light to disperse over a large area to provide more illumination to surrounding surfaces. These versatile lights are useful to light pathways, gardens and entryways.
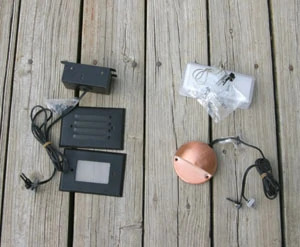
3. Surface/Deck Lights — Surface and deck lights are great to light your pool and deck area. Not only can they provide necessary directional lighting, but also enhance the beauty of your deck and pool area. You can mount them directly onto the surfaces of walls, fences, decks and gazebos.
4. Specialty Lights — These add accent to a space, especially in the evening. They set a particular mood or create atmosphere.
5. Tier Lights — These lights make your ground look luxurious and inviting, utilizing tiers and shades to direct light downward and minimize glare. They are ideal for lighting steps and walks.
6. Low-Profile Lights— If you want the lighting to blend in with your garden or illuminate closer to the ground, consider low-profile lights.
Power Supply
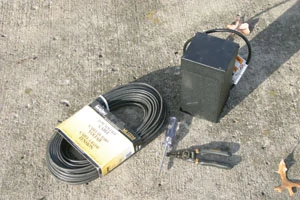
Unless you’re using a complete kit, the next step is to determine the size of the power pack needed for the lights you intend to use. Power packs range from 44- to 900-watt capacity. To determine the correct size power pack, add the total bulb wattage of all the lights you plan to operate in your system and match the total bulb wattage to the power pack. It is important that the total bulb wattage not exceed the power pack’s wattage output capacity. Once you have chosen the correct power pack, you’re ready to install your new lights.

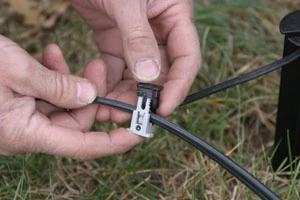
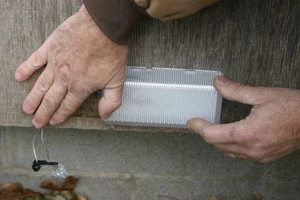
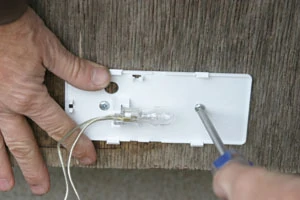
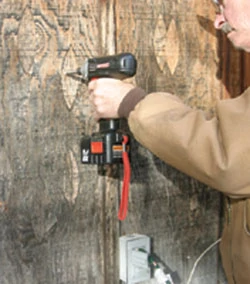
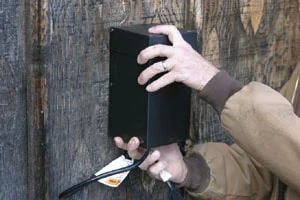
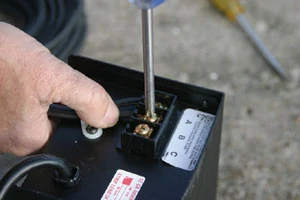
Installation is extremely simple. The power pack must be installed outdoors and connected to a properly wired GFI circuit. The low-voltage cable is attached to the power pack, the power pack is hung on screws, and the cable is run for the lights. Simply lay the cable on the ground and locate the position of the lights. Attach the lights to the cable by snapping the two light-wire snaps together, and press the light stakes in the ground to hold them securely. Then use a shovel to lightly bury the cable as desired. Plug in the transformer, set the timer, and come nighttime, you have a beautiful, lighted landscape.
