

By Larry Walton
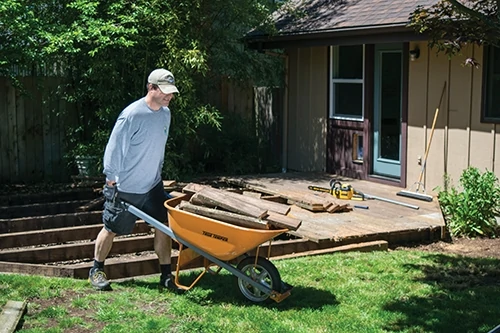
I had been keeping this deck alive for several years with an occasional replacement board, some sanding, a little deck stain. I even trimmed the ends of a section of the cantilevered deck boards. But now the time had arrived to build a new deck.
I started pulling off deck boards hoping to find a solid structure underneath. Several observations had raised these hopes. During earlier repairs I had noted that the deck framing was pressure-treated 4×6, that old fasteners were holding well and that new fasteners were going into solid wood.
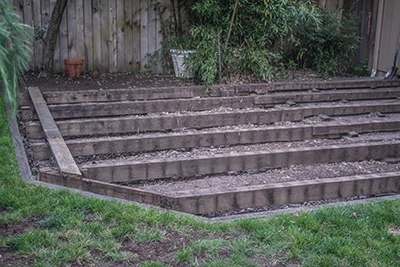
We were thinking about making changes to the deck size and shape, but the retaining timbers at the lawn-to-deck transition were well established and would not be easy to change. Additionally, the location of irrigation components (lines and sprinkler heads) would have to be moved with a change to the deck layout. Once I confirmed that the existing deck framing was in great shape, the decision to keep the deck at the same size and shape was easy.
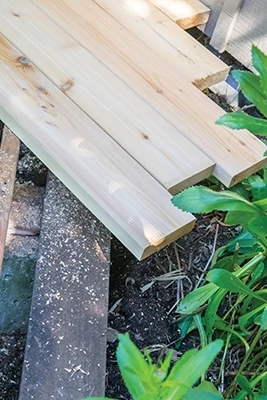
I ordered the tight-knot cedar 2×6 from the local lumber yard, which delivered the boards right to my driveway. I went with cedar because of the beam spacing, the cost and because the fencing near the deck was also cedar.
Replacing deck boards on a solid frame is a relatively easy project, but you still need to plan ahead. Because the deck boards are cantilevered beyond the joists, noting where the original edges were is important if you want to get back to the same deck dimensions. In our case, we marked the original deck board ends by stretching a string line over the ends and driving stakes so we could get the string on the same line when the new deck boards were installed.
Here’s how we replaced our deck boards over the existing beams.

Cedar is very resilient, but eventually it will deteriorate with exposure to the elements. Water damage was the worst at the ends of the boards, but almost non-existent under the eaves of the house where they are protected from water.
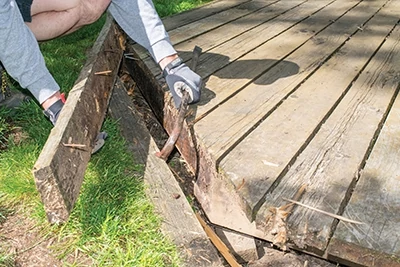
We started the demolition by removing the edge boards.
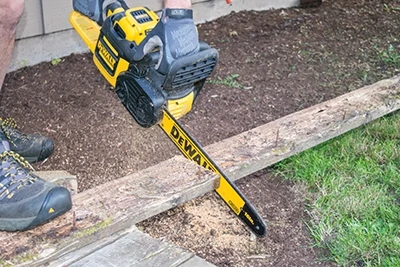
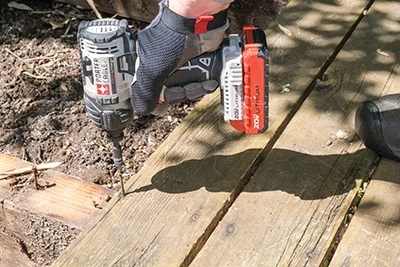
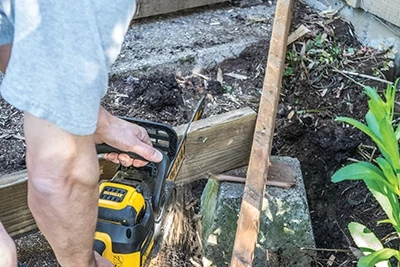
Dewalt’s 40-volt battery powered chainsaw worked great for cutting the deck boards into pickup-box lengths. There are no cords to get tangled as with electric chain saws and no gas or startup concerns as with conventional saws.
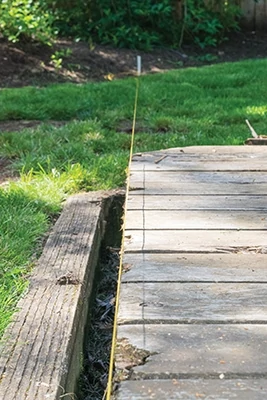
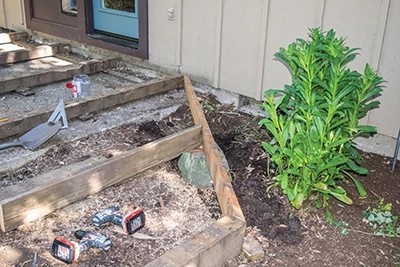
We stretched and staked a layout string in line with the existing deck board ends so we could establish our cut line on the new deck.
Although the deck boards were mostly nailed down, some of it was screwed down where I had done some repairs over the years. It was worth the effort to remove screws before pulling the old deck boards.
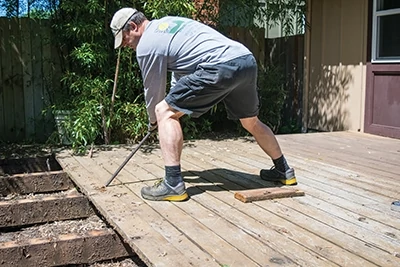
The primary technique I used for removing the boards was jamming a crow bar between deck boards and prying up. Any number of pry bars or demolition bars would work just as well.
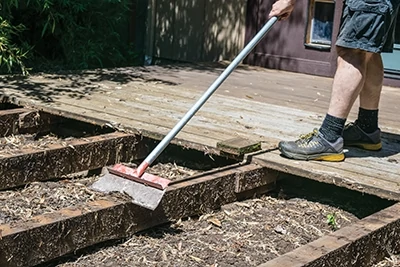
I was anxious to check the condition of the beams that served as the sub-frame so I scraped off the top edges with a floor scraper both to test their condition and to prepare them for the new deck boards.
I used the chainsaw to cut several boards to length at once while they were still nailed in place. You have to be very careful doing this that you are not getting into nails or whatever is underneath the deck.
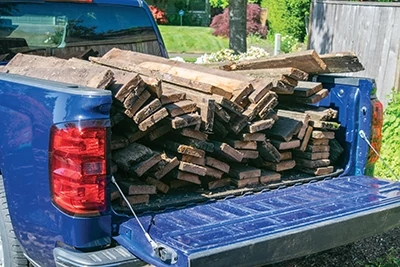
Cutting the deck boards to the length of my truck bed allowed me to load them and still get the tailgate closed.
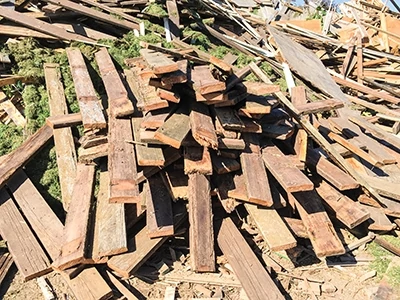
I hauled the old deck boards to the local wood recycle center where they were ground into wood chips and reused.
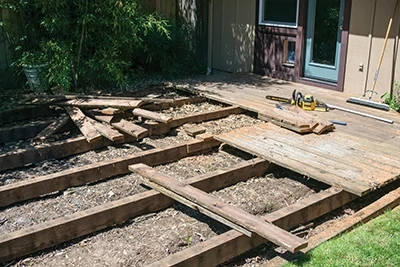
The pressure-treated beams under the old deck were in great shape. I scraped off debris and removed nails remaining in the top surface. Note the one old deck board I left at the end away from the house to help keep the beams in position.
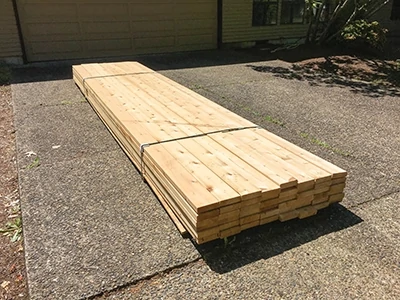
Once I saw that the framing was good to go, I ordered enough cedar 2×6 from the local lumber yard to cover the deck and make the edge trim around it. The lumber yard delivered the 16-ft. boards right to my driveway at no extra cost.
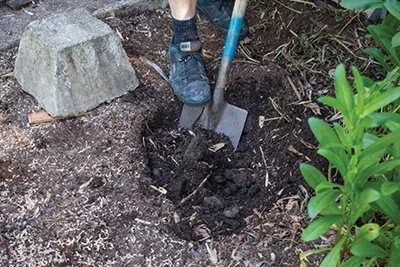
I added a small triangle area to the deck where there had been a square notch. I started by digging down to solid ground to set a pyramid block.
After setting the rim joist over the pyramid block, I cut an angle on the intersecting joist by keeping the chainsaw bar parallel to the new rim joist.
Here is the framing for the added area. Note how we supported the new joist with a concrete block and extended the existing beam with a 2×6 to intersect the joist on the pyramid block.
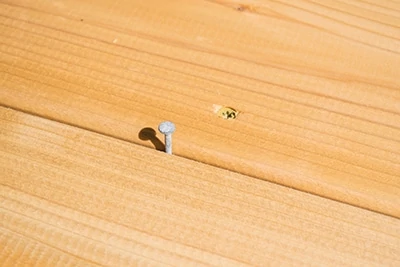
When we started laying out the new deck boards, we used 7d nails as spacers between the boards, which allowed for shrinking because they were quite “green” (aka wet). If the boards were dry, we would have used 16d nails as spacers.
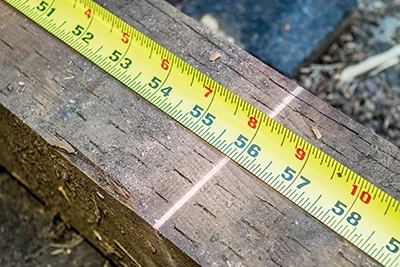
I snapped a few lines parallel to the house across the beams so I could periodically check to see if the deck boards were still running in line with the house. Often it is easier to measure to these lines on the beams than to measure back across the new decking.
I place a reference board on the ground to make sure my cantilevers were out far enough to be trimmed back on the angled portion of the deck.
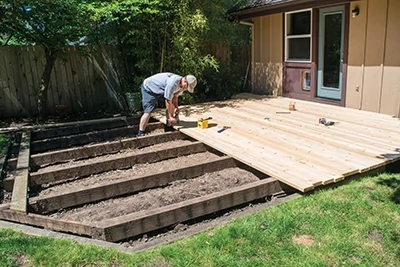
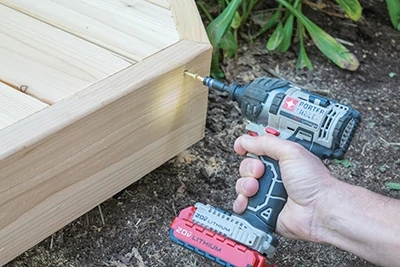
I sighted down the boards and turned them so the crown was toward the house. This made it easy to start at one end of a deck board and work the crown out from the concave side of the board while tacking it with a deck screw on every other beam.
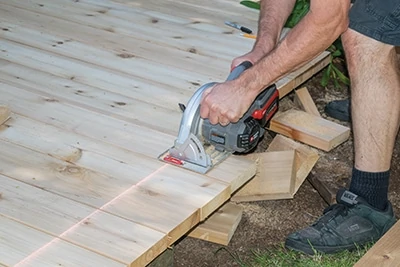
With the deck boards cantilevered past the outside beams, I snapped a chalk line and trimmed off the ends.
I added deck boards as a trim boarder around the outside of the deck. I put at least one screw through the trim board into each deck board.
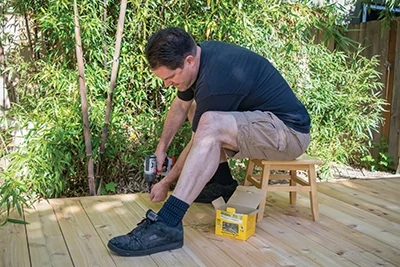
After all of the deck boards were positioned and tacked down, I went back over the entire deck and screwed down the decking with two screws at each joist.
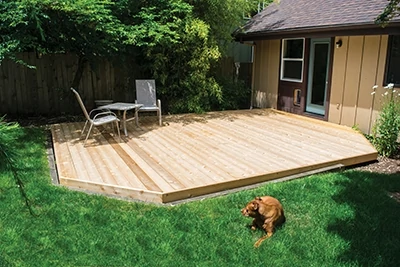
The finished deck looks just like the original when it was new. Thanks to well preserved, pressure-treated beams underneath, this new deck was relatively inexpensive and fast to replace. In a few months the color will match the silver of the cedar fencing near the deck.
