

By Matt Weber
Late one night during a flash flood, the rear basement wall of our house sprung a leak. A steady stream had spouted straight out the face of a cinderblock where it pooled onto the concrete floor, and that pool was growing fast. A crash of thunder woke me up, so I managed to catch the leak before disaster struck, but it took all night to bail out the water.
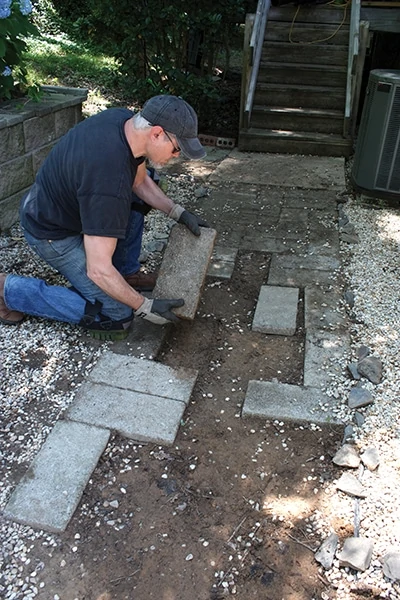
The below-grade basement wall backed against the downhill slope of the yard, at the bottom of which was a small paver patio with poor drainage that collected the runoff. Compounding the problem were clogged gutters that caused roof water to cascade off the edge, adding gallons to the pond forming at the back of house. The accumulated water that seeped into the ground caused so much hydrostatic pressure it forced a leak through a weak spot in the foundation wall. So, at three in the morning during a thunderstorm, I’m the madman in the backyard ripping pavers out of the patio and shoveling out a makeshift trench to drain water to the side of the house. Next, I’m on a ladder in the rain tearing handfuls of leaves out of the gutter to redirect the waterfall. Meanwhile, my wife Shanna is downstairs battling the water using towels, buckets, mops, push-brooms and a wet/dry vac.
The next morning, I patched the hole with hydraulic cement but knew a permanent drainage solution had to be installed from the outside the house.
In the weeks of rainy weather after the flood, I kept the entire problem area covered with a huge tarp directing water into the trench I’d carved leading to the driveway. Once the weather finally cleared, it was time to install a foundation drain.
Devise a Plan
The goal of a drain is always to move water from one place to another, and a traditional French drain incorporates an underground perforated pipe to provide an easy escape for landscape runoff. My plan was to apply the principles of a French drain beneath the backyard patio at my house, while incorporating some redundant features to ensure as little rainwater as possible could get past the drain system and contact the foundation walls.
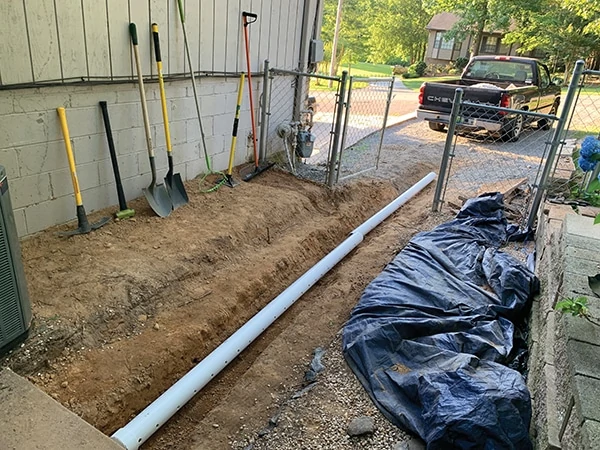
Having observed that the tarp covering the backyard had prevented further leaks during some particularly nasty downpours, I reasoned that if I were to “waterproof” the same area using a permanent drain system, then I’d have addressed the issue. This problem area began at the end
of a concrete stair landing and extended past the end of the house to a driveway covered with crushed rock. My idea was to seal the end of the buried pipe at the concrete landing and divert water by sloping the open end toward the driveway, where the pipe will “daylight” a few feet past the corner of the house and bleed the runoff downhill toward the street.
When researching French drain installation, I was surprised to find so much conflicting advice. For example, some installers suggest you cover the pipe with a drain sock to prevent silt from clogging the pipe’s holes. Other installers say it’s crazy to cover the pipe with a sock, because silt will clog the sock fabric and prevent water from passing into the pipe.
After considering all the information, I came up with the system you see in this article which borrows what I considered the best ideas from several sources. For you “French drain purists” out there, note that I’m not dubbing this project a traditional French drain, so you can keep your Twitters holstered. This is an “exterior foundation drain” installed to prevent any water whatsoever from getting to my basement.
During the planning phase, you should call 811, the national “Call Before You Dig” number. It’s designated by the FCC to protect homeowners from the injuries, expenses and penalties caused by digging into underground utilities. This is a free service but it might take couple of days for the service-person to get to your house, so get your name on the list.
Tool list
- Wheelbarrow
- Garden hoe
- Shovel (square- and round-point)
- Mattock
- Hand Tamper
- Drill with spade bit
- Utility Knife
Logistics
If you’re working as a one-man crew, this project will take a few days and a lot of manual labor. Be sure to eat your Wheaties. Keep an eye on the weather and block out a few clear days—this is no job to do in the rain.
Realize that digging the drain trench involves displacing a lot of dirt, and since you’ll be replacing all that mass with gravel and pipe, you’ll have to figure where to put all the dirt. Plan this in advance. I filled several low spots on my property and “bermed up” a few tree trunks. You’ll need a wheelbarrow to transport the dirt around the site.

You might even need a pickup truck. I did. Depending on the scope of the job, a drain project could require a great amount of gravel. I used about 2-1/2 cubic yards of drainage rock on this one (although a lot of that gravel was used to support the patio pavers on top of the drain). If you don’t have a pickup truck, you’ll need to arrange for delivery of materials. It’s always smart to have the rock delivered directly to the worksite when you’re ready to fill the trench, so arrange easy access for the supplier.
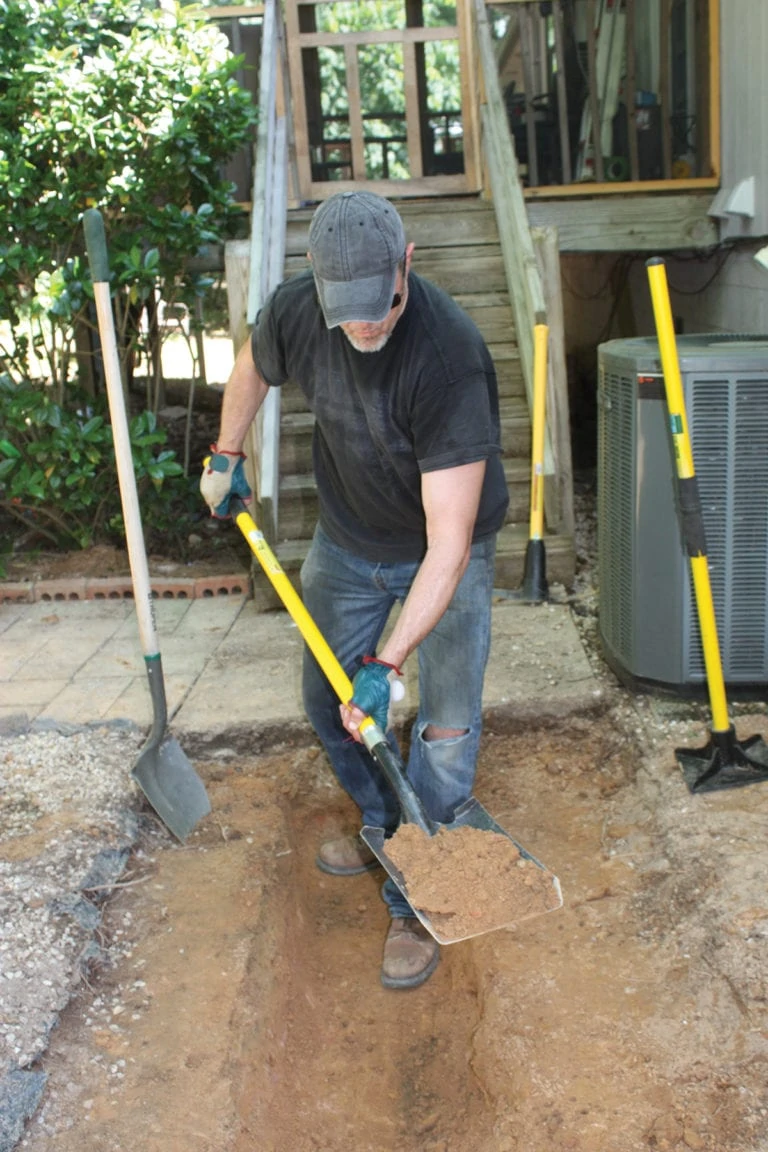
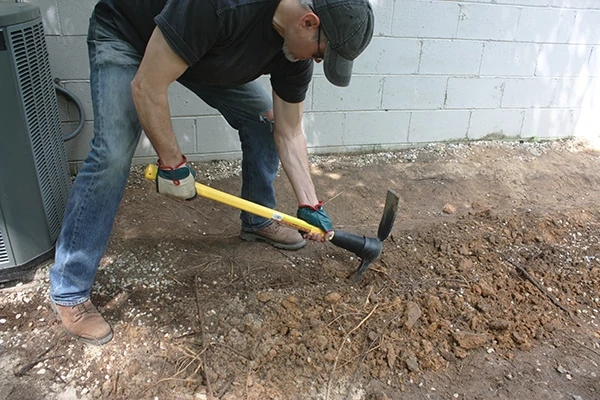
Excavation
On this project, I intended to reinstall the patio pavers on top of the drain. When calculating the depth of the trench, you will need to account for the depth of gravel beneath the pipe (3 to 4 inches), the 4-in. pipe, the gravel bed that covers the pipe (at least 6 inches), plus the thickness of any pavers or other materials that will cover the gravel. Generally speaking, the trench should be at least 18 inches deep.

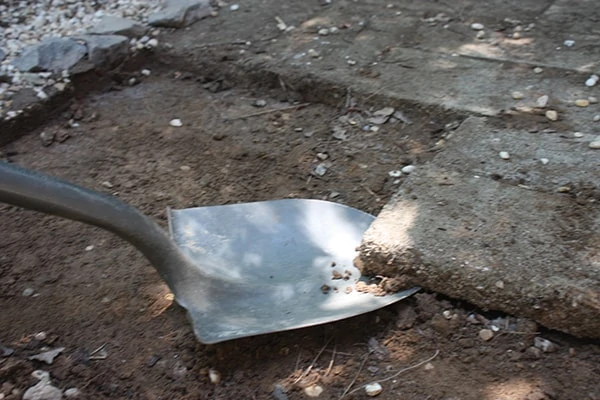
I recommend breaking ground with a mattock, then digging out the loose dirt with a round-nose shovel. Save the flat-nose spade for scraping the bottom of the trench and shoveling gravel. Renting a powered trencher might speed up this project, but I was working near utility lines and decided to proceed carefully and dig it by hand.
Note that this project required a lot of extra digging because of the patio on top, which may not be the case in other situations.
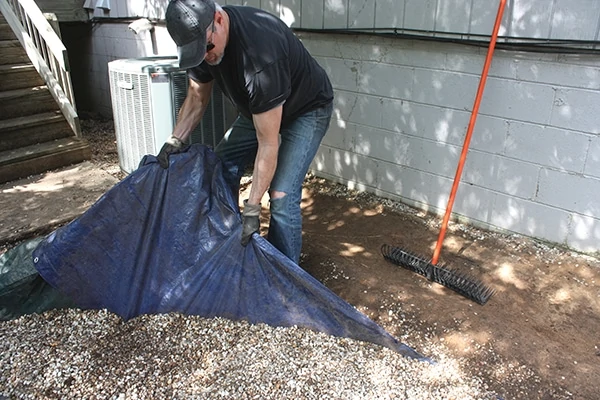
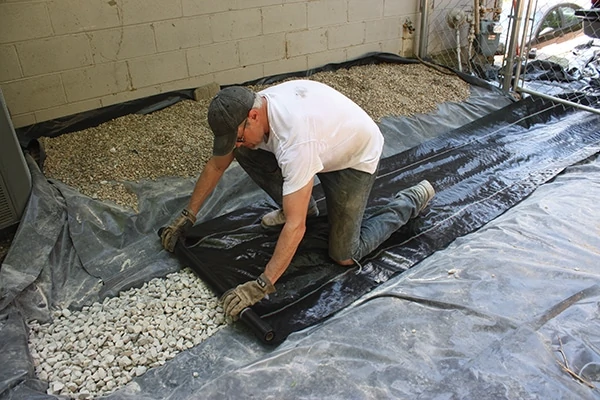
Sheeting
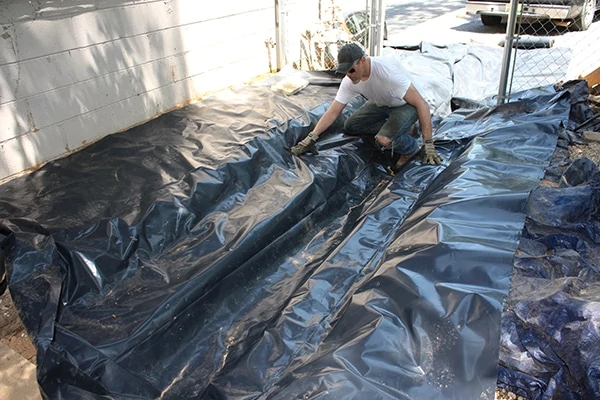
I lined the bottom of the trench with super-duty 6-mils plastic sheeting. Furthermore, I lined the two dirt banks shoring up the trench with the heavy plastic, with one of the sheets lapping up a few inches along the foundation wall. The two flanking sheets were layered over the bottom sheet, forming a three-ply underlayment along the center of the drain. The sheeting is easy to cut to size with a sharp utility knife.
Pipe
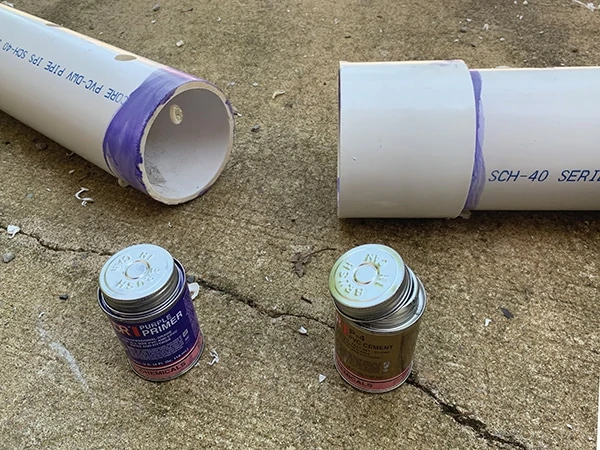
Although perforated black plastic pipe is available at home centers, I chose a 4-in. white PVC pipe for its additional strength. Black pipe also has small holes, whereas I drilled three 3/4-in. holes every six inches along the PVC drainpipe, which I reasoned would be less likely to clog with silt. Note: a high-torque drill comes in handy to power the spade bit.
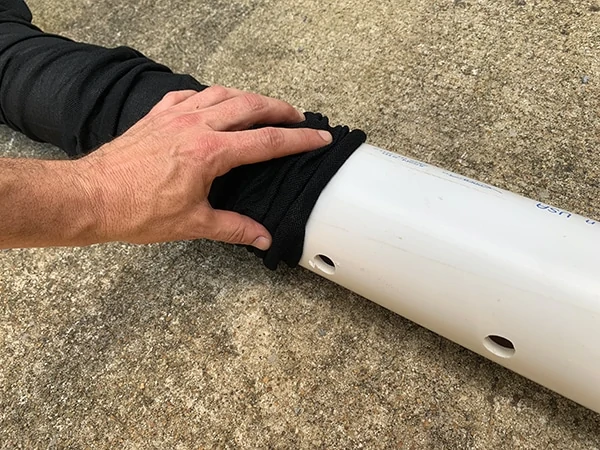
I joined two lengths of PVC pipe to form an 18-ft. drain that extended from the stair landing all the way past the edge of the foundation wall. The pipe can be joined using PVC primer and PVC cement. After applying an end cap to the “starter” end of the drainpipe, I covered the pipe with a fabric pipe sock.
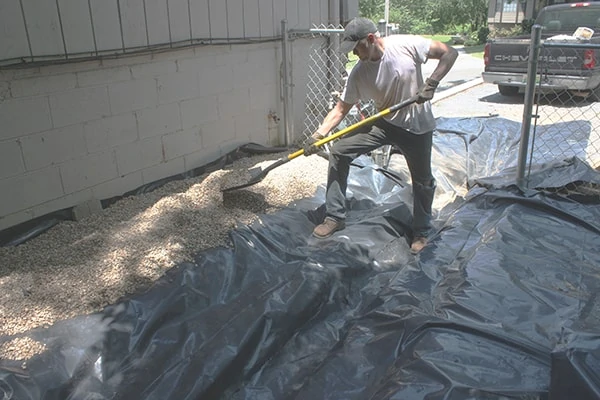
Gravel
I used a garden hose to rinse the fine particles off the drainage rock (gravel roughly an inch in size), so it wouldn’t gum up the pipe sock.
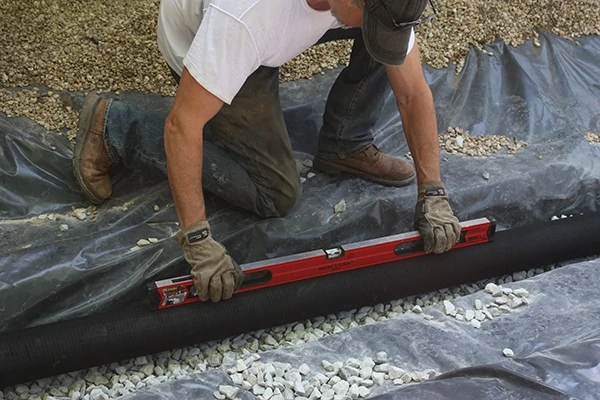
I shoveled a 4-in. bed of gravel into the bottom of the trench, then compacted it down to 3 inches with a hand tamper. The gravel bed can be used to create a slight pitch toward the daylight end of the drain (1 inch per 10 feet of grade).
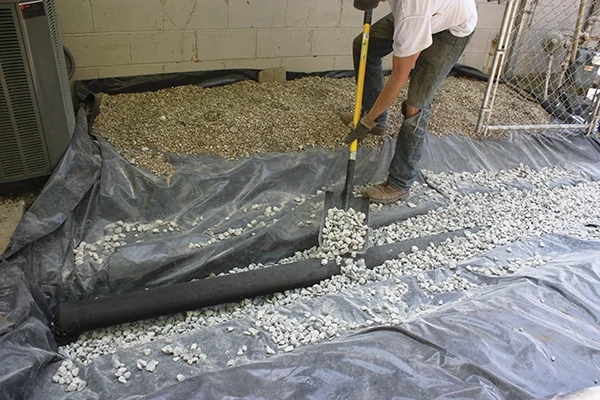
The pipe should be placed over the gravel with its holes oriented downward, so water accumulating in the trench can rise into the pipe and flow away easily. I buried the pipe in another 4 inches of more gravel. The gravel trench should be at least 24 inches wide. (My drain trench was recessed below a wider 40-in. bed I dug in preparation for the 36-in. paver walkway.)
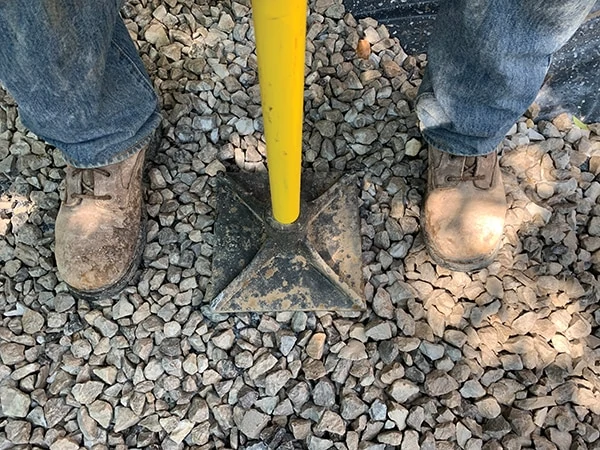
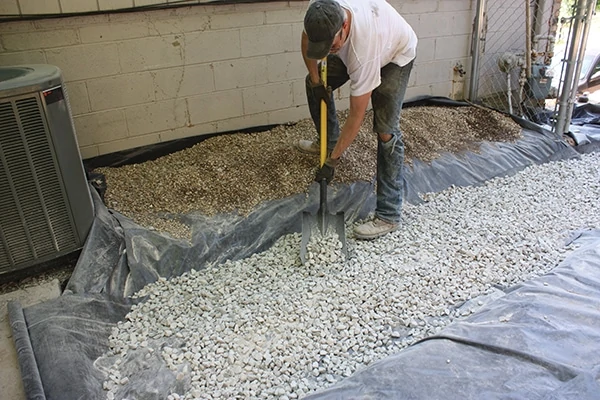
Compaction is critical to the success of any hardscape work, so be sure to tamp the gravel every time you add 3 or 4 inches to the bed.

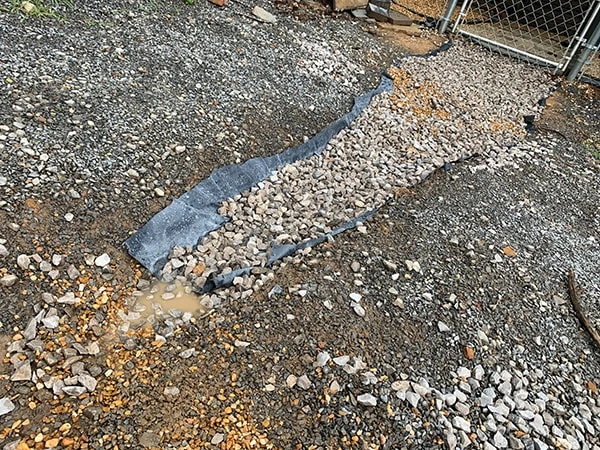
With the pipe buried, I covered the gravel trench with a layer of silt screen to prevent fine particulate matter from gunking up the pipe sock. I then covered the silt screen with more drainage rock.
I left the open “daylight” end of the drainpipe uncovered temporarily so I could observe its performance during the next rainstorm. I did, however, block it off with some heavy fist-sized rocks, to keep critters out of the pipe and to ensure easy passage of water without worry of particulate matter clogging the exit.
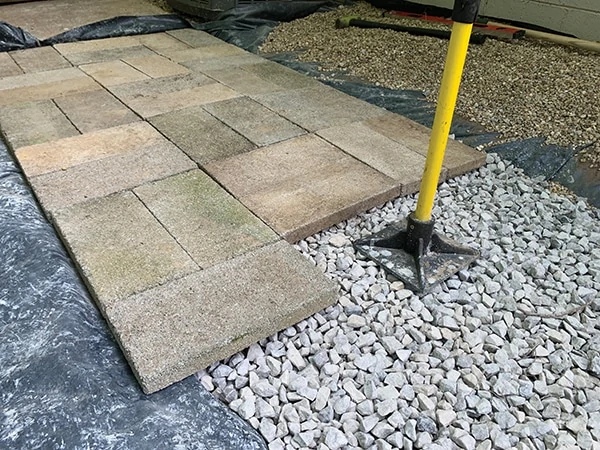
Once the trench was completely filled, I tamped the surface level and topped it with the old concrete pavers to retain a permeable surface. Some drains use an inlet grate at the point where the water pools the most. My idea was to omit the usual crushed rock and sand bed from beneath the pavers and essentially let the entire walkway serve as an inlet grate. Doing this makes is difficult to install the pavers completely level, but I was more concerned with the functionality of the drain.

I’m proud to report the drain works perfectly! The house has seen heavy downpours since I completed this project, and the underground pipe now moves water away from the foundation and allows it to seep out of the gravel driveway, where gravity draws it toward a roadside city drain. And the basement? Nice and dry.
