Snap-Together Garage Floor Tile is Quick, Easy and Cool
By Matt Weber
It’s simple to install an interlocking floor tile system for a sweet garage floor, workshop, basement, patio and more. These highly durable floor systems, such as the Swisstrax brand pictured here, provide a highly non-slip and extremely attractive garage flooring that will look great for years to come. These systems add some much needed décor to a lifeless concrete slab floor, provide safe traction and are easy to clean. Interlocking garage floor is available in a wide array of colors and textures from suppliers such as JNK products. The style shown here is the Swisstrax Diamondtrax pattern in a checkerboard layout with alternating gray and silver tiles.
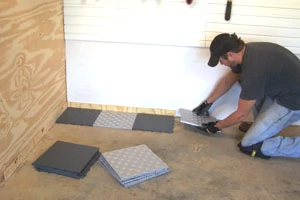
These heavy-duty polypropylene tiles each have five interlocking tabs where the edges join the other tiles. The floor system is quick to install and creates an attractive, non-slip, solid surface with a 12-year warranty—and it’s guaranteed not to stain.
To install the garage floor, clear away all obstructions and sweep the floor thoroughly. Use 1/4-inch spacing boards at the perimeter of the walls and obstacles such as beams to allow for expansion. After the tiles have been conditioned to room temperature, start in a corner and place the “smooth” edges toward the wall. Place the next tile against the locking edge, interlocking the pegs under the second tile with the loops on the edge of the first. Continue working in one direction until the first row is complete.
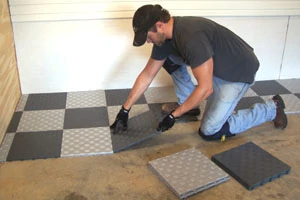
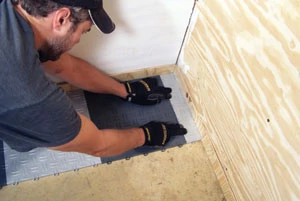
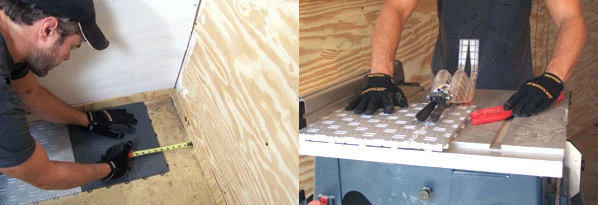
If you only have room for a partial tile at the end of the first row, you may opt to center that row along the wall, and cut two matching partial tiles to bookend the row for a more symmetrical appearance. Cuts can be made with a standard circular saw, jigsaw or table saw. Then complete two more rows so you have the first three installed with enough weight and traction to hold the layout in place.
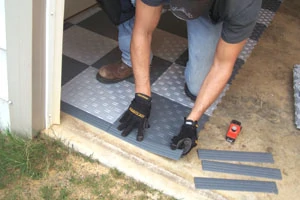
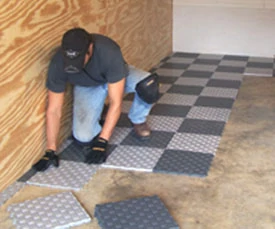
Next, install the next three rows along the wall adjacent to the first three, working toward the door of the garage. Install the interlocking beveled edging along the end of three rows, making sure the garage door can close clear of the edging and tile. Then continue working throughout the floor, completing the field by snapping it in place tile by tile. The interlocking edges keep everything square and uniform for a great-looking finished project.


