By Monte Burch
Add comfort and beauty to your deck with lighting, fans and electric outlets.
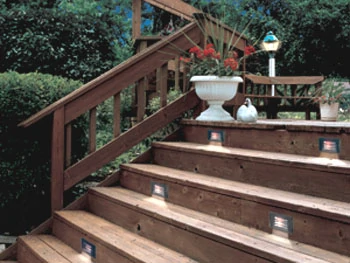
A deck is one of the popular features on the homeowner project list. Adding lighting to your deck not only creates ambience, but adds to the décor and its usefulness. Deck lighting also provides more safety and security to your home. Installing electrical outlets adds to the ease of use of the deck. If the deck is covered with a canopy or sunroof, adding an outdoor fan increases comfort during the hot months. The deck and cover shown added all three, and installation is a fairly easy, do-it-yourself job. The lights shown are both low-voltage 12-volt and solar powered.
See the Light
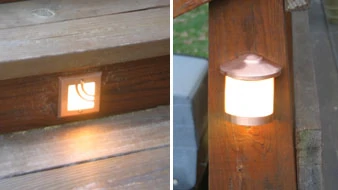
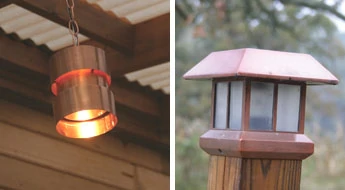
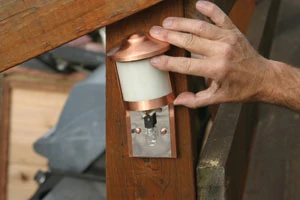
A wide variety of deck lights are available, including insert lights for steps, railing lights, post top lights, overhead deck lights and ground-based stake lights that can be used next to a low deck. Step lights make it much safer to negotiate steps at night, while railing lights can add to nighttime usefulness and visibility. Simple deck lights can be placed just about anywhere to add a downward light where needed. On the deck shown, the down lights are added to the sunroof posts on the underside of the sunroof. Post-top lights can also add to the ambience.
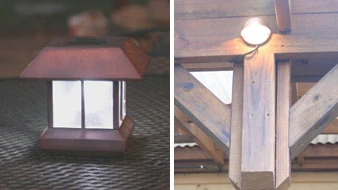
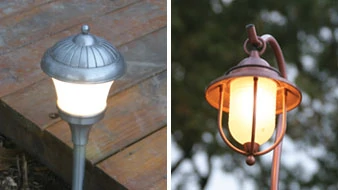
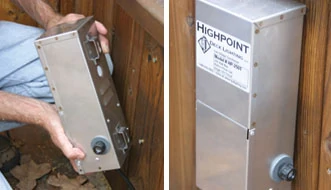
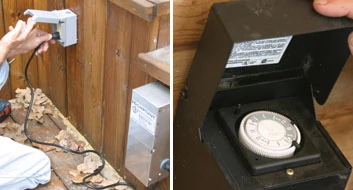
The most common deck lighting is the low-voltage type that utilizes a transformer to convert a 120-volt electrical supply into 12 volts, which is safe for exterior conditions. The transformers feature either a timer or a photocell to turn on the lights when night falls, and turn them off when daylight comes. The photocell is the easiest to use. The timer must be adjusted as the seasons and daylight times change. Photocell timers are, however, more expensive. Low-voltage lights may feature LED or incandescent bulbs.
“We’ve found the incandescent bulbs to be more popular,” says John Davis, owner of Highpoint Deck Lighting. Highpoint not only sells, but also installs deck lighting. “In fact, we had to completely remove all the LED lights we had installed on a huge new deck, and replace them with incandescent bulbs,” adds Davis. “The LED lights are bluer and lack the golden glow of incandescent bulbs.”
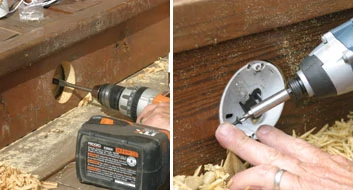
Deck lights may be constructed of plastic or metal. However, high-quality products, such as those from Highpoint Deck Lighting, are made of thick gauge, non-rusting, corrosion-resistant, solid brass, copper, stainless steel or powder-coated aluminum. They are then finished with a premium earthscape acid-washed treatment or a durable powder-coated finish and have a limited lifetime warranty.
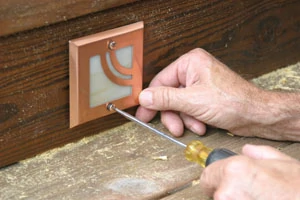
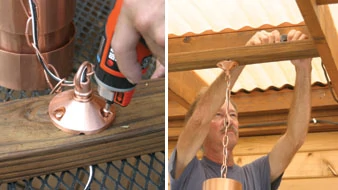
Highpoint offers several styles, each with a soft-warm glass and subtle decorative overlays. The fixtures create just the right amount of gentle light to safely and comfortably illuminate your deck. They are engineered with slide-on face plates for easier, quicker installation and tool-free access to the light bulb, making maintenance quick and easy. When shopping for deck lights, the better quality lights from manufacturers like Highpoint and Malibu use real glass for their diffusers rather than plastic. Plastic deteriorates over time from the heat of the bulb.
Plugging In
The first step is to make a rough sketch of your deck and determine the types and locations of desired lights. The fixtures should run in sequence with the total wattage of the run not exceeding the transformer’s circuit capabilities. Total wattage is determined by multiplying the number of lights by the wattage of the bulbs. Do not exceed the transformer’s allowable circuit wattage.
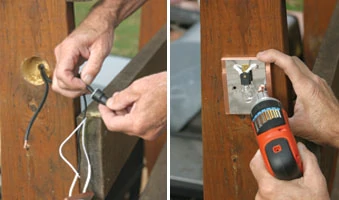
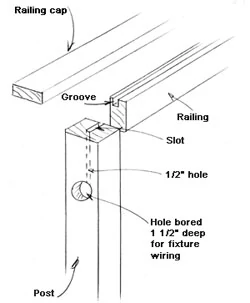
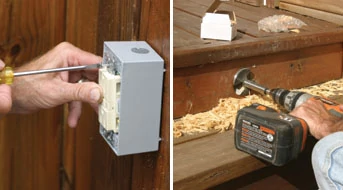
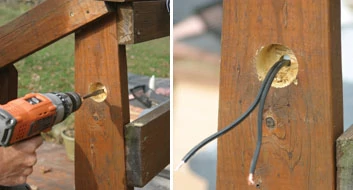
Also, determine the location of the transformer. Timer transformers can be installed almost anywhere, but close to the first light is best. Photocell transformers must be installed with exposure to direct sunlight. Transformers must also be located with access to a 120-volt outlet. The outlet must be GFCI protected, and in an outdoor, weatherproof outlet box or cover. The power pack or transformer must be located at least one foot off the ground and at least 10 feet from any pool or spa. If you need to install an outlet, this is also a good time to install additional outlets for use with grill rotisseries and as an electrical supply for other outdoor uses.
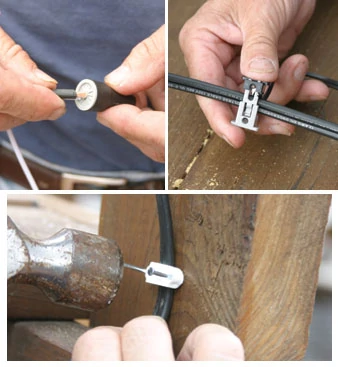
Using the installation instructions provided by the manufacturer, install the transformer. Then install the secondary or low-voltage wire as per the instructions. The secondary wire must be UV resistant and UL listed 12-2 or thicker low-voltage wire. Do not exceed 100 foot per run or 250 watts per run/circuit. Use 10-2 or 8-2 wire for runs exceeding 100 feet or for those with over 250 watts. Make sure the main secondary wire is long enough to reach the first fixture. Never bury wire more than 6 inches below grade or install a transformer or light fixture within 10 feet of any source of water. Make sure all secondary wires are secured in place with insulated cable tacks.
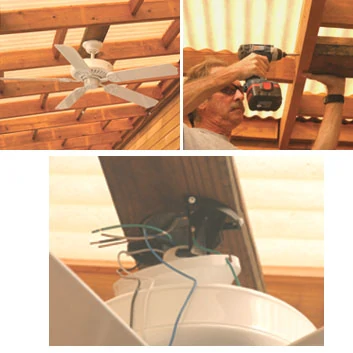
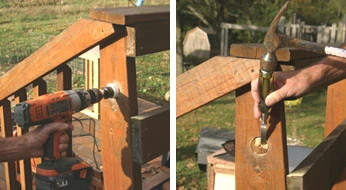
The different types of fixtures require different mounting and installation methods. Make sure you follow the manufacturer’s instructions for each type. With the fixtures installed, run the secondary wire and attach the fixtures to the secondary wire. Some fixtures utilize a clamp-on connection; others require special silicone wire-nuts made for connecting fixture and secondary wires in exposed areas.
Once you have installed and connected all fixtures, attach the secondary wire to the transformer, plug in the transformer to the outlet and turn on the circuit. If using a timer activated transformer, set the timer according to the manufacturer’s instructions. When evening falls, make plans to enjoy your deck in a totally new way.


