

How to Install Corrugated Roofing
By Matt Weber
Corrugated roofing panels are made of metal, fiberglass or polycarbonate and typically install over a system of purlins. They’re popular for workshops, sheds, boathouses and other outbuildings due to their long-lasting durability and easy installation. The panels come in standard widths and lengths and are fastened using screws with flexible washers.
Material Advantage
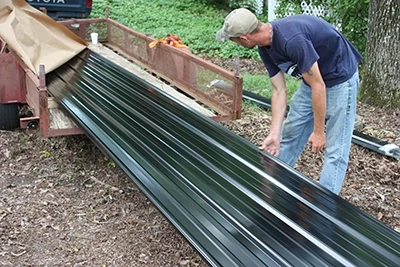
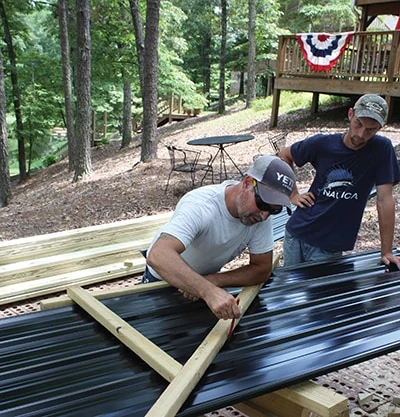
The EHT staff chose the metal version of the panels in basic black to roof a boathouse last summer. Depending on the roofing product, a metal roof can last 40 years or more. Metal roofing easily sheds snow and ice and doesn’t absorb water. It won’t rot, split or crack, and can’t be damaged by termites and pests. And, unlike any other type of roofing, the color of pre-painted metal roofing can be changed to match new exterior color schemes. In fact, repainting will lengthen the overall life of the roof while eliminating the cost of replacement.
The light weight of a corrugated metal panel is another advantage. Compared to asphalt shingles that weigh an average of 2.5 lbs. per square foot, metal roofing panels only weigh .7 to 1.3 pounds per square foot, which allows the panels to be installed over existing roofing materials. This saves costly disposal and removal charges, and makes the panels easier to lift and install. (Ultimately, local building codes and the condition of your roof’s substructure will determine if you can install metal panels over your existing roof.)
Metal roofing can reflect as much as 70 percent of the sun’s radiant energy. This minimizes heat retention so less heat is transferred into the building.
Plus, metal roofing is the preferred roofing choice in hail-prone areas. Hail causes conventional roofing materials to break and split. Hail will not penetrate a metal roof.
Safety
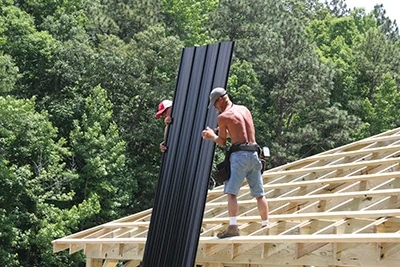
In general, fall-restraint harnesses and safety lines should be used by anyone working on roof. It’s also smart to wear goggles when cutting, and gloves when installing or handling the sheets to prevent cuts from the metal. Wear flexible rubber shoes that grip the metal when stepping on it. Never install metal roofing in the rain, because the slick, wet surface of the panels can virtually guarantee you’ll slip and fall. And never work with metal panels in high winds, because the wind can carry an unfastened panel airborne, in which case it becomes a large flying blade and very dangerous.
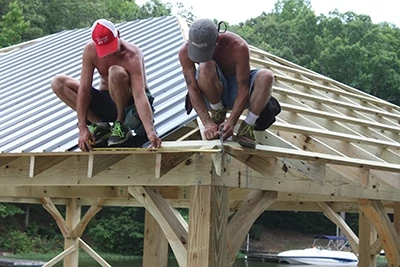
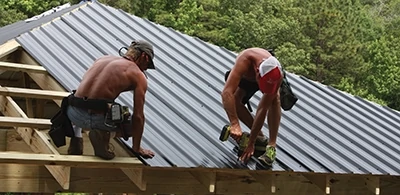
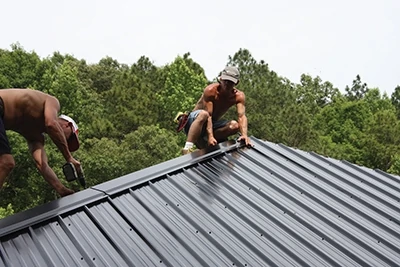
The installers in this article did not wear the appropriate safety harness, assuming that if they fell they’d simply splash into the water. Do not follow their lead!
If you fall off a roof and land on the ground, you could break your neck. Always wear the appropriate safety gear.
Storage
If the bundles of metal panels are stored outdoors on the ground, use plastic sheeting beneath the bundle to minimize condensation of water from the ground onto the panels. The bundles must be raised off the plastic to avoid contact with water puddles and allow air to circulate around the bundles to dry condensed water. Store the panels at an angle to promote drainage off the bundle. Protect the stored panels with a loose -fitting tarp to protect from rain or snow but also allow air circulation.
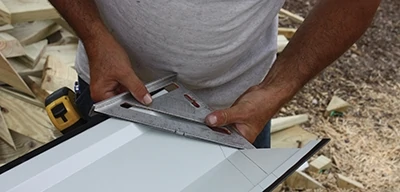
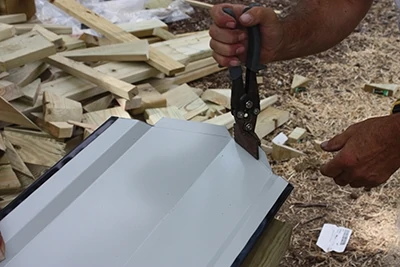
Cutting
Tin snips, powered shears or an electric nibbler tool are recommended to cut the panels. Cutting the steel generates slivers and metal chips that should be removed to avoid scratching the painted finish.
For cutting miscellaneous panels, trim and flashing, compound snips are required. You’ll find it useful to have three pair, for left edge, right edge and centerline cuts.
Fastening
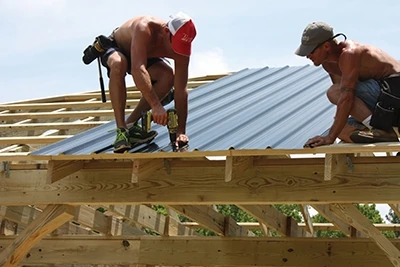
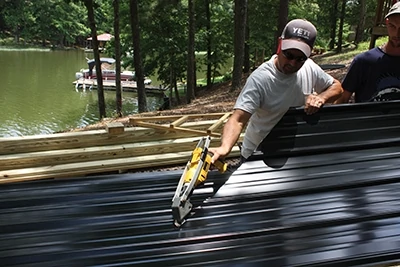
A variable-speed cordless drill/driver is all you need to drive the screws.
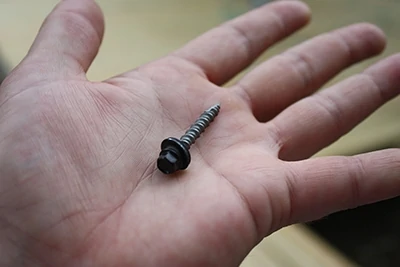
For fastening the metal to wood framing, use sharp-pointed, color-coated screws that easily penetrate the metal to engage the wood. Color-coated screws protect against corrosion and blend with the roofing for an almost invisible appearance. Hex-head screws help hold the fasteners stable while driving them. All screws should include an EPDM vulcanized, bonded washer to prevent leaks and damage to the panels during installation.
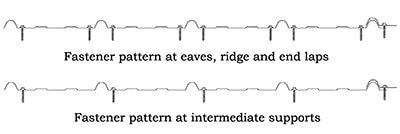
Drive the fasteners through the metal roofing so they penetrate solidly into the framing. Whenever possible, nail in the valley between the ridges, where the roofing is closest to the wood.
Installation
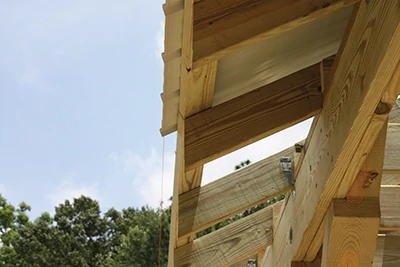
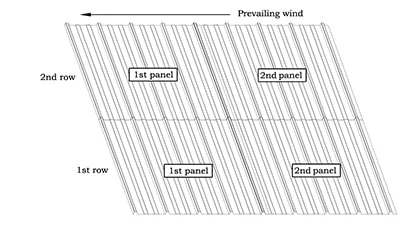
Gable roofs. For gable roofs, place the metal sheet at one corner of the roof, overhanging the edge by 2 inches. It may help to attach a string along the eaves to serve as a layout guideline for the overhang. Fasten with about 20 screws per sheet.
Place a second corrugated sheet next to the first with the ridge of the panel overlapping. For a more secure roof, apply caulk/sealant between the two overlapping sheets. Screw the second sheet through the first and into the framing. Finish fastening the second sheet and then repeat the procedure to complete the bottom row.
For the second row, place the first sheet above the first sheet of the first row. The upper sheet should overlap the first by 6 inches. Fasten the sheet and complete the second row in the same manner as the first. Each sheet should overlap both the sheet below it and the sheet to the side.
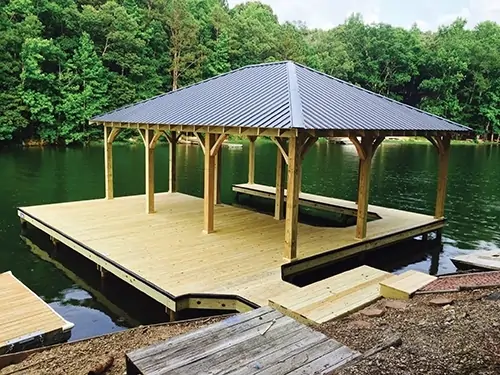
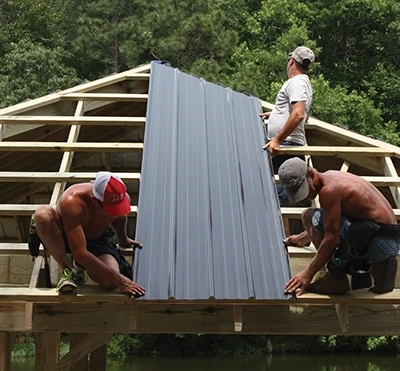
Hip roofs. For hip roofs, like the boathouse in the photos, determine the center line of the roof and start panel installation in the middle, working outward to the sides of the roof deck and cutting the angled hip panels to fit. Snap a vertical chalk line to guide placement of the first center panel. The panels should still be installed so the side laps face away from the prevailing wind.
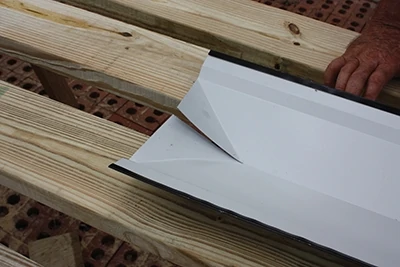
Metal roofing is typically sold with matching metal trim pieces, including ridge caps, drip edges, W-valley, rake trim and more. Consult the manufacturer’s instructions for recommended fastener locations for the trim.
The roof shown had no valleys, but the installers capped the seams of each ridge with matching black trim.
Once completed, the sleek-looking new metal roof greatly enhanced the décor of the boathouse, and will shade the sun and block the rain for many years to come.
Side Note
Roofing an Enclosed Building
For enclosed buildings, you can apply roofing felt before adding the panels by stapling every 3 inches on the outside of the felt and about 5 to 7 inches on the interior. Foil-backed single bubble insulation can also be used under metal roofing. Foil-backed bubble insulation has an R-value of approx. 9.2 and blocks 97 percent of radiant heat energy.
