Getting you, your family and your friends in and out of the house is not the only thing an exterior door is about. When you install a door you want it to swing smoothly, latch tight, seal out the weather and be secure. You can get a big head start on reaching these goals by choosing the right set-up to begin with, and this usually means buying a pre-hung door.
What are the other options? If you are replacing an existing door and the jamb (surrounding frame) is in good shape, you could replace just the door. But I would not recommend this unless there are limiting circumstances, like a jamb that’s embedded in a rock wall. Buying just the door generally means a lot more work and enough frustration to teach the neighbor’s kids some colorful new terms. You will need to bevel the door, mortise the hinges, drill the proper hardware backsets, mortise latch plates, mortise strike plates and probably trim the door to length. There are other installation factors as well, which involve the weather strip, door sweep and threshold. It’s not impossible, but not much fun either.
For about $50 more than the cost of a standard entry door, you can get the same door pre-hung and pretty much eliminate all of the hassles mentioned above. A pre-hung door comes with a jamb, hinges, weather strip and threshold. The door is already attached to the door jamb via the hinges, and usually already prepped for door hardware with standard sized holes in the door face, door edge and jamb.
If you are replacing an exterior door, it’s usually best and easiest to completely remove the old door and jamb, and treat the opening like new construction. The rough opening (R.O.) should be 2 inches wider than the door not including the jamb. Or stated another way, the door itself is 2 inches narrower than the framing opening.
For example, a common single entry door size is 3/0 or 3 feet, zero inches. The opening width for this door should be 3 feet, 2 inches, which allows for the thickness of the jambs plus room for shimming. Some more elaborate pre-hung doors are available in decorative combinations that include one or two sidelites, and some with an overhead transom.
In some ways installing a pre-hung exterior door can be easier than installing an interior door, because there is a threshold in place to hold the jamb together in a complete rectangle. The basic principle behind this installation method is to get the hinge side of the door jamb plumb, which in turn makes the threshold and header level and the strike-side jamb plumb.
Here’s how it’s done:
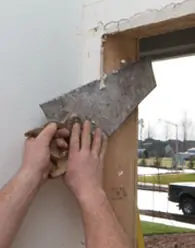
Step 1: Prepare the door opening by removing any shims or nails sticking out of the trimmer studs (framing). Cut back any drywall that extends into the opening.
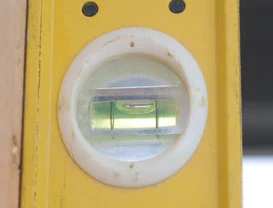
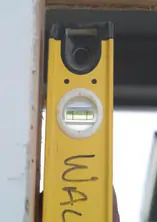
Step 2: Use a 6-foot level to check the hinge-side of the trimmer for plumb.
Step 3: If the hinge side trimmer proves to be out of plumb, you need to note in which direction.
Step 4: Move the level away from the trimmer at one point until the bubble is centered and note the size of the gap to see how far the framing is out of plumb.
Step 5: Grab the door by the brick mold and tip it back while maneuvering it into position.
Step 6: Line up the bottom in the opening first and tip the door into place.
Step 7: With the door still closed, tap the bottom into place with your foot. It should move in until the back of the brick mold is against the sheeting (the layer of material behind the siding).
Step 8: Swing the door open so you can step inside. The combination of the brick mold and the open door will hold the assembly in place.
Step 9: While holding onto the top hinge, swing the door closed and look at the top reveal (the gap between the door and the header of the jamb).
Step 10: The gap between the door and the jamb header should be the same all the way across.
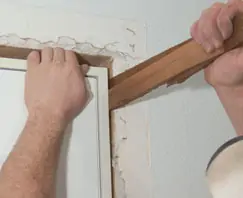
Step 11: Make sure the door is against the hinge-side trimmer and note where there needs to be a gap between the jamb and trimmer (top or bottom) to get the top reveal correct. In this case we are expecting to move the jamb away from the trimmer at the top because of the level reading we took earlier.
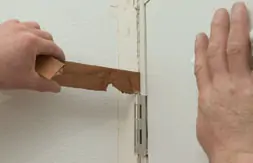
Step 12: Put a cedar shim between the jamb and trimmer where needed. In this case the door jamb needed to be shimmed at the top. Shims should be placed near the hinges to strengthen the backing near the hinge.
Step 13: While keeping pressure against the shim, swing the door open and nail through the jamb at the shim location.
Step 14: While pushing the brick mold against the sheeting, nail the jamb to the trimmer near the bottom hinge location.
Step 15: Swing the door closed and check how the door is sealing against the weather strip on the strike-side jamb. After checking that the door seals okay, you can fill gaps between the hinge side jamb and the trimmer and add some more nails.
Step 16: Before moving on to secure the strike-side of the jamb, it’s a good idea to replace one of the top hinge screws with a 3-inch screw to help hold the weight of the door. Drill through the jamb with a 3/16-inch twist drill bit so the screw bites into the framing and not just the jamb.
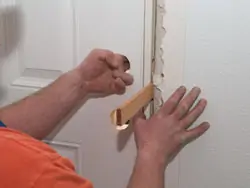
Step 17: While pulling the jamb inward to keep the brick mold against the sheeting, fill the gap between the strike-side jamb and the trimmer near the top.
Step 18: Nail through the jamb at the shim location.
Step 19: Go outside and pull the door closed to check again how it is sealing against the weather strip. Adjust the bottom of the jamb in or out to improve the seal.
Step 20: Fill the gap between the jamb and the trimmer just above the threshold. Nail through the jamb at the shim location.
Step 21: Close the door to check the gap between the door and the jamb at the door latch location. Add enough shim to get the gap right. In other words, match the door-to-jamb spacing you can see at the top and bottom of the door.
Step 22: Nail the jamb to the trimmer at the latch shim location.
Step 23: Finally, nail the brick mold to the sheeting at several places around the exterior of the door to complete the installation.
Get the Beat Back
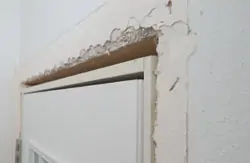
It’s not uncommon for the drywall to stick out beyond the jamb at some point around the door opening. There are several possible reasons for this condition. The framing could be out of plumb; the door could be warped a bit; there may be something behind the drywall, etc.
If it sticks out enough to interfere with the casing, use a hammer to beat back the drywall. Be careful not to damage the drywall outside of the area that will be covered by the casing, and be careful not to hit the exposed corner of the jamb.
Low-Stress Locksets
Installing a pre-hung door makes lockset installation much easier. Make sure the lockset you install matches the door preparation. This will be determined by the backset (usually 2-3/8 inches) and the strike plate mortises in the jamb. Make the deadbolt more secure by anchoring the supplied security plate to the framing.
The following hardware tips are designed to secure the deadbolt plate, to avoid splitting the jamb by pre-drilling and to prevent scratches by using the right drill bits.
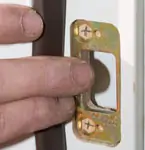
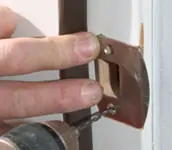
Step 1: Put the security plate for the deadbolt in place with the off-centered holes on the stop side (closest to the weather strip). This offset moves the screws in line with the framing. Mark the holes.
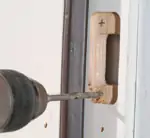
Step 2: Pre-drill the holes through the jamb with a 1/4-inch drill bit, but do not penetrate the framing. This allows the screw to bite into the framing and not into the jamb.
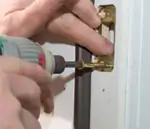
Step 3: Fasten the security plate through the jamb and into the framing with the supplied screws. These over-sized screws combined with the security plate gives the deadbolt added strength, making it more difficult for someone to kick in the door.
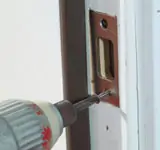
Step 4: Pre-drill the jamb with a 5/32-inch twist drill bit before installing the strike plates to keep the screws from splitting the jamb.
Step 5: Install the finish plate over the deadbolt security plate.
Step 6: Extend the deadbolt partially before installing the screws, which attach the inside latch mechanism to the single keyed cylinder on the outside of the door.
Step 7: Using a bit holder with a drive guide is a good way to keep from scratching the door knob when installing the handset. A 6-inch driver bit with a smooth shank works well, too, but be careful to keep the shank off of the door knob.


