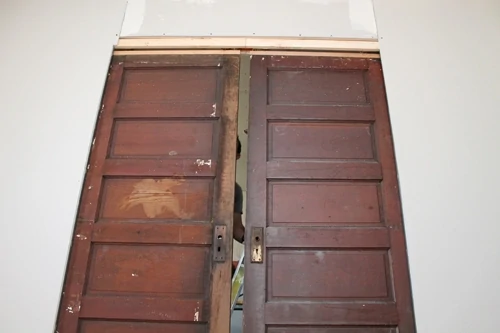
Using Pocket Door Hardware, Vintage Doors and a DIY Partition Wall to Close an Open Floor Plan
By Mark Clement
When our 110-year old American Four Square house was built, it didn’t have an open floor plan.
Like most Four Square homes it likely had four rooms on the first floor. At some point in the house’s history however, someone remodeled it, leaving the living room painfully wide open and without walls.
When it comes to the open floor plan, my wife Theresa and I are closed to the idea. It’s not that it’s a bad idea. Lots of people like to see into the other room when they’re cooking dinner or watching TV. The problem is, at least for us, if I’m watching the NFL on Sunday, so is she. If she’s having wine with her friends, so am I. And then there’s kid chaos. Kids are charming, but not 100 percent of the time.
Plus, the open design is kind of a ruse that builders have convinced us we like, which torques me up another notch. With the span-hungry engineered joists that builders will use anyway, the open floor plan is vastly cheaper and faster to build than laying out, framing, drywalling, trimming and installing the doors required for partition walls.
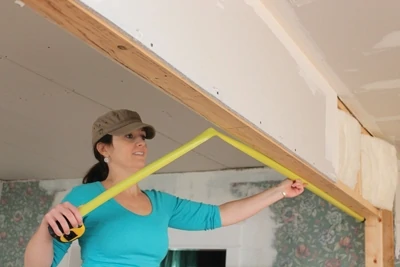
So if you’ve got an open floor plan, want it closed, and you’re looking for a cool way to add doors that take up zero swing room, here’s how to optimize space by closing it in.
Layout and Framing
A primo pocket door project starts with the walls. Frame them in the optimum location for the rooms you’re dividing. Before snapping the first lines I look carefully at the trim details and paint lines I’ll have to deal with later. I make sure there’s enough room for trim, plus at least another inch for a paint line where I know the casing will intersect. Check that door heads are as level as possible with each other and that you won’t obstruct any HVAC.
Once layout is locked down, buy the straightest framing you can find and install it right away. Make sure you’ve read the pocket door hardware manufacturer’s instructions (we used a Johnson Hardware kit for double pocket doors). The manufacturer will provide measurements to get the rough-opening correct. Make sure your wall is straight and plumb, and most of all, that the head jamb is as level as possible—even if the floor isn’t. In fact, the floor in this project changed over an inch in the span of 60 inches. A key control point is clearance under the door. You want at least 3/4 inch for air to flow beneath the door.
Installing the Hardware
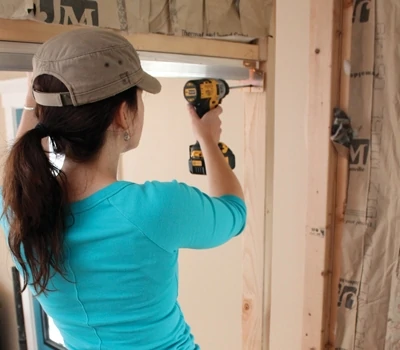
Starting this project in a neat and organized manner will pay dividends later. Create a space for the tools and hardware that’s close enough so you can get them easily—but far enough away that you’re not standing on them. A rolling scaffold is a great organizational machine for this type of project.
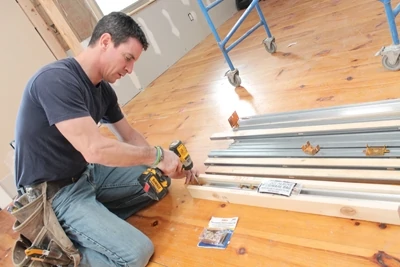
For a single door, you typically install a single track. For a double slider like ours, you join two tracks together. To guide placement, snap a chalk line on the floor even with the side jambs. Fasten them together on the floor and then set the tracks in place on the header. Once installed (a helper is a good idea here), fasten the brackets to the jack stud with 2-in. drywall screws. Don’t over-tighten and deform the bracket.
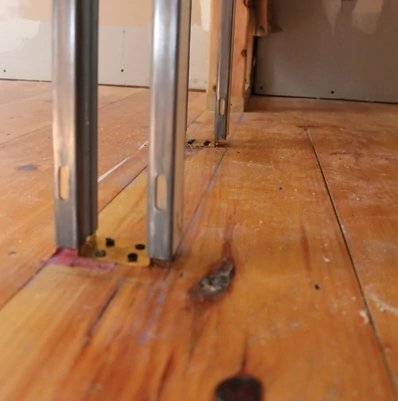
The split-studs, included in the hardware kit, are the dual stud replacements with space in the middle that allow the pocket doors to pass through.
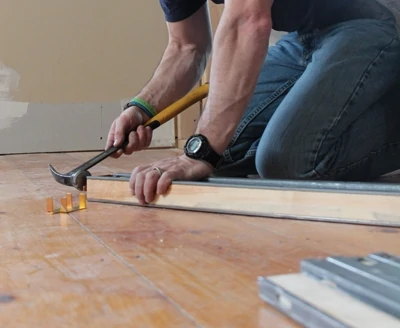
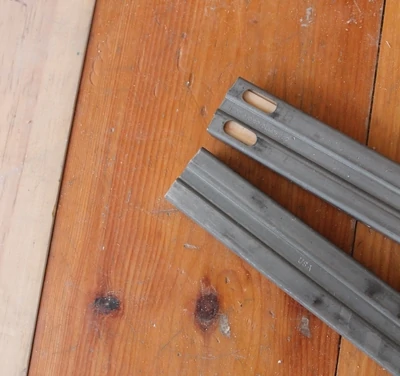
I once got the notion to fabricate my own pocket door studs by making them out of 3/4-in. plywood and some L-brackets, because of a previous bad experience installing a pocket door. The problem was that adding the clips to the bottoms of the studs is a pain. But I found out it was nowhere near as hard as making the studs out of plywood. So, when you’re assembling the split-studs, just take a breath and make sure you orient them both the same way, so the holes (bosses) for nailing the trim line up and are easy to find.
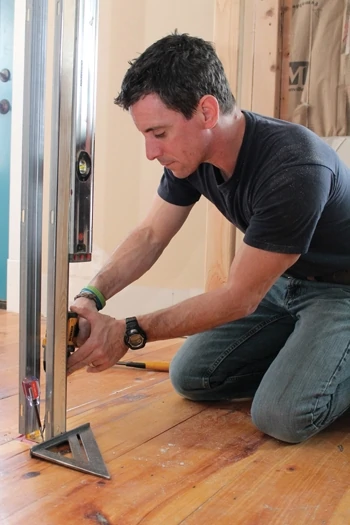
Once assembled, hold them to the line and fasten. Everything is loose and wobbly at this point, so getting everything on layout—especially if you’re working alone—can be tricky.
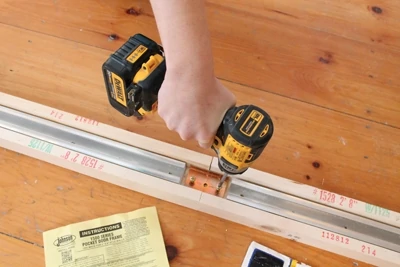
Two tips: First, use a scratch awl to dimple the wood where you want the screw to seat, then pilot a hole before driving the screw, especially if you’re going over hardwood floors. Next, drive the awl into one of the bracket holes to pin the brackets on layout. I even put a square up against the stud to determine if it moved off layout. And, for the extra careful, this is the one project outside of metal framing where magnets on your level do something other than pick up screws you don’t want picked up.
One more thing: I’m a huge fan of 6-in. bit drivers as opposed to those 3-in. magnetic bit holders. It’s much, much easier to start a screw with a longer bit driver in situations like this.
When fastening the studs to the top track, pre-drill and countersink the screws to minimize the risk of splitting the wood.
Time for the Door
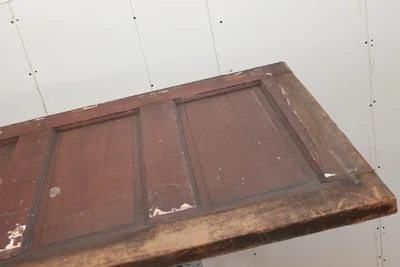
In most houses I’ve worked on, I’d buy a new door that looks like the other doors in the house. Who wouldn’t? But adding doors can be an opportunity to add some super upcycle style to an everyday space. You can check a salvage yard for old, knock-around doors with a vintage feel.
Be careful of lead paint and other finishes, because you may have to strip or refinish the door. But instead of getting something everyone else has, you can unlock the beauty in an old piece and make your house look like an Anthropologie store.
If the door is salvaged, check that it’s square. Lots of old doors were sanded down so they’d close as old homes settled and door frames racked. If they’re not square, use a circ saw and guide board to square up the top and bottom. Before installing, apply a coat of finish to the end-grain to protect it.
In our case, the end grain on the doors was a mess so we added a header strip that will hold the track hardware to the door. Once installed, it’s invisible.
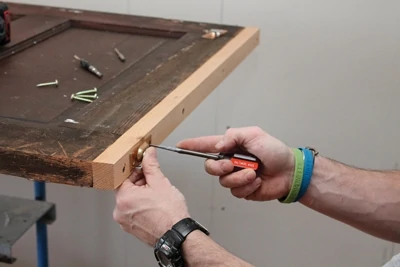
Next, lay out and install the hardware. Again, the scratch awl trick is ideal for setting the screws just where you want them. And the rolling scaffold is a great worktable for a project like this.
Install the door bumpers and hang the door. Install the door stops in the track according to the manufacturer’s instructions. This is a job for the old fashioned screwdriver. Set ’em and snug ’em so the doors kiss but don’t bump.
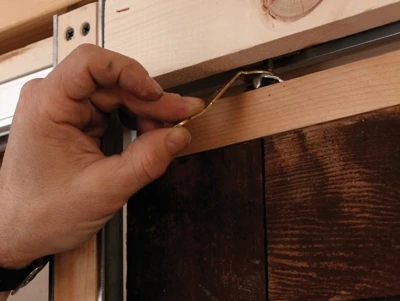
Use the provided wrench to cam the door up or down as needed so that it hangs plumb and closes properly. This will also minimize the door’s tendency to roll open or closed. Installing the guide blocks at the base of the door will also keep them from rolling open. Really knocked-around doors may vary in thickness, so you might have to get creative installing the guides.
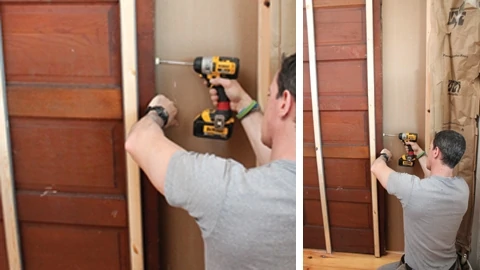
Install the drywall to the studs and add jamb trim and casing. Before installing the jamb trim, mark the drywall where the slots in the steel stud will let your nails pass. I don’t recommend trying to remember where these holes are located, because you’ll bend a zillion nails trying to hit the spaces. Also, hand nails are much easier and lower risk than trying to shoot this 3/8-in. wide slot with a brad or finish nailer.
Open, Closed
Add casing and base molding for a finished look. With upcycled doors like ours you can add all kinds of funky knobs to dress up this DIY stew with extra awesome sauce.
Now, close the door and watch the game, body-count flick or tear-jerker rom-com without inflicting it on everyone else in the house. And from the house-geek standpoint, the room is more comfortable, more intimate, often more efficient to condition, and just plain nicer. Heck, you might even read that book you’ve been meaning to jump into.
Editor’s Note: Mark Clement is co-host of the MyFixitUpLife show and general contractor on Food Network’s Save My Bakery.


