A split-circuit receptacle, as the name suggests, has a different power source for each plug-in outlet. You can identify a split-circuit receptacle because the connecting tab will be broken on the hot side and different hot wires connect to each hot terminal.
Stop!
Always turn off power to the circuits you are working on—and remember that there are two circuits in the case of some split-circuit receptacles. Double-check at the project site before and after removing the cover plate to make sure the power is off.
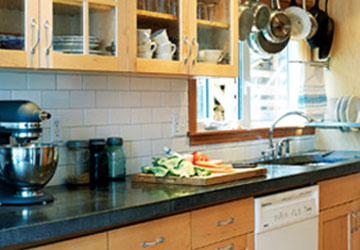
In some localities, a split-circuit receptacle in a kitchen is required by code.
Photo courtesy of Thomas J. Story
Where & When to Use Them
This is a good arrangement for a series of receptacles above a workbench, where you may plug two heavy-use tools or appliances into the same receptacle. Because the two plugs are on different circuits, they will not cause a circuit overload. Some local codes require this arrangement (rather than GFCI receptacles) for the receptacles above a kitchen counter.
Another reason for wiring the receptacle this way is so that one outlet is always on and the other is controlled by a switch. For example, in a bedroom with no overhead light, this allows you to turn a lamp on and off with a wall switch, while using the other outlet as a more typical always-on house outlet.
The following photos are courtesy of Sunset Books You Can Build: Wiring.
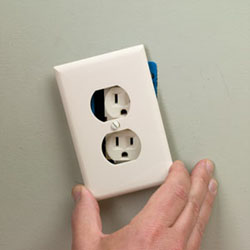
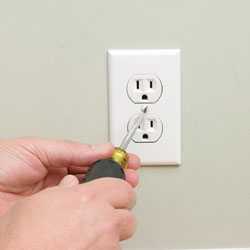
Remove cover plate
- Shut off the power and test the receptacle
- Unscrew cover plate and set it aside
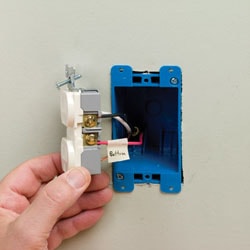
Label the wires
- Pull out the receptacle without removing the wires
- Label each wire to show how it should be connected to the new one
- Undo wires and remove the receptacle
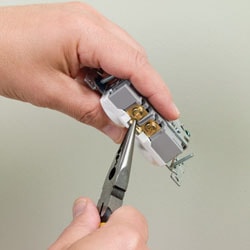
Grab tab with pliers
- The connecting tab is located between the two hot terminals of the new receptacle
- Use needle-nose pliers to get a good grip
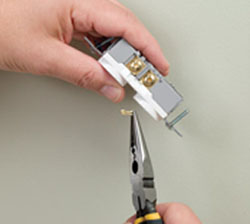
Break the tab
- Bend tab back and forth to weaken it
- When it bends easily, give it a twist to break it
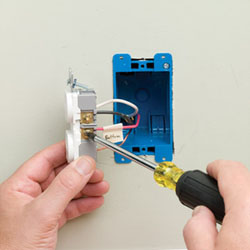
Wire new receptacle
- Attach the ground wire
- Follow labels to attach the neutral and hot wires
Attach new cover plate
- Restore power and test the outlets
Editor’s Note: Excerpted by permission of Sunset Publishing Corporation from You Can build: Wiring, published March 1, 2009 by Sunset Books.


