


(guest post by Amanda Hill)
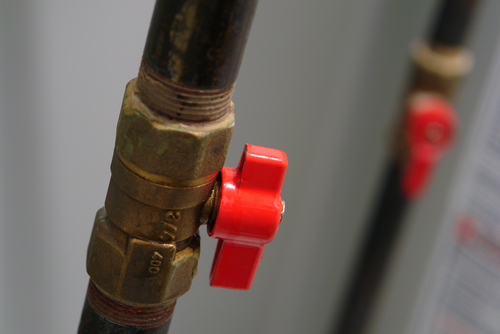
Whether you are dealing with water or gas lines, replacing threaded shut-off valves in your home is typically easy. This knowledge could prove extremely important if you ever experience a plumbing problem such as a leaking faucet or an overflowing toilet. The key is to take your time and make sure you have the right equipment.
Planning Ahead
Set a plan in place before diving into the project. While replacing shut-off valves should only take about an hour, it will take longer if you’re not organized. If you’re fixing a supply valve under the sink, for instance, you’ll probably need either channel-lock pliers or a crescent wrench. For bigger valves, you may need one wrench to hold the pipe and another one to move the valve. Don’t forget to put down a bucket — this job will likely get messy.
It will also be important to start work earlier in the day, well before your local hardware store closes. You won’t want to risk starting the job and then having to delay the finish because a certain part is missing. That could mean going the entire night without water.
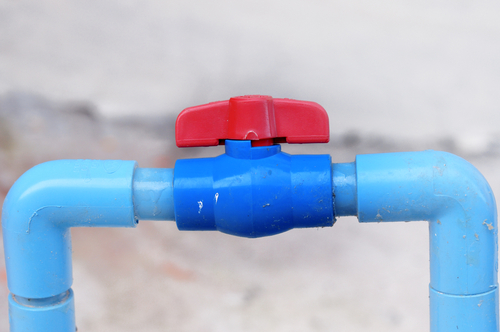
Having the right equipment will greatly reduce damage risks. If you don’t have the right type of washer, for instance, then a small leak could become a major problem. Also, your replacement valve needs to have the same thread, and be the same size and type of the old one. Either bring the old one with you or take a picture of it to find the exact match.
Turn Off Nearby Valves
After gathering the right tools, the first thing to do is to turn off the valve located closer to your main water supply than the one you’re replacing. This may mean turning off the main shut-off valve near the meter, the house shut-off valve, or the water heater valve. If you’re working with a gas line, there should be another valve close by.
Drain the Water
Next, drain water out of the line. This is particularly important when working on the lower floor of a two-story house or in the basement. Wait a few minutes to make sure all of the water has cleared.
Take Off the Old Valve
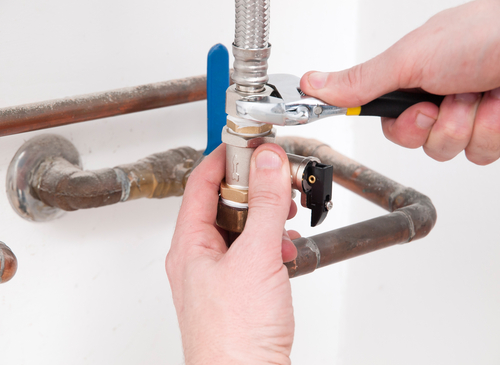
Start removing the valve with a wrench. Be careful the pipe doesn’t twist, that can lead to a great deal of damage. Watch it closely, and if any twisting occurs, hold the pipe with another wrench to keep it in place.
Installing the Valve
There is a chance you may need to use some pipe joint compound before installing the new valve. For example, if you’re working with a flexible gas line, you’ll need to apply a bit of compound to the fitting that flares out. That part should be located just above the threads. There are several types of compounds, however, so talk to an employee at the hardware store to make sure you’re getting the right one for your material and application.
To put on the new valve, simply tighten it with a wrench until it feels snug and in the right location.
The Final Test
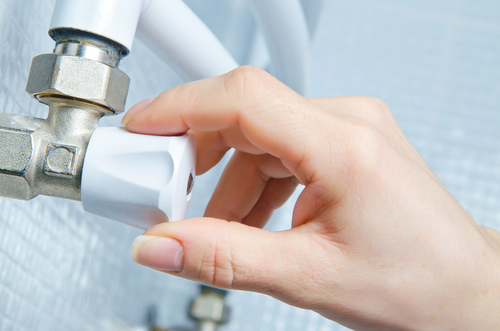
Once the valve is replaced, make sure it is in the “off” position. If you’re working with a water line, go back to any faucets you turned on to drain water and put them in the “off” position as well so that there aren’t any problems when turning water back on.
Be sure to check for leaks once the water or gas is turned on. For a water line, wipe the valve dry with a towel and then turn on the appliance or faucet for a couple of minutes. If you don’t see any drops of water, you don’t have a leak. For a gas line, put some soapy water on all nearby fittings and be on the lookout for bubbles. If you see them, tighten the valve and recheck.
Once you feel comfortable with this type of job, replacing shut-off valves in the future will be a breeze.
Author Bio: Amanda Hill is the content manager at PVC Fittings Online, a leading supplier of PVC Supplies and accessories for commercial contractors. Amanda is known as the “Queen of PVC” due to the wide range or PVC topics she writes on.
