

Prepping Paint Applicators: Here’s How in Three Minutes or Less
By Connie McKinney, Senior Product Manager, Purdy®
Painting projects requires a lot of prep work. From washing walls and filling holes to taping off edges and taking inventory of the tools and products necessary, the to-do list is long, and the work can be daunting for paint pros and do-it-yourselfers alike. There are a few tips to get your project off to a great start and ensure quality paint application.
But before getting started on a paint project, you need to know the applicator tool you’ve selected is the right one for the task at hand. Filaments, surface and coating type all play a role in evaluating paint applicators best suited for your project’s painting needs.
Applicator quality makes a big difference
Quality brushes are defined as such based on their construction. When selecting a brush for your next painting project, it’s important to first consider the project itself—from application parameters to size, shape and scope—as well as the type of paint you plan to use. All these factors impact the type and blend of filaments, size of the brush and shape of its handle.

Did you know? Purdy® staffs a team of scientists that researches, tests and develops new filament types and construction to improve the shape, blend and productivity of its products.
Filament material
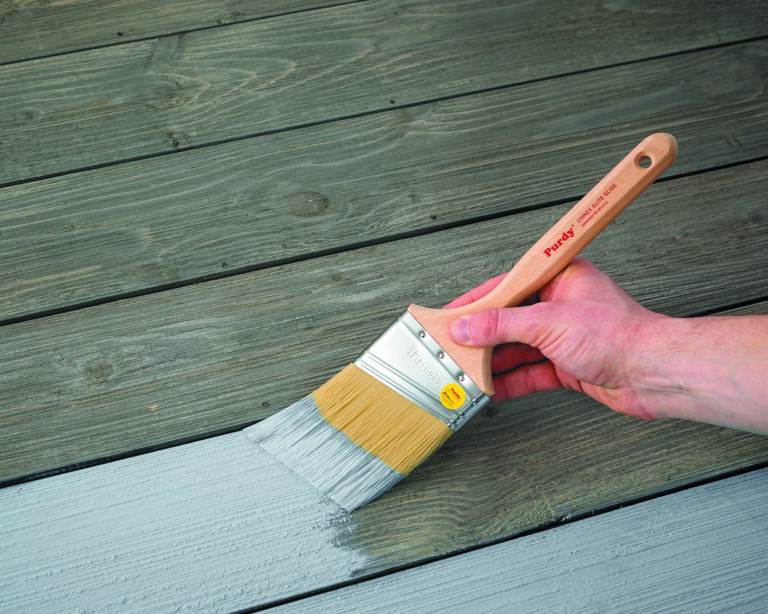
Filaments, the backbone of the brush, are most important to consider. The material makeup of the filaments determines how much paint the brush holds and how smoothly that paint is applied to a surface. Nylon, for example, while durable, is highly susceptible to heat and temperature fluctuations, which can alter the filaments’ shape. Polyester, on the other hand, is indifferent to humidity, and filaments remain stick-straight in any conditions. Ideally, a paintbrush will contain a blend of filaments, including nylon, Chinex® and polyester, as well as a variety of lengths throughout its construction to ensure smooth, consistent application.
Filament shape
The shape of filaments also varies based on material. Solid, round, tapered (SRT) filaments are designed to guide product toward the brush tip. SRT filaments’ unique cone shape not only allows for smooth application, but it also makes cleanup much easier. Other lower-quality paint brushes may use hollow filaments that act like straws sucking up and holding paint, making application much less smooth and much more difficult to clean.
Stiffness versus softness
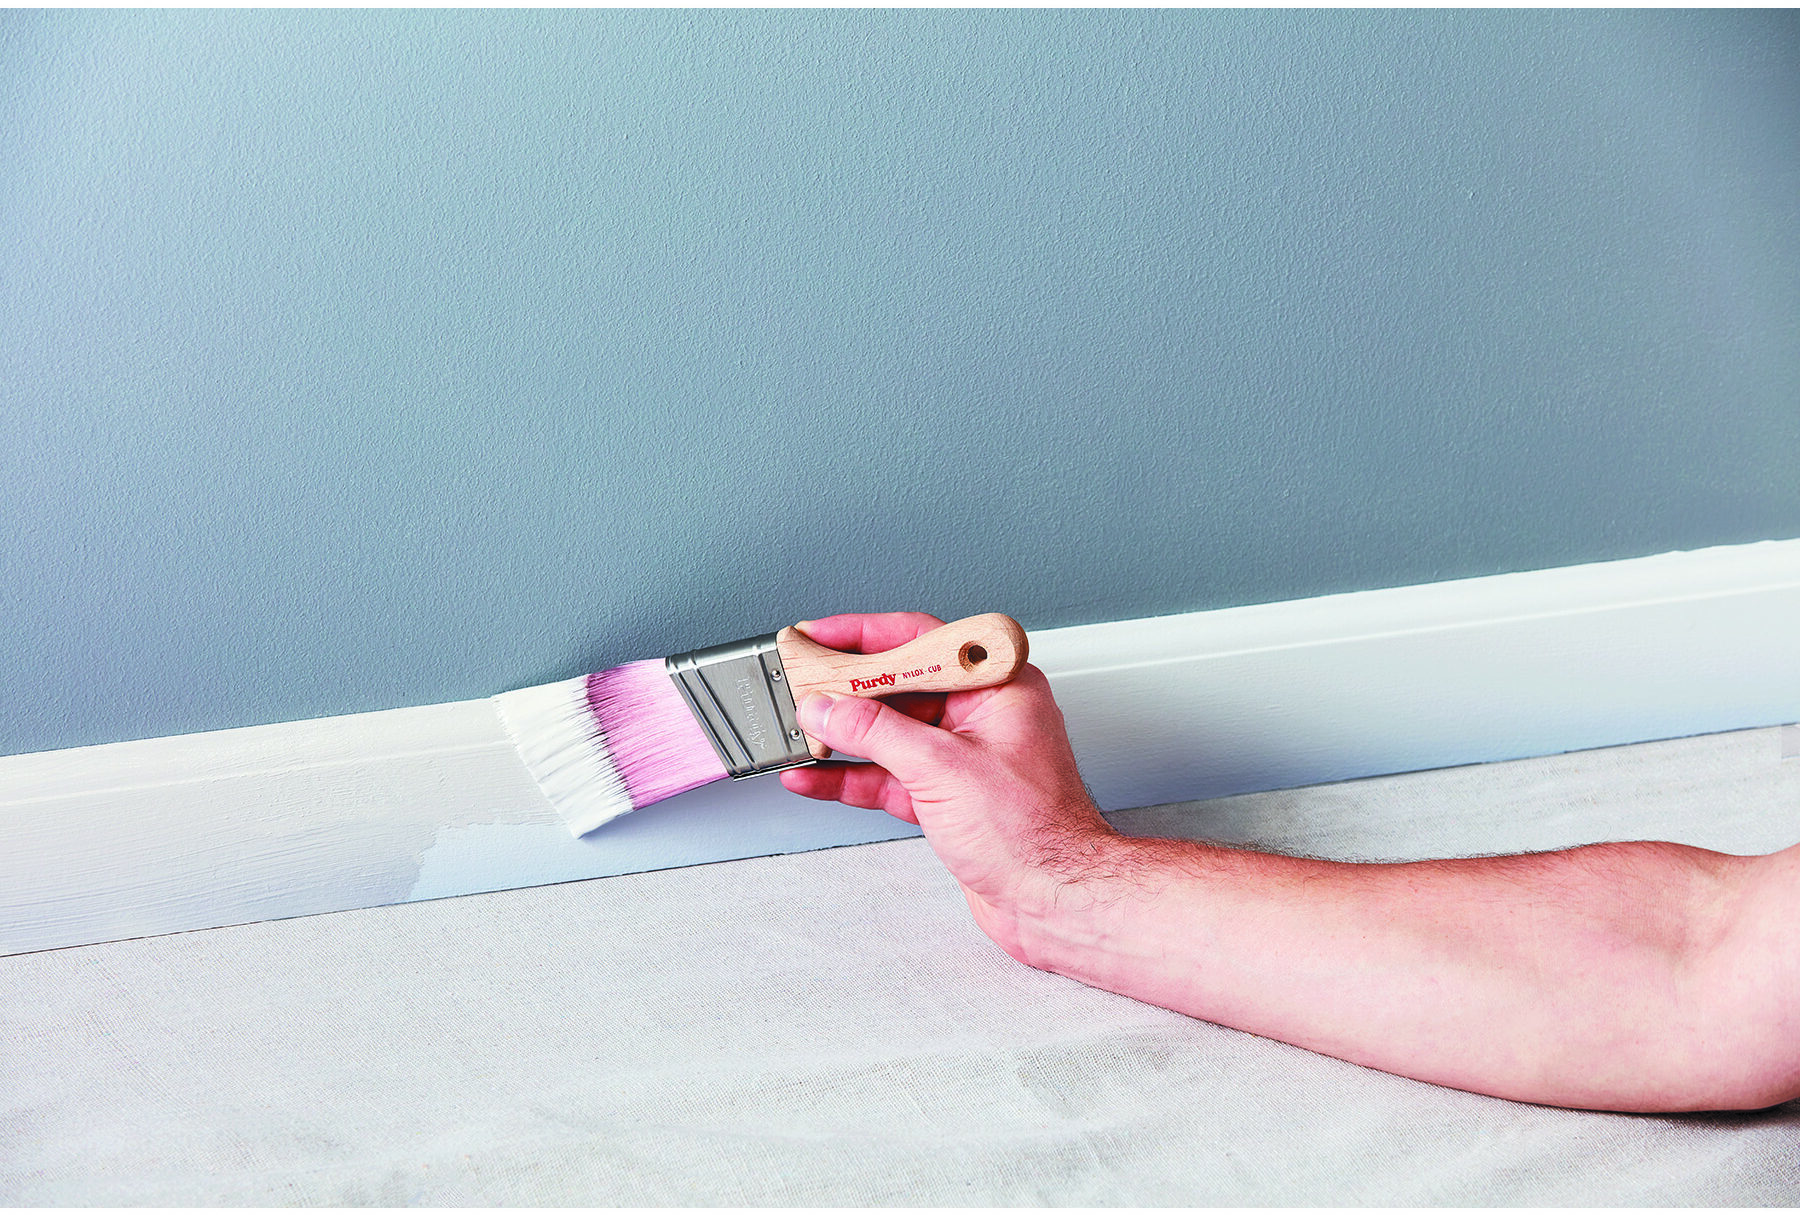
Stiffness also varies based on filament and brush construction. Paintbrushes with a blend of polyester filaments maintain more flex and are softer than brushes made solely of nylon. Thus, when painting indoors in controlled conditions, a brush with nylon filaments is a great choice, because stiffness retention is not as critical as it is when painting rough, exterior surfaces. Nylon filaments also allow paint to release more smoothly from the brush onto the working surface, ensuring a consistent look.
Prepping paint applicators in three minutes or less
Once you’ve selected your paint applicator, preparing it for paint often is overlooked, but it is an important part of the process for seamless application. Luckily, a quality applicator shouldn’t need more than three minutes of your time to prep for painting. High-quality brushes and roller covers, like those made by Purdy®, are ready for use right out of the package. However, removing loose filaments is recommended prior to starting any painting project.
How do you prep a paintbrush? Easily. Just run your hand over the end of the brush so loose filaments fall off. Keep in mind, the higher the brush quality, the less time-consuming it will be to find and remove those filaments. The lower the brush quality, the more time and diligence this step will require.
Tip: Need to reshape a bent brush? Run it under hot water, straighten the filaments out using a brush comb and put it into a brush keeper to dry.
Preparing a paint roller is just as easy. Simply put the roller through warm or cold running water then use a roller spinner to remove any excess water. This technique removes any loose fibers that may have not been cleaned off during the production process and preps the cover to easily load with paint since the fibers are already engaged. Doing this process two to three times before painting will provide the best paint application.
Tip: Don’t start painting at eye level. If there’s residual lint, it will come off with the first few rolls. Try starting high, low or in a place that won’t be scrutinized too closely—like a closet.
These steps are more than worth the few minutes’ time they take. With the proper care and attention to detail during the paint preparation process, the longevity of paint applicators can be extended, saving you money in the long run.
Tip: Simplify the preparation process by making sure you have everything you need ahead of time, including a putty tool for filling nail holes, sandpaper, wire brushes and more.
Proper paintbrush and roller prep pays off
Setting aside a few minutes to properly prep paint brushes and rollers for loading paint not only contributes to a better paint experience, but it also promotes productivity. Once prepped, these tools distribute paint more uniformly, deliver smoother finishes and don’t drop filaments or lint with each application, saving precious time and helping ensure the longevity of your investment.
###
Connie McKinney, senior product manager, oversees roller covers for several Sherwin-Williams brands, including Purdy®, Contractor Series®, Valspar® and Bestt Liebco®. She manages the product life cycle of all existing products and works to innovate and commercialize others that help all painters (whether professionals or DIYers) excel at their craft. Connie has 25 years of experience in the paint and coatings industry and maintains a focus on identifying new innovative ways to meet the needs of this ever-changing market.
