When it comes to ranking the most challenging DIY home improvement projects, installing an egress window earns a spot near the top of the list. While not as dangerous as repairing a roof or as complex as many electrical wiring projects, installing an egress requires managing a lot of moving parts.
It can also involve either practicing or overseeing several trades including carpentry, concrete cutting and excavation. Handling even one part of the process incorrectly can eventually lead to a flooded basement or a weakened foundation.
The good news is that an egress window can be installed relatively quickly and the return on your investment is often better than some other higher-end home improvement projects. The key to success is establishing a game plan before you dig one patch of dirt or buy one piece of material.
As you map out your strategy, you may find that conventional installation methods aren’t always the most efficient or cost-effective. In my experience (which includes more than 15 years of installing egress windows) looking outside the box (and yes, that includes the literal big-box stores) for a more innovative, custom solution can save time and hassle. Here are my suggestions for ensuring a relatively simple and seamless installation.
Preparation
You may be chomping at the bit to move your temperamental teenage son into his own basement bedroom, but you’ll need to do some research first. Start by finding out what the building codes are in your area. Most require egress widows be large enough to accommodate a fully-outfitted firefighter in case of an emergency.
Along those same lines, you’ll need to pull a permit for your project. Some jurisdictions might also require an engineering study to obtain a permit. If you can’t find the information you’re searching for online, don’t be afraid to call your local building department for clarification.
You should also reach out to the local utilities in your area to notify them about your intent to dig on your property. Each state has an “811” number and website you can contact to have underground cables, wires and utilities marked to ensure that you’re excavating safely.
Problem-Solving
To prevent potential water problems in the future, determine if you have any existing drainage issues. A quick way to test your drainage is to run a hose next to the area where you plan to place the window. If water flows away from the house, you likely have good drainage, but if it flows towards the house, you might have an issue. Poor performing gutters could be the culprit. Are your gutter downspouts directed correctly? Do you have issues with gutter overflow? If your basement smells damp and you see moisture on the walls after a heavy rain, it could mean that your gutters aren’t doing their job. You might consider replacing or increasing your gutters and adding more downspouts.
Drainage issues could also be due to improper grading impacted soils. Removing dirt can help fix a sloping problem, but if the cause of the drainage issue is unclear, you may want to consult a landscape contractor.
Measuring
Before you order your window or any other materials, you’ll need to measure the interior and exterior space where you plan to install the egress window. Keep these requirements in mind:
- A minimum clear opening width must be at least 20″
- A minimum clear opening height must be at least 24″
- A minimum clear opening size must be at least 5.7 square feet
- The top of the bottom sill on an egress window can be no higher than 44 inches from the finished floor
If you have questions or are unsure about what to measure, consider talking a photo of the space and sending it to the vendor you plan to purchase your window from to obtain guidance. Any solid window provider should be willing to walk you through the process.
Window Selection
The type of window you choose may influence your measurements. Think about what’s important to you before simply buying based on price. If safety is a concern, you may want a window made of laminated glass, which is more impact resistant than tempered glass. Looking for more light? Some egress windows allow for 30% more glass (translating into more light) for the same size hole in the foundation. If the room will be used by kids, you might want windows with lower handles. The options include casement, sliding and tilt-and turn. For what it’s worth, we use a European tilt-and-turn casement window featuring laminated glass. The window provides better ventilation and remains secure while open. Be certain your window satisfies the fenestration requirement for your jurisdiction, many mail order products don’t meet the specification.
Foundation
It’s also important to confirm the type of foundation you have and verify that the egress widow solution you choose will work with that foundation. If you have a pier foundation and select an off-the-shelf product there’s a good chance you’ll need to install a steel header across the top section of the window. For homes with finished basements, this means messy, expensive interior demolition. Instead, look for a solution that works with a variety of foundations that won’t require retrofitting to reinforce the foundation.
Finally, if you have a home that was built in 1930 or earlier, you may want to pre-excavate before digging your final hole to eliminate any potential surprises. These could include waterlogged soil, large tree roots, buried concrete or foundation issues, which you’ll need to address before you go any further in the process. The problem is that older homes of this era often have foundation walls that are jagged, out-of-plumb or deteriorating. Dig until you feel like you’ve done your due diligence and you can draw a firm conclusion about the foundation or any other potential issues.
Dig in
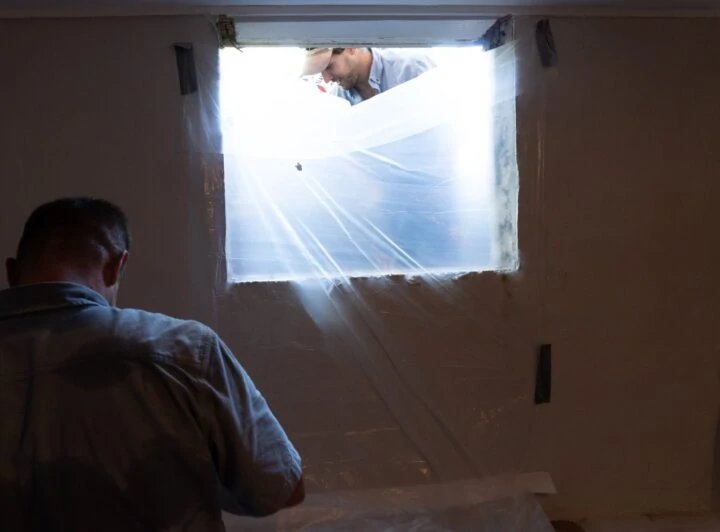
At this point, most of the prep work is out of the way and the real fun (or at least manual labor) is about to begin. Be sure to clear any furniture and blinds from around the window and enclose the small section of your basement around the window in a plastic sheet to minimize the mess. Protect your landscaping and pathways to the full extent possible using tarps and plywood.
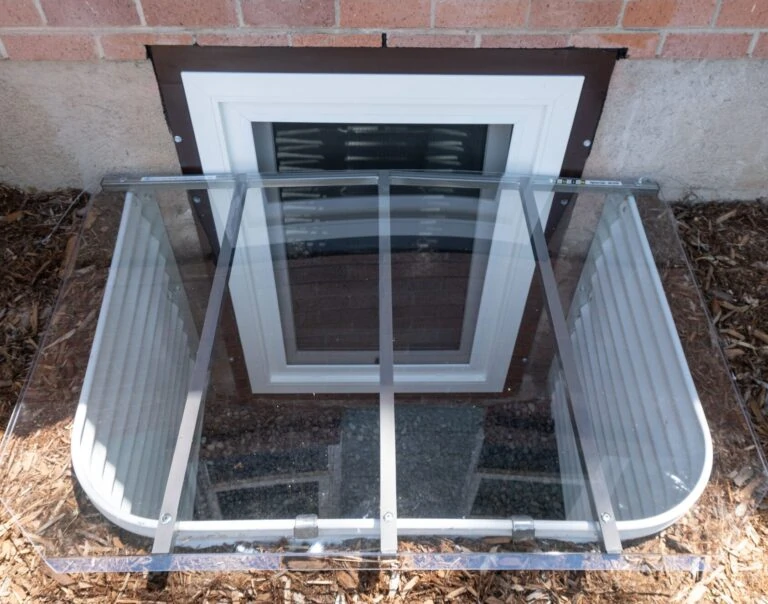
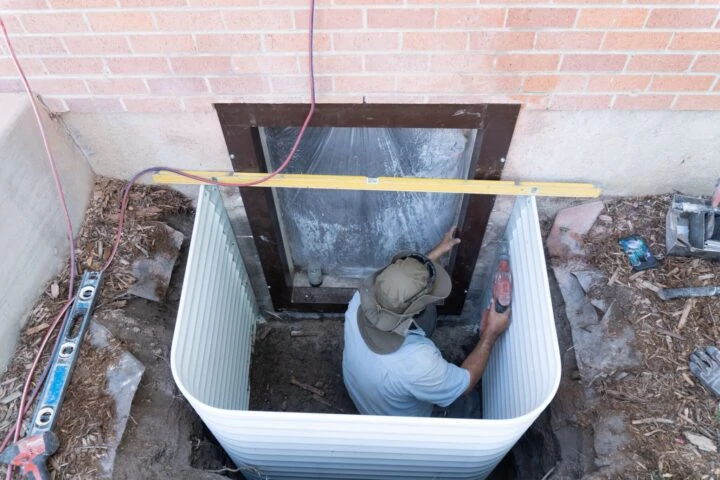
Before you dig, consider the type of window well you plan to use in your installation. Your best bet is to look for an egress window kit that features a window well with inside flanges rather than trying to secure the well from the outside. If you choose this innovative option, you will only need to excavate a hole that is slightly larger than the footprint of the window well. Using the more common window well with an exterior flange design, will require digging a significantly greater amount of soil (we estimate a least a foot on each side) outside of the window. With inside flanges, you’ll also have less backfill, less chance of settling dirt, and less manual soil compaction. Window wells expand and collapse as a result of the nesting and shipping process, so make sure if you buy a 50-inch well, that it is mounted with 50 inches being the inside dimension, otherwise, your cover may not fit.
For our installs, we use the St. Paul Corrugated Window Well, which carries a 30-year warranty and we attach inside flanges in-house.
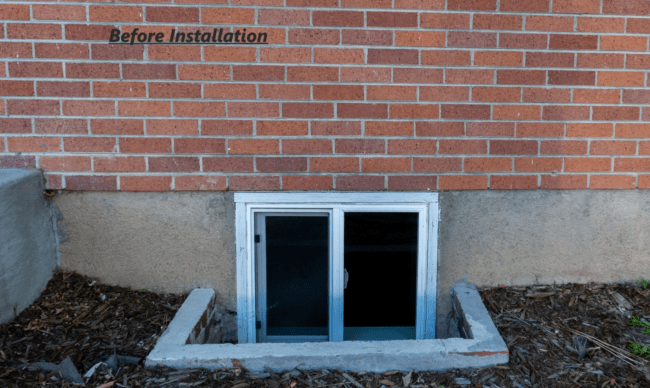
Plan on spending at least a few hours digging your hole. You’ll want to excavate 14 inches below the bottom cut of the window to ensure good drainage. The idea of renting a piece of equipment to do the digging might be tempting, but skip it if you can. You could end up with a big mess and a bigger hole than you actually need.
Making the Cut
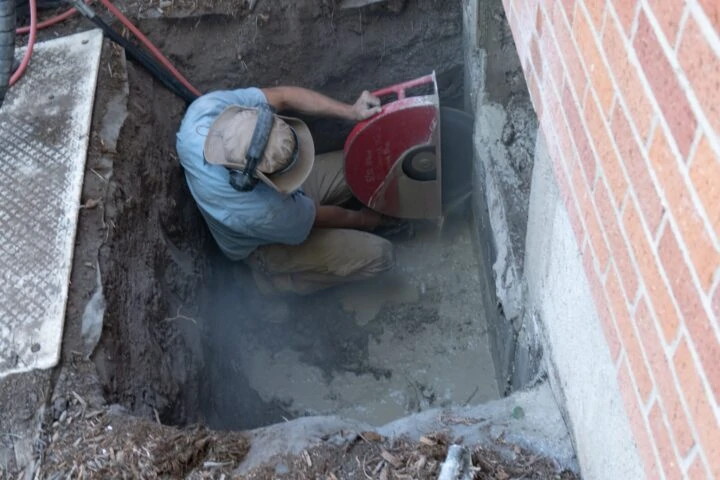
Once the hole is excavated and secured, the next step is cut a hole in your foundation using concrete cutting saws to enlarge the opening in your foundation wall. This is the one part of the installation where I believe hiring a professional is well worth the expense. A pro can cut more precisely and prevent you from potentially getting injured. Having a pro on hand will also make removing the wall slug easier. You can ask your concrete cutter to quarter the concrete block for easier removal and disposal.
Installing the Frame
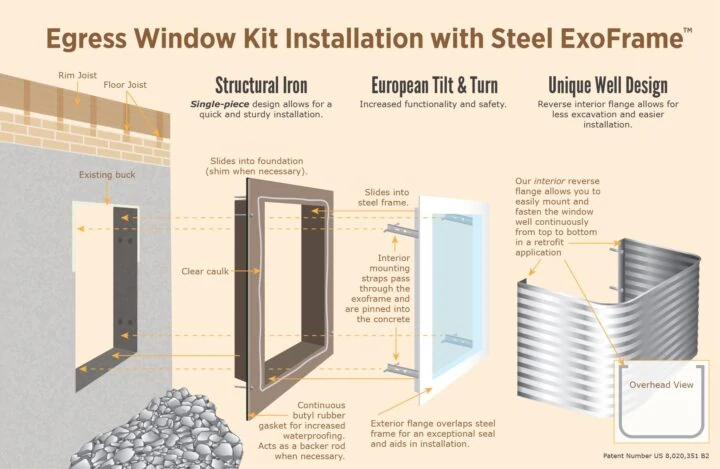
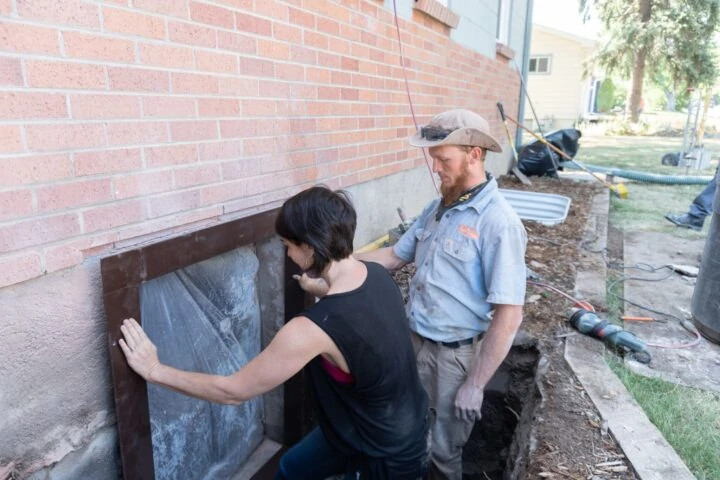
Traditionally, the next step in the process involves building a wood frame for the window that is glued, caulked and nailed to the foundation wall. But here’s another example where using more advanced materials will save you time and future maintenance. Incorporating a pre-fabricated steel frame into your project will allow you to skip the step of constructing an eight-piece wooden frame and will also serve as a more structurally superior solution, invulnerable to damage from rot, mold or termites. Using a quarter-inch steel frame like the patented “ExoFrame TM” solution we use for our installations, will increase the light in your basement because you’ll get a larger area of glass relative to the size of the opening in your foundation wall. The ExoFrame may also allow the window to sit higher in the opening, which will let in more light. A steel frame will also make your actual window installation easier.
To install the ExoFrame, you apply a layer of butyl gasket along the outer edge to help seal and waterproof the frame. Before setting the frame, it’s important to inspect the wall to ensure there are no bumps or aberrations that would prevent the frame from sitting flush against the wall. You can usually hammer out those kind of imperfections. When you’re ready, work with a partner to lower the frame into the hole. 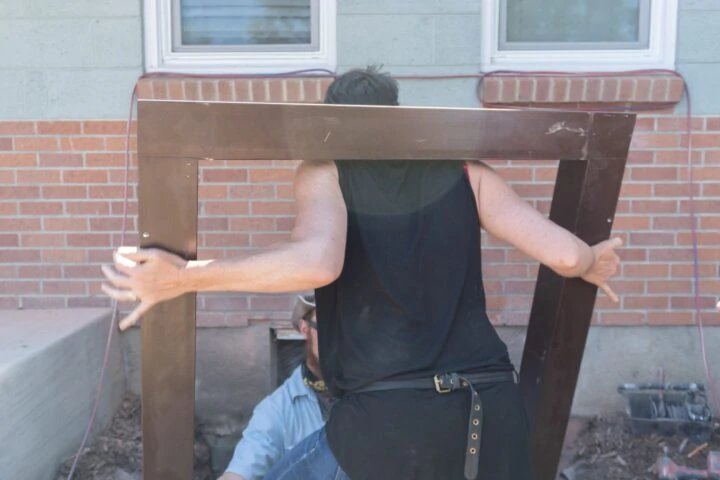
If you follow a more conventional process, after securing and sealing your wood frame, you’ll need to use shims to get your window square and then nail or screw the window to the frame.
You’ll also need to take the extra time to trim the exterior of the window to seal out the elements. Again, with the ExoFrame no exterior trim is needed because the special concrete screws and butyl gasket create a worry-free seal against the foundation wall.
Installing the Well
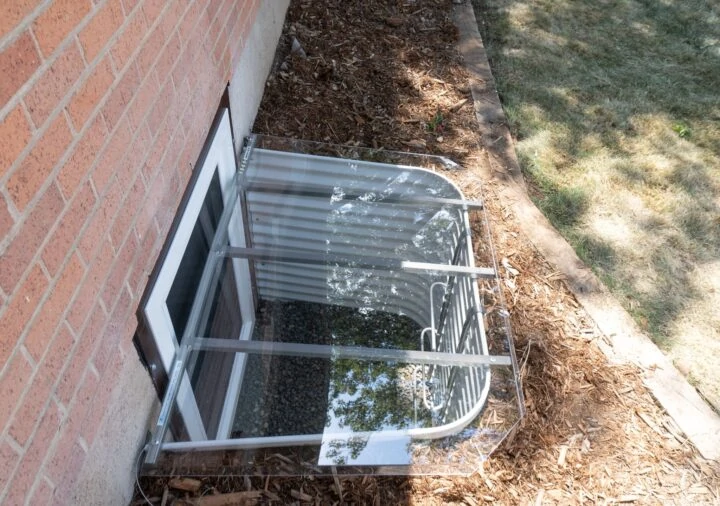
If you’re using the ExoFrame, the next step is to drop the well into the hole and fasten to the foundation all the way to the bottom. Fill the floor below the level of the windowsill with 500 to 1,000 pounds of rock. To ensure proper drainage and eliminate settling, carefully tamp down the back-filled dirt around your well.
Installing the Window
Before installing the window, seal the edges of the ExoFrame with a high-quality, weather-resistant silicone caulk. Then have your partner pass the window to you, slide it into the ExoFrame and squeeze it against the silicone caulk. The window we use comes with interior mounting straps that pass through the ExoFrame (when it slides into place) and easily fasten into concrete. (See diagram above).
If you follow this process, the installation should take one day if you’ve got two people to handle the job. Just make sure you’ve planned out how to haul away your dirt – since that can cost you time and create a headache. If you do your homework and leave yourself open to integrating newer materials into your project, you should be enjoying your light-filled basement in no time.
Theo Stephens is an entrepreneur who has installed thousands of egress windows using a patented process that is faster, safer and more cost-effective than traditional installation methods. He sells window egress kits to contactors and DIYers across the country. For more information visit https://brightideaegress.com/


