


Are you ready to transform your outdoor space with a new deck? A solid foundation begins with a well-built frame. In this step-by-step guide, I’ll walk you through the construction of a sturdy deck frame so you can take on this rewarding DIY project with confidence.
Here’s an overview of the framing process:
- Determine the Deck Frame Layout: Consider the size, shape, and layout of your deck, including beam and post placement, overhangs, and any additional features.
- Prepare the Site: Level the ground, clear debris, and address drainage concerns to ensure a solid foundation for your deck.
- Set the Footings and Posts: Choose your preferred footing style and set your posts securely in the footings, ensuring they are level and plumb.
- Install the Ledger Board: Secure the ledger board to your home’s substructure, providing crucial support and stability for the deck.
- Choose the Structural Beams: Decide between flush beams and drop beams, based on your deck’s design and load-bearing requirements.
- Install Deck Frame Beams and Rim Joists: Lay the groundwork for your deck structure by attaching beams and rim joists, providing essential support and lateral stability.
- Install the Deck Joists: Position and secure the deck joists perpendicular to the ledger board and perimeter beam, ensuring proper spacing and alignment.
- Install the Deck Guardrail Posts: Provide support and safety for your deck railing system by securely attaching guardrail posts to the deck frame, making sure they are plumb and level.
In this guide, I’ll cover the framing steps above in greater detail, putting you well on your way to a successful deck project, beginning with a strong structural framework.
Materials and Tools You’ll Need for Deck Framing
Before I dive into the framing steps, here are the materials and tools you’ll need.
Materials
- Lumber: Pressure-treated lumber for posts, beams, and joists and dimensional lumber for framing components like rim joists and blocking.
- Fasteners: Galvanized or stainless-steel screws and nails for various framing connections.
- Joist Hangers: Recommended for securing joists to ledger boards and beams.
- Concrete or block footings: Bagged concrete mix for setting posts in poured concrete footings or concrete blocks, or instant deck blocks, based on your chosen footing style.
- Bracing Material: Temporary bracing, such as 2×4 lumber, to keep posts vertical during installation.
- Flashing Tape: Waterproofing tape to protect your ledger board and the top surface of beams and joists. We recommend Trex Seal Ledger Tape and Trex Protect Joist, Beam & Rim Tape for optimal results.
Tools
- Circular Saw: For cutting lumber to the required lengths.
- Power Drill: For driving screws and drilling pilot holes.
- Level: To ensure accurate horizontal and vertical alignments.
- Tape Measure: For precise measurements during framing.
- Chalk Line: Useful for marking layout lines on the framing components.
- Shovel: For ground leveling and digging holes for footings.
- Adjustable Wrench: For tightening nuts on bolts or screws.
- Post Level (optional): To ensure posts are perfectly vertical during installation.
- Post Driver (optional): For driving posts into the ground.
- Safety Gear: Gloves, safety glasses, and hearing protection.
Step 1: Determine the Deck Frame Layout
Consider all the details, including size, shape, beam and post placement, overhangs and any cantilevers.
If you’d like to take advantage of the area under your deck for additional living or storage space, plan ahead to incorporate an underdeck drainage system like Trex RainEscape to keep that area dry.
Be sure to check your local building codes for specifications on joist spacing, beam spacing, and other critical elements to ensure your new deck will meet all safety standards and regulations.
With your deck plan in hand, it’s time to get started.
Step 2: Prepare the Site

I always begin with site preparation to ensure a firm foundation for the deck: It literally sets the groundwork for a smooth installation and long-lasting outdoor space.
Level the ground, clear away any rocks or debris, and focus on addressing drainage issues. If the ground doesn’t naturally slope away from your deck area, consider grading or adding a drainage system to prevent water issues. Take a good look at the soil itself; if it’s not ideal, make simple amendments to improve stability.
Step 3: Prepare the Footings & Set the Posts
The footings serve as the base support for the posts that uphold your entire deck structure, transferring the load from the deck surface to the ground.
Mark the Footing Positions:

You have a few footing options, but whichever style you choose, measure and mark the locations for your deck posts according to local code requirements and your deck plan to determine your footing placements, spacing, and depth.
Set the Footings:
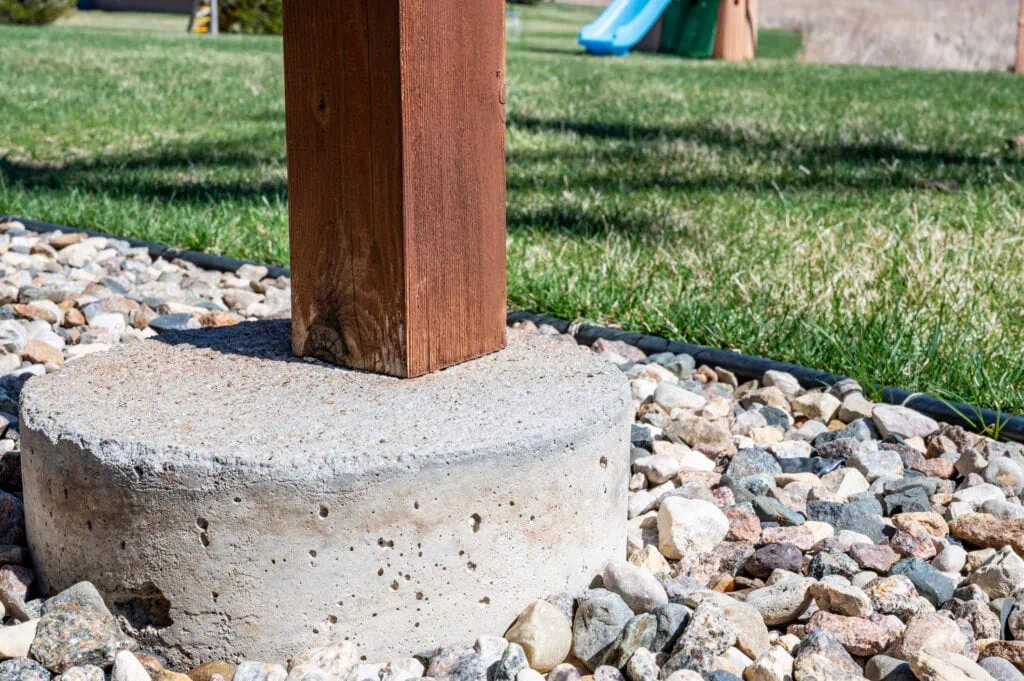
Poured Concrete: Dig your holes, place the posts manually or with a post driver, and fill the holes with wet concrete for robust support.
Concrete Blocks: Partially bury concrete blocks in the ground to provide stability. Place the posts inside the block cavities, using shims to achieve a snug fit. Then, pour concrete into the cavities to secure the post.
Instant Deck Blocks/Foundations: Place these DIY-friendly pre-formed blocks, made from a lightweight concrete alternative or high-strength thermoplastic, on the ground surface and they’re ready to accept common post sizes.
Set the Posts: Cut your deck posts based on the desired deck height and level the posts in your footings. I always reach for my handy post level at this stage, but you can also use a carpenter’s level. Secure your posts according to your footing choice. If you’re pouring concrete, brace your posts with temporary diagonal supports to keep them perfectly vertical until the concrete is dry.
Step 4: Install the Ledger Board

The ledger board, a horizontal board running the length of the deck edge and attached to the house’s substructure, transfers the weight and live load of the deck to your home’s frame and foundation.
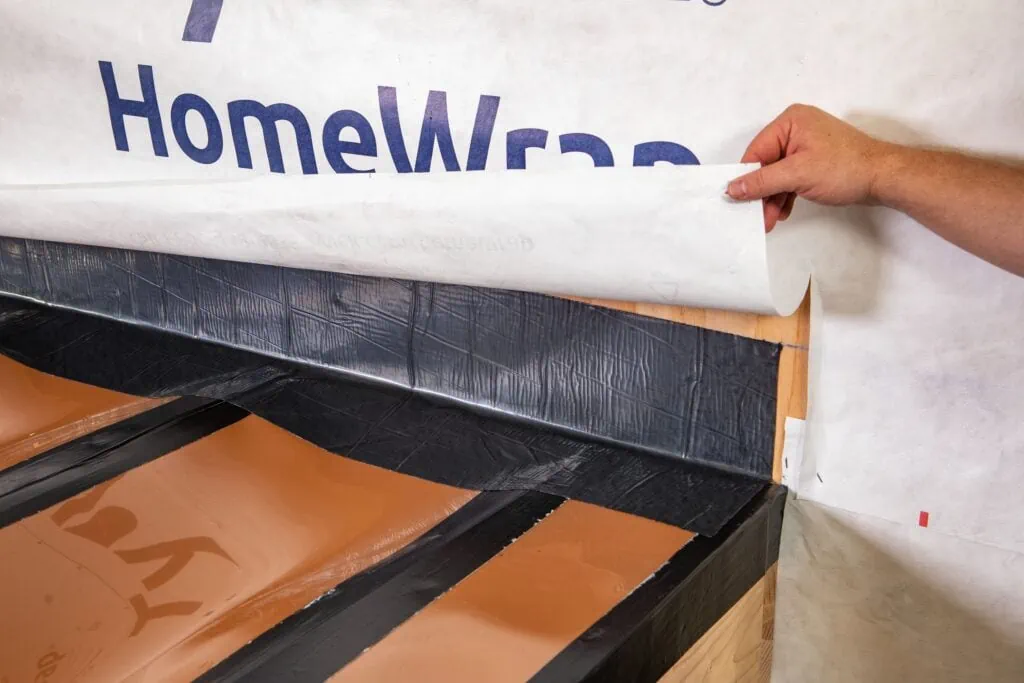
Prepare for the Ledger Board: If necessary, remove siding to expose the home substructure for ledger board attachment.
Mark the Desired Deck Position: Confirm the height of the ledger board by aligning it with your deck’s desired height. Using a level, snap a chalk line to indicate the top of the ledger board.
Attach the Ledger Board: Position the ledger board and secure it tightly to your home, using lag screws or bolts.
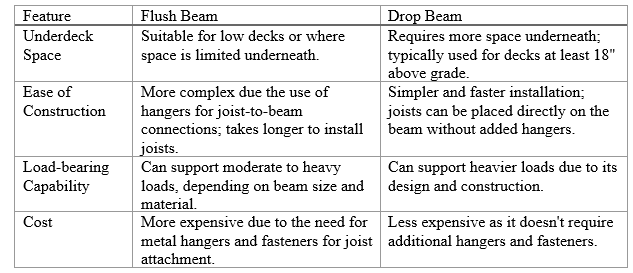
Step 5: Choose the Structural Beams
Decide whether you want to support your deck with flush beams or drop beams.
Flush Beams

Install the flush beams at the same level as the joists, connected with joist hangers. These beams are commonly used for decks that are low to the ground and those with angled corner stairs or an octagonal design.
Drop Beams
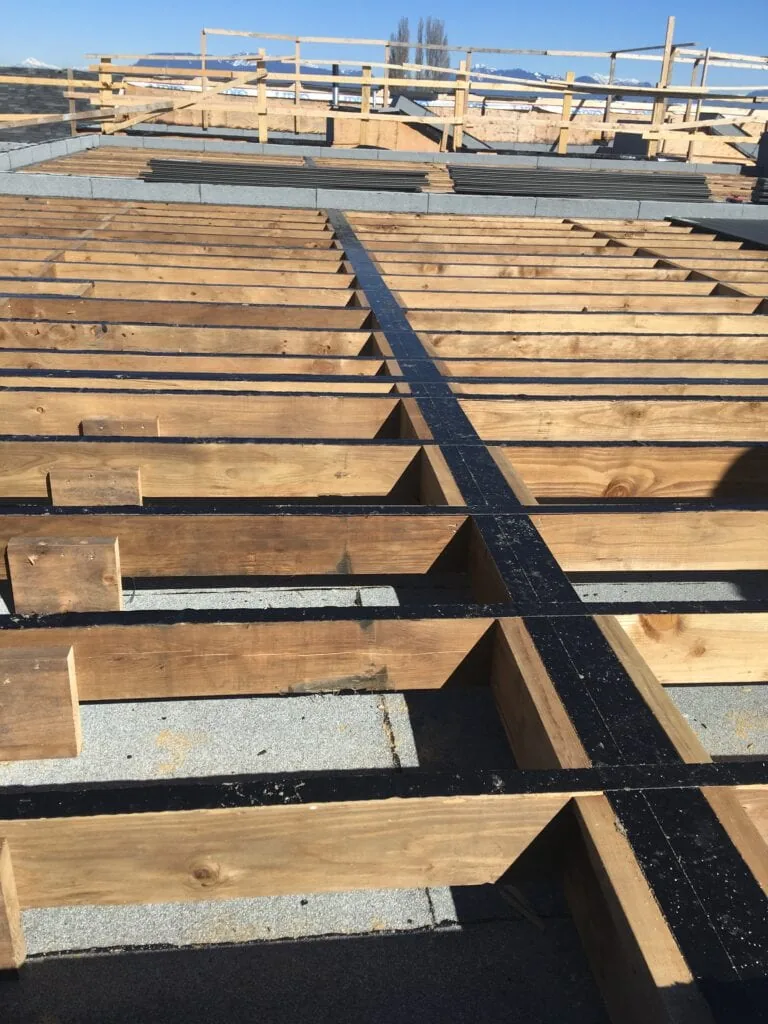
In a drop beam configuration, the joists sit atop the beams. Drop beams are the most popular beam style and especially suited to elevated decks, providing additional space beneath and allowing for design flexibility, including cantilevers and under-deck drainage solutions like Trex RainEscape.
Step 6: Install Deck Frame Beams and Rim Joists
This step lays establishes the boundaries of your entire deck frame and is crucial to its stability and longevity.
Choose Single or Double Beams
Beams and rim joists can be either single or double, depending on your local codes, your deck’s design, and load-bearing requirements. Single beams are common in simpler, low-profile decks, while double beams, consisting of two parallel framing components secured to one another with structural fasteners, are recommended for larger or more structurally demanding decks.
Attach Beams
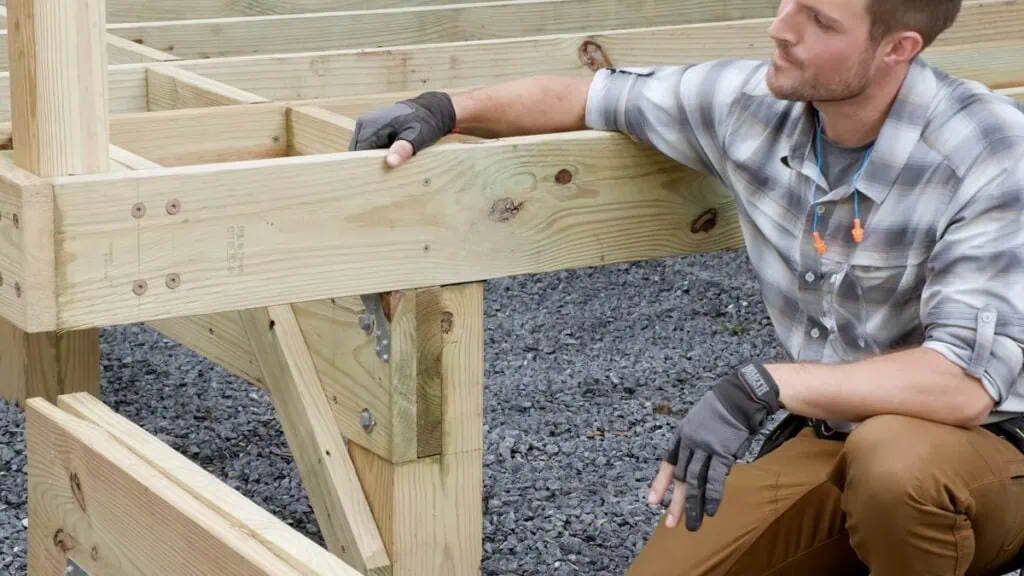
The outermost, or perimeter, beam defines the outer edge of the deck frame and provides horizontal support for the joists. Attach the framing beam, which run parallel to the ledger board, to the tops of your posts with post-to-beam connectors using screws or nails. Depending on your deck size and local codes, you may also have additional interior beams between the perimeter beam and the ledger board.
Attach Rim Joists
Rim joists run perpendicular to the ledger board, completing the deck frame and providing lateral support. Secure the rim joist to the ledger board. I prefer screws over nails for their holding power and resistance to loosening over time. Attach the other end of the rim joist to the perimeter beam with through-bolts or screws. If you have interior beams, attach your rim joists to them as well.
Check for Square
Check that your frame is square. I find the easiest way to do this for a rectangular deck section is by measuring the diagonals and verify they’re equal. Using a carpenter’s square, confirm that the frame’s corners form right angles. Making any necessary adjustments now will save you headaches later.
Step 7: Install the Deck Joists
Deck joists distribute the weight of the deck boards and providing structural stability to your deck.
Determine Joist Spacing: Decide on your joist spacing based on your local building codes and decking material to ensure the overall strength and load-bearing capacity of your deck.
Establish a Level Starting Point: Snap a level chalk line on the ledger board to mark the position for the bottoms of your joists. Do the same on your perimeter beam, and any interior beams, to guide your installation.
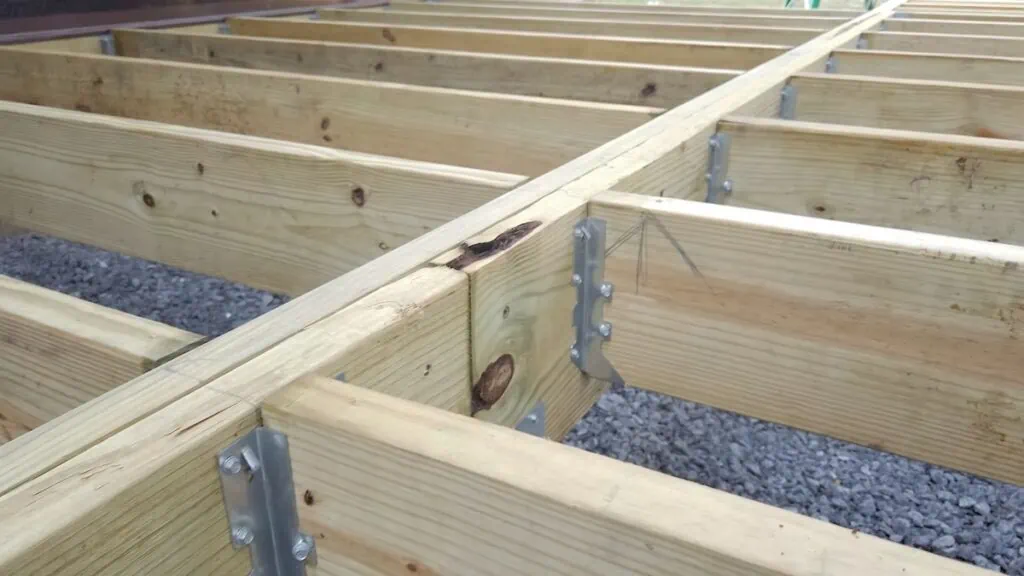
Install Joist Hangers: Evenly arrange your joist hangers according your joist spacing along both the ledger board and the perimeter beam. Other attachment methods may be used, such as metal connectors or brackets, but I choose joist hangers for their ease of installation.
Attach Joists to Ledger and Beam: Secure the deck joists perpendicular to the ledger board and perimeter beam, aligning the ends of the joists with your chalk lines. Place the joist ends into the joist hangers and drive your fasteners at a 45-degree angle for increased stability. Periodically check the alignment and spacing of the joists as you work to ensure a consistent and sound framework.
Add Blocking: Consider installing short horizontal framing pieces between parallel joists with screws or nails to enhance stability and load distribution. I always add blocking to longer spans and high-load areas for additional structural reinforcement.
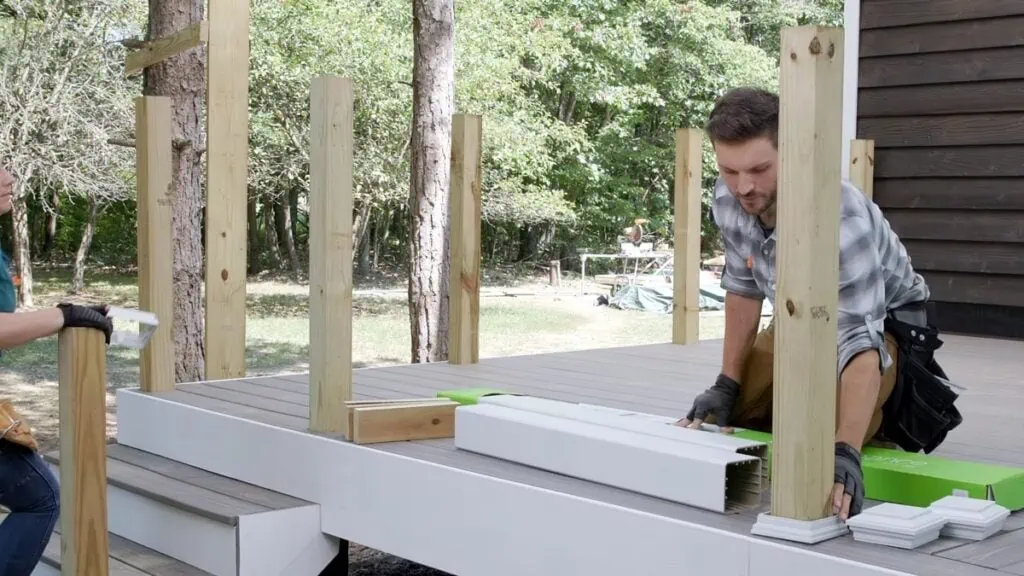
Step 8: Install the Deck Guardrail Posts
Guardrails provide support and structure for your deck’s railing system, ensuring safety and defining the deck’s perimeter.
Determine Post Placement: Plan the spacing of your guardrail posts evenly around the deck perimeter, following your local codes and any recommendations by your railing manufacturer. Align and mark your post locations on the deck joists.
Secure to Frame: Attach posts securely to the deck frame with appropriate fasteners and connectors, confirming they’re plumb and level with a carpenter’s or post level. I find it’s handy to have shims available to make minimal leveling adjustments.
Next Steps in Building Your Deck
With your deck frame complete, it’s time to protect your hard work… and bring your deck project to life.
Waterproof the Ledger: Apply protective flashing tape to the entire ledger board surface to direct water and moisture away from your home and prevent decay and rot that could jeopardize the long-term stability of your deck. Trust me, you do not want to experience the nightmare of a detached or collapsed deck due to ledger failure.
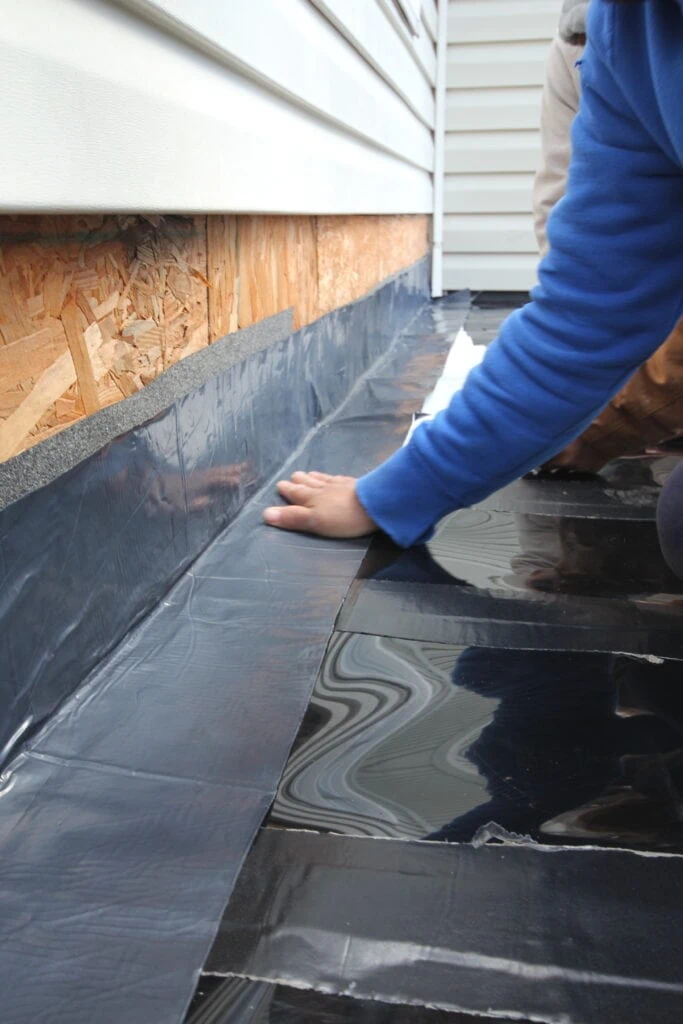
We developed Trex Seal Ledger Tape specifically for deck ledgers for a hassle-free application and unmatched defense against water penetration. Trex Seal the perfect width to seamlessly seal gaps at this critical deck-to-home connection point and is reinforced with aluminum lining to hold its shape for a simple application without staples.
If you’re installing the Trex RainEscape system for a dry underdeck area, install the system first, followed by your ledger flashing tape.
Waterproof the Beams and Joists: Safeguard your deck’s structural integrity by applying protective flashing tape to the top surface of the beams and joists.
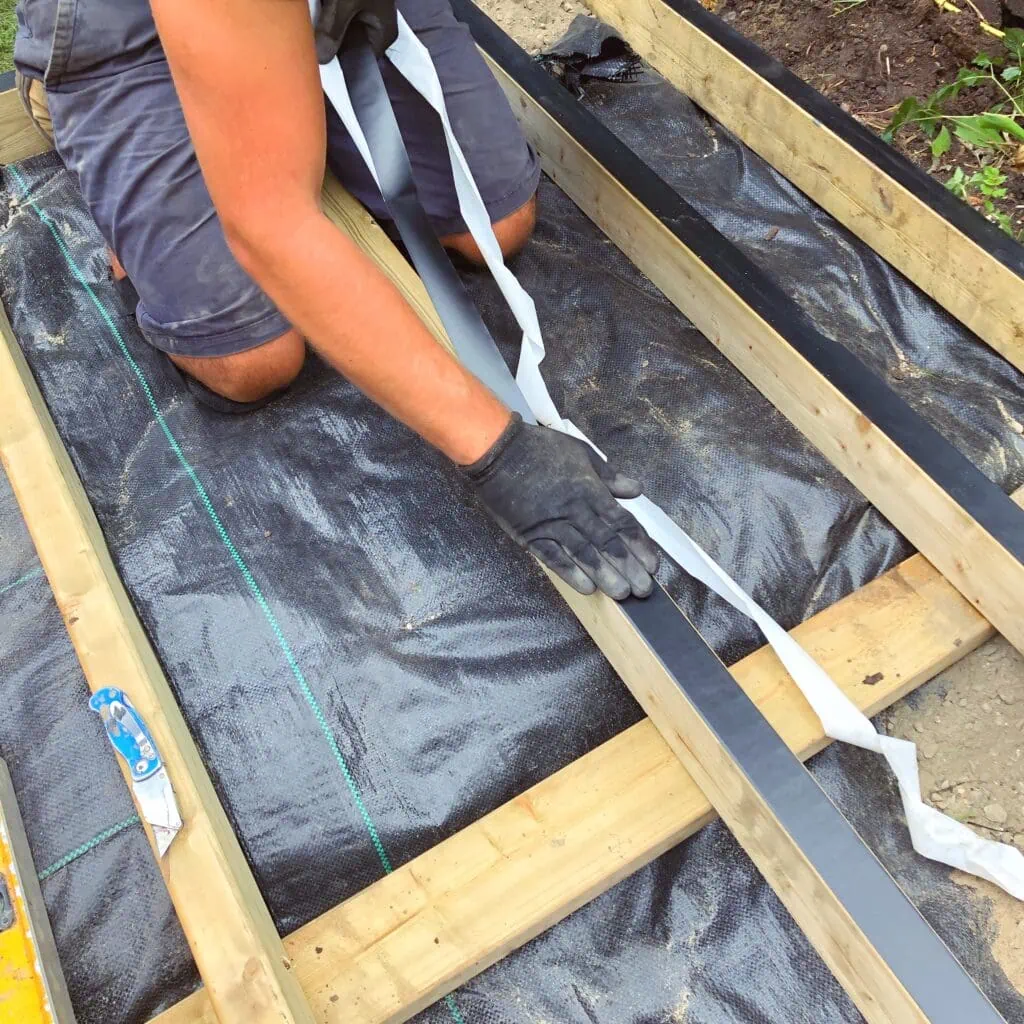
I recommend Trex Protect Joist, Beam & Rim Tape. This butyl-based tape shields your beams against moisture, helps your deck screws hold strong, acts as a barrier between wood and galvanized metal, and protects against splitting from freeze and thaw.
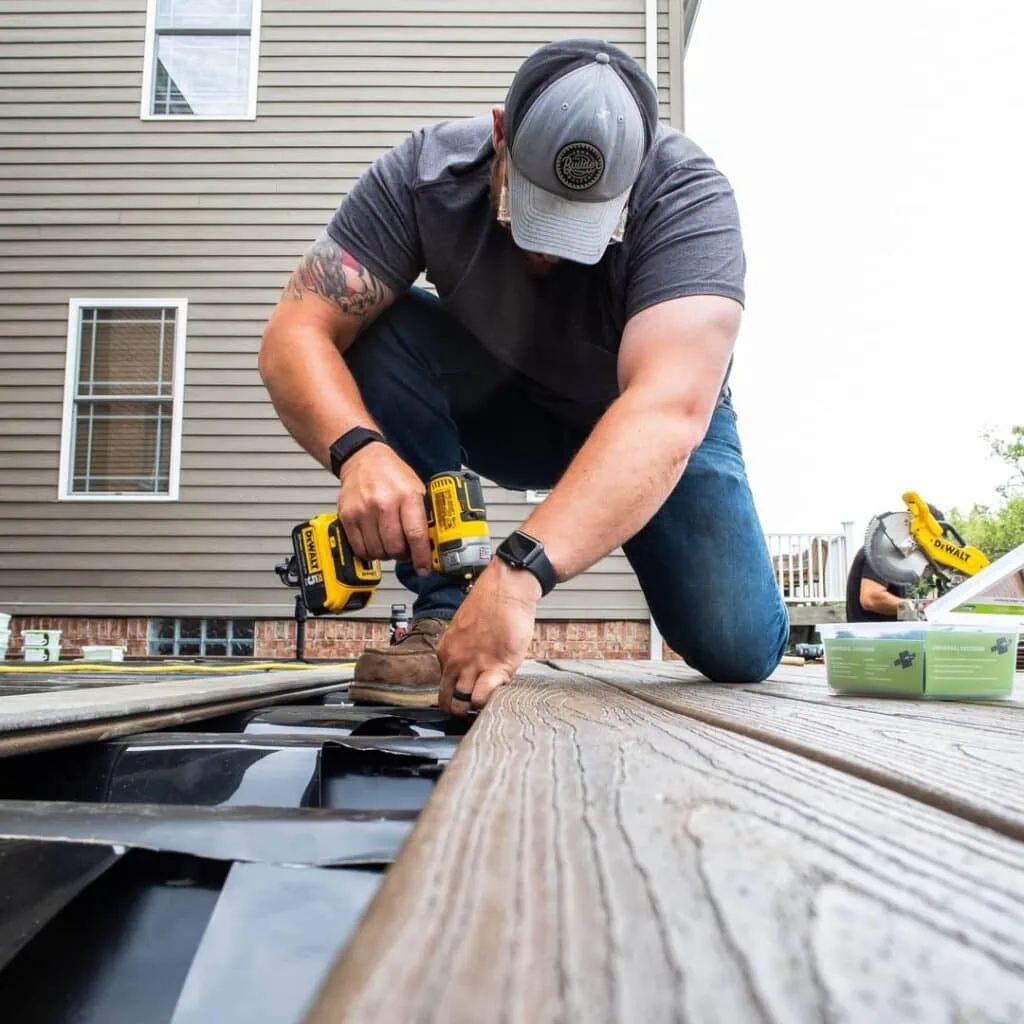
Install Decking Boards: Use a carpenter’s square to ensure boards are perpendicular to joists, and secure them with deck screws or hidden fasteners, depending on your chosen installation method. Maintain proper spacing between boards for drainage, typically around one-eighth inch.
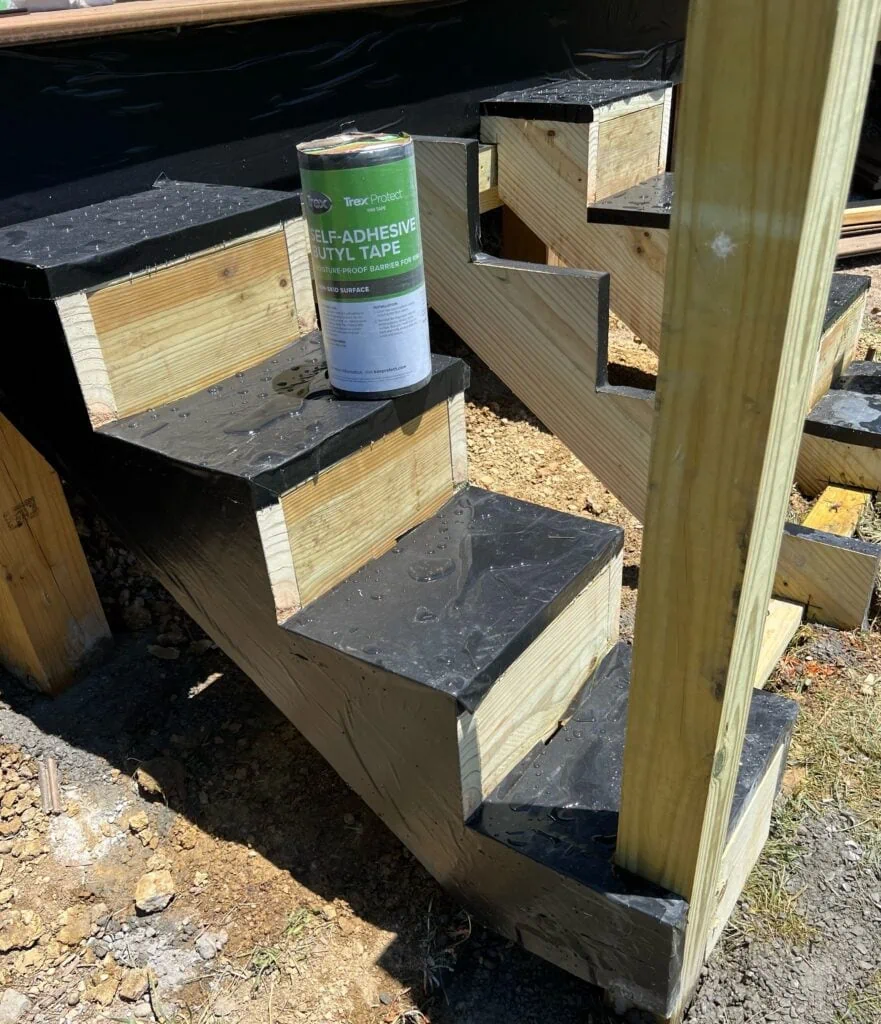
Add Stairs: Secure your stringers to the deck frame, then add the treads and risers. Be sure to adhere to local building codes for step dimensions and riser/tread requirements.
Install Railing: Complete your deck by installing a railing between your guardrail posts that complements your deck’s style and meets safety requirements.
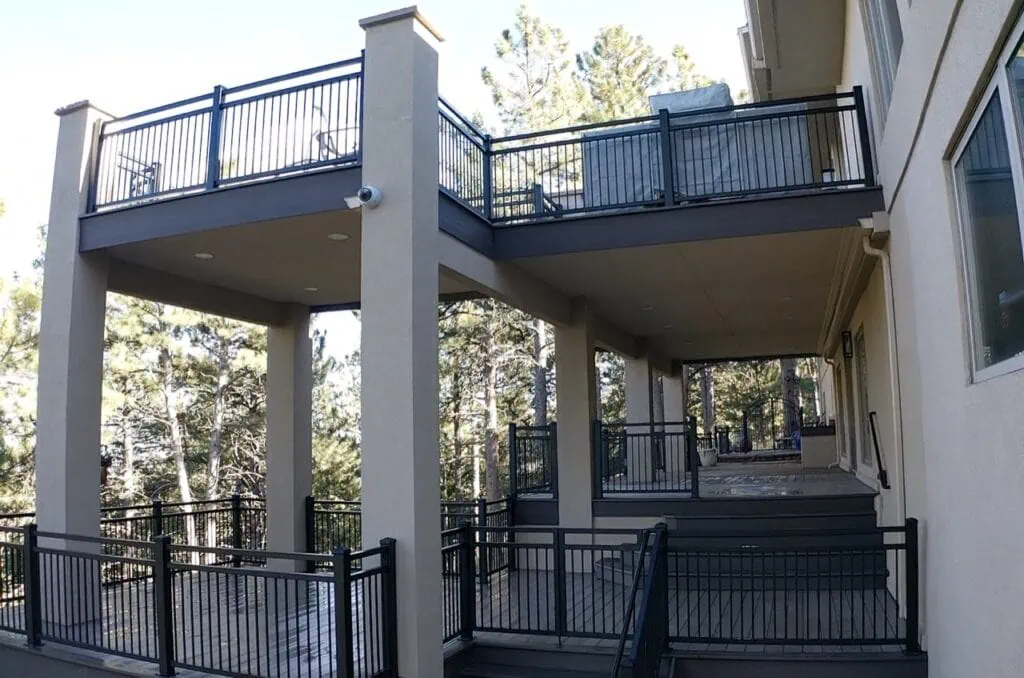
I hope this guide has inspired you. By following and adapting these steps to your own plan, you’re not just building a deck—you’re creating an enduring outdoor space that elevates your home and lifestyle. So, roll up your sleeves, dive into the construction process, and before you know it, you’ll be relaxing in the sunshine on your new outdoor retreat.
