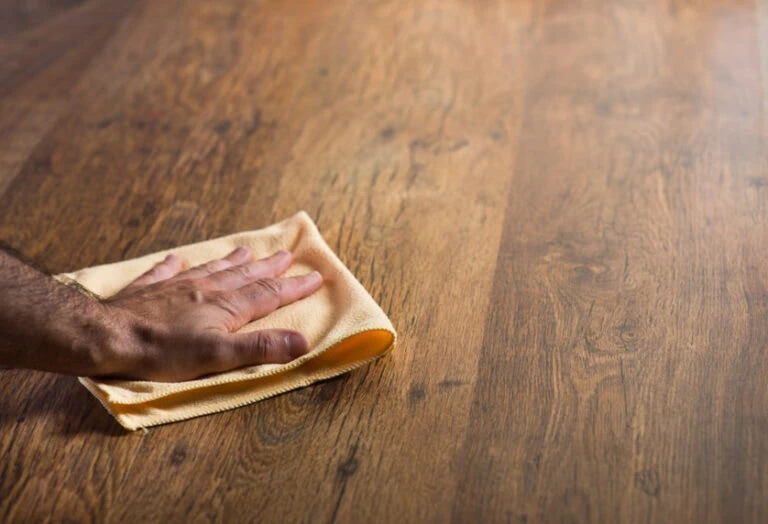
Your hardwood floors are the hero of your home. They’re beautiful, resilient, and give your home that classy and cozy feeling you’ve always wanted. So when they have an uneven stain, it can really impact the look and the vibe you’re trying to achieve. But if your hardwood floors have an uneven stain, you don’t need to worry— it’s fixable!
This article explains the steps to fixing uneven stains on your hardwood floors to restore its beauty and charm. When you’re done with this project, take a look at our other how-to flooring guides to DIY the house of your dreams!
What You’ll Need:
To get started on fixing uneven stains on your hardwood floors, you’ll need:
- Floor buffer/sandpaper
- Paint roller
- Paintbrush
- Microfiber mop
- Dust mask
The Step by Step Guide to Fixing Uneven Stains on Hardwood Floors
Firstly, apply your dust mask.
1. Sanding
Gently sand the affected areas to even out the surface. It’s best to use 180 to 220-grit sandpaper. You can sand by hand, or use an orbital electric sander or a handheld oscillating sander. Sand forward six inches and back five inches, and make sure you always move parallel with the grain of the wood.
Ensure the sanding of the floor is consistent. This is because stain absorbs into wood at different rates depending on the preparation of the surface. When you apply the stain to a consistently sanded floor, it comes out evenly.
2. Mopping
Use the microfiber mop to clean up the wood powder. Vacuum as well, if necessary.
3. Staining
Even if the floor looks great after you’ve sanded it, it will still need staining. Pour a small amount of stain onto a dry rag, or dip your rag into the pot of stain, being careful not to use too much. Apply the stain across the grains of wood, overlapping with each pass. Move as quickly as possible to completely wet the floor, then wipe the stain off as fast as you can with another soft and dry cloth. Allow the stain to dry for around two to three days. If you need to, you can re-stain, as long as you allow it to fully dry after each coat.
4. Sealing
Use a paintbrush or roller to apply a coat of polyurethane finish. Allow it to dry for six to eight hours, but preferably overnight. This finish will protect your floor from spilled liquids, as liquid will bead up so you can easily wipe it away.
Check Out Our Other How-To Guides
We hope this article has helped all of you DIY enthusiasts out there! We at Extreme How To wish you luck with your project and hope it comes out beautifully. Now that you’ve got your DIY boots on, feel free to check out some of our other how-to guides to turn your home into your own personalized palace.


