Metal brackets make everything square again.
Wooden fence gates are notorious for getting out of whack. The wood’s inherent instability during temperature changes coupled with the heavy weight of the gate can stress the wood connections as well as the metal hardware, causing the gate to warp, sag and eventually require replacement.
Replacement was required for the worn-out gate shown in this project. The original Z-braced gate had adopted a potato chip shape, broken loose from its hinges and would not completely close at the top or bottom. The backyard dog was now attempting to squeeze through the gap and make a break for the wide blue yonder. We used a metal hardware kit to rebuild the gate, and here’s how it went.
Step by Step
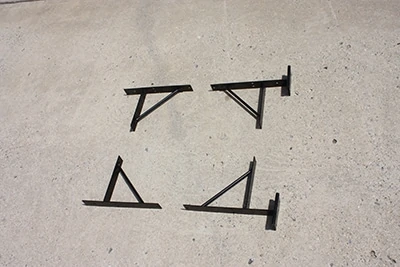
We picked up a Homax Easy Gate No-sag Gate Kit at our local Lowe’s. The kit includes two hinged brackets, two non-hinged brackets and 36 mounting screws. The kit is designed to fit a gate 25 to 72 inches wide. We built the gate from pressure-treated 2×4 lumber and 1×6 fence boards.
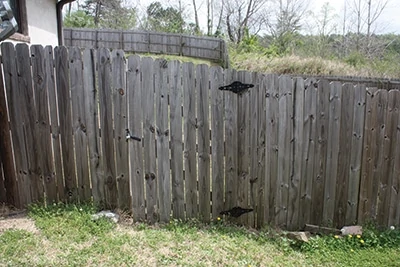
The original gate, which followed the grade of the lawn, had warped to the point it would no longer work.
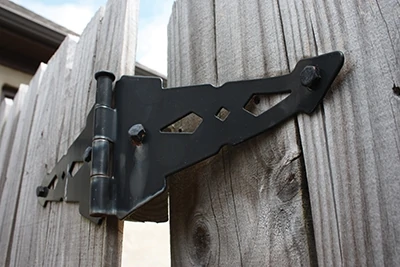
The stresses on the gate caused it to tear away from the hinges, and large gaps had opened at the top and bottom.
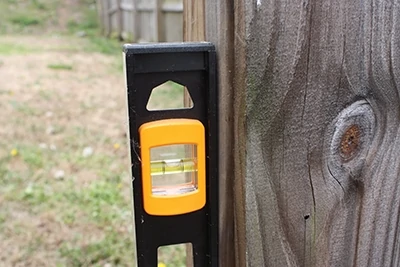
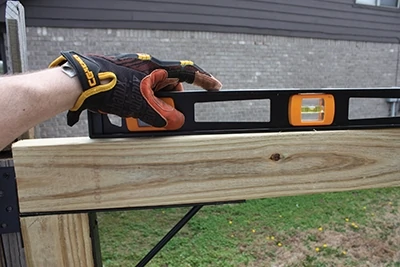
The first step was disassembling the old gate. After checking with a hand level we determined that the old gate posts were still plumb, and only the gate itself had deteriorated.
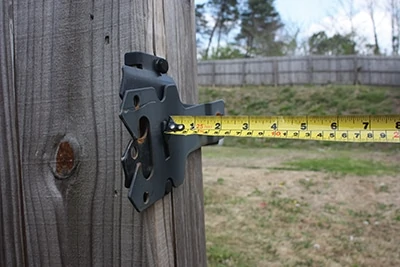
A quick read of the tape measure told us out gate dimensions. We designed the new gate with a 1/2-in. expansion gap between posts so the gate can easily swing open and close, and the gate-bolt would easily connect with the latch.
Next, we oriented the gate hardware on a large flat surface as it would be configured for the gate door. It’s important that the hinges are on the correct left or right side of the gate opening for which way the gate will swing.
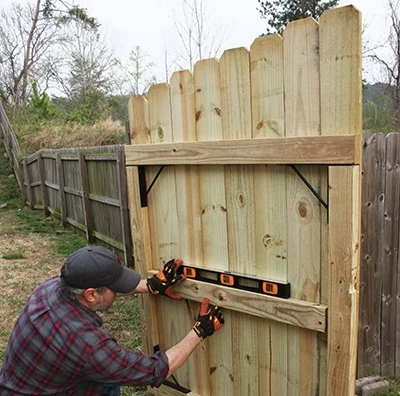
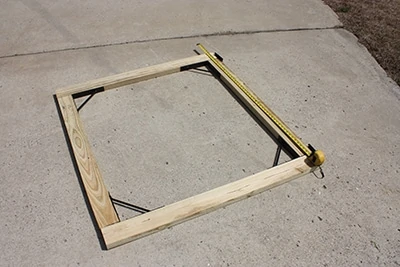
We cut and installed the 2×4 framing members so they fit squarely into the metal brackets. The side rails fit flush between the upper and lower rails.
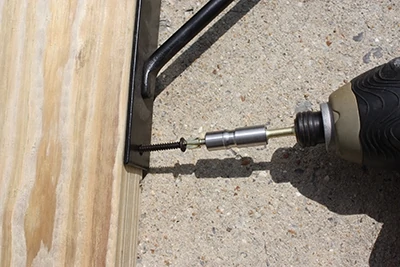
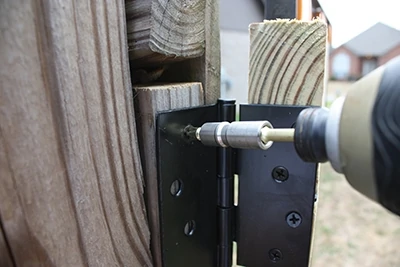
All fastener holes were pre-drilled with a 1/8-in. bit to prevent splitting the wood. The pan-head mounting screws install through the pre-punched holes in the brackets and into the 2×4 frame.
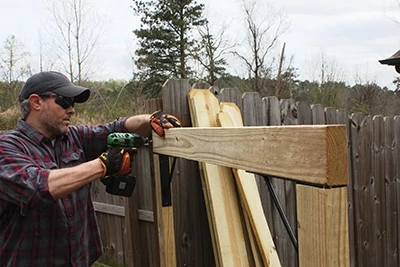
It helps to have an assistant hold the square gate frame in place while you level and plumb it on the fence post.
Predrill and install the mounting screws through the hinged brackets into the support post or blocking of the fence (depending on its construction).
Once the frame is secured to the fence, check its swing for smooth unobstructed performance and make any necessary adjustments.
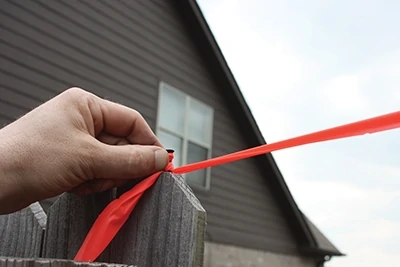
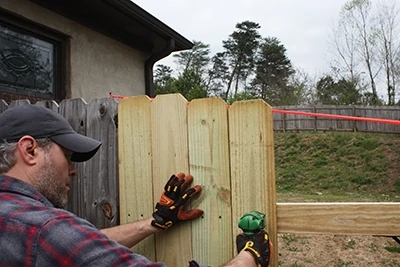
This particular fence was built on a slope, and the fence boards closely followed the grade of the land. Since the gate boards would need to follow suit, I ran a string from the top of one existing fence board to the top of the board on the opposite side of the gate. The string served as an elevation guide as we installed the gate boards.
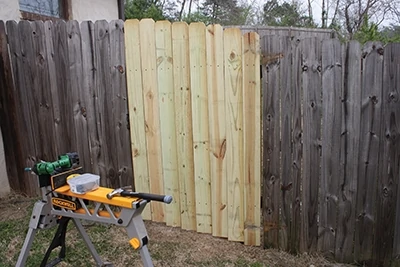
Using quality decking screws, we fastened the boards to the gate frame using two screws at each 2×4 location. Once the boards were secure, we installed horizontal 2×4 cross-member in the center of the frame and screwed it to the boards to prevent deflection in the 1x material.
Shown is the completed repair with the gate closed. The next step is to pressure-wash the fence and stain all the wood to match.


