

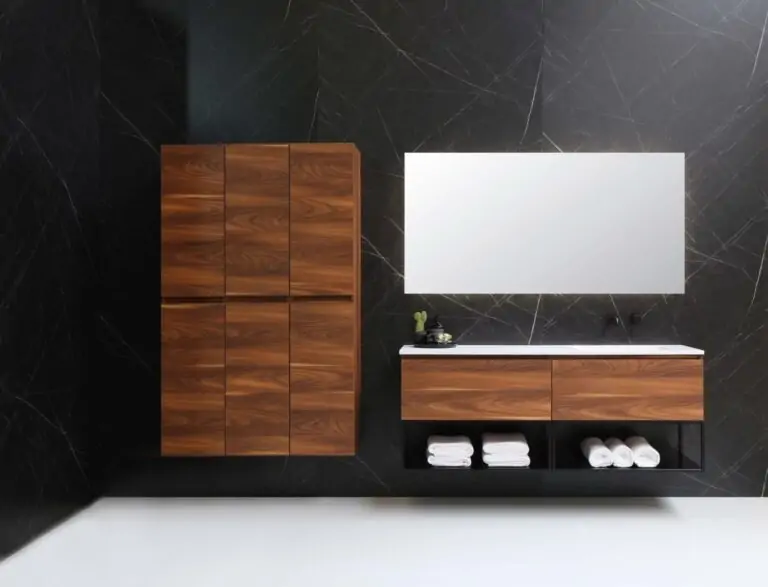
How To Fix A Warped Cabinet Door
Has your cabinet door seemingly taken a trip to a water park? Moisture can warp cabinet doors easily. When wood becomes wet, it acts as a sponge and soaks up the water, causing it to expand and then warp. This leaves you with an aesthetic you didn’t ask for, a door that doesn’t close properly, and that question you’re asking yourself: How do I fix this?!
This blog outlines the possible causes of your warped cabinet door, the tools you’ll need to fix it, and the 4 steps to take to return it to normal.
What Warped My Cabinet Door?
Typically, the culprit behind a warped cabinet door is humidity, nearby dripping water, or another water source. In kitchens, warped cabinet doors are most frequently found on cupboards next to the dishwasher or sink. For bathrooms, proximity to the bath or shower can be the cause.
When water drips or splashes back on wood, over time it can accumulate this moisture which leads to warping. Other times, certain climates can cause doors to warp without any additional help. High humidity causes moisture in the air to gather in the wood, increasing its moisture content (MC). Warping then occurs when the moisture content in a piece of wood is higher than the air around it.
What You’ll Need to Fix a Warped Cabinet Door
To fix your warped cabinet door, grab your:
- Screwdriver
- Sealant
- Sandpaper
- Paintbrush
- Two sawhorses
- Varnish
- Heavy towels or a large blanket
- 50lb sandbag (or similar)
Let’s Get Down to Fixing that Warped Cabinet Door
Once you’ve gathered your fixing equipment, it’s time to get to work.
-
Remove the Door
Firstly, remove the door by using the screwdriver to unscrew the hinges. Once the door is removed, place it across both sawhorses and make sure the warped side is facing up.
-
Sanding
Sand back the affected area, moving the sandpaper back and forth against the grain to narrow it down. Check your progress every so often to ensure you’re making the gap smaller, but without over-sanding it. After this step if you were to put the door back on it may fit better than it did before, but it won’t completely fix the warp.
-
Fix the Jambs
This means we’re onto the next step, which is fixing the jambs. Move the doorstop and use the screwdriver to gently move the doorstop away from the jamb. Close the door and reinstall the frames.
-
Flatten the Door
If the door is still warped by this step, assess the damage the warp has done to the door.
If it’s just slightly warped, lay the sandbag or other approximately 50lb item on the warped area. Leave it for however long it takes to fix the warp, checking on it periodically so that it doesn’t cause a new warp in the opposite direction.
If the warp is more severe, this step may take a couple of days. Wet the towels or blanket and lay across the affected area. Every day, re-wet the blanket and add 5-10lbs of weight, leaving the items there until the warp has disappeared.
In either case, it’s important to let the door dry completely before reattaching it. If you put the door back on with any moisture in it, you may find yourself back at square one!
Apply seal and varnish to prevent any more warping, and seal the door frame. After the door is completely dry, reattach the door to the frame.
Got a Warped Cabinet Door?
If your cabinet door has given itself a DIY treatment, we hope this article has helped you discover how to return it to the state you bought it in! At Extreme How To we’ve been working for nearly 20 years on helping you to execute professional-grade projects such as tiling, window replacement, deck construction, and more.
