Easy to work with but tricky to finish, pine has its advantages and disadvantages as a wood for building furniture. On the plus side, it’s easy to find at most big-box stores, it’s relatively inexpensive, and it’s easy to shape and cut. On the down side, staining it can be somewhat difficult.
Sanding
Sanding is the foundation of any finishing project. While pine is easy to sand, it’s also easy to damage. The soft wood between the growth rings can wear down quicker than the rings if not sanded correctly. The best method for sanding pine is to use a variable-speed randon orbital sander. Set it at the lowest speed and let the sander do the work, without bearing down on the work surface. Start with P100-grit sandpaper and work gradually up to P180.
If you’re building a piece of furniture from pine, then sand the various boards before assembling the project. This will give you easy access to all sides and edges and allow you a comfortable sanding position, i.e. atop a work bench. It will also save you from a huge sanding job after assembly, where you’ll have to work around corners and tight spaces.
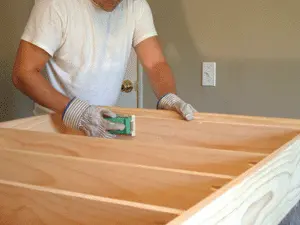
Once the surface is smoothed by the P180, you should complete the job by hand sanding. A random orbital sander will inevitably leave tiny, circular swirl marks on the surface of the wood. Hand sanding will remove these. Use P180-grit paper on a rubber or other soft-backed sanding block, sanding in the direction of the grain. Cross-grain sanding can easily scratch the pine, leaving marks evident on the surface.
So sand with the grain and gradually move up to 220-grit paper to complete the job. On curved or milled surfaces use shaped rubber profiles to back the paper, or create your own backing block that conforms to the shape you’re sanding.
Because pine is so easy to scratch, it’s best to avoid belt sanders or any sander set to high speed, because they can get away from you and damage the wood. In the event that you dent or scratch the wood, you can dampen and heat the area to raise the wood grain to make a repair. To do this, use a very small brush to apply a small amount of water to the scratch or dent. Then use a hot laundry iron covered with a soft cloth to heat the area, raising the wood grain. Then sand as usual.
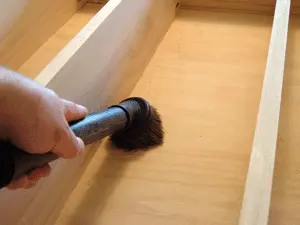
Once sanded, clean away any dust with a tack cloth or vacuum cleaner.
Sealing
Because of its combination of soft and harder wood, pine tends to absorb stain at different rates or amounts, which can cause blotching and uneven staining. Pine can also bleed pitch through the finish. To minimize this, it’s best to seal the wood prior to staining. Sealing will help prevent the softer wood from absorbing extra stain.

You can buy manufactured sealers called stain controllers to use as a washcoat. Or you can make your own from dewaxed shellac. The washcoat needs to be thin—such as a 1/2-pound cut of shellac—so it doesn’t completely seal the wood. The washcoat used on the shelf case shown is made of thinned SealCoat from Zinsser. SealCoat comes as a 2-pound cut, so for this purpose it should be thinned with denatured alcohol—two parts alcohol to one part SealCoat.
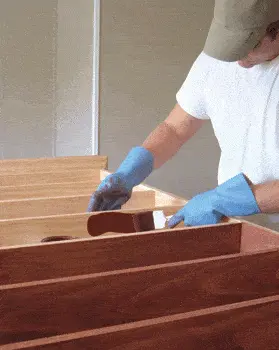
Soak a rag in the washcoat, ring it out, and wipe across the surface of the wood. The washcoat is a very thin liquid, so don’t slop it around or use a brush, which can cause runs.
The application of the washcoat should be consistent so different areas of the wood won’t absorb different amounts of stain, resulting in an uneven finish. Once the washcoat is complete, allow it to dry for at least one hour, then lightly sand with 220-grit sandpaper.
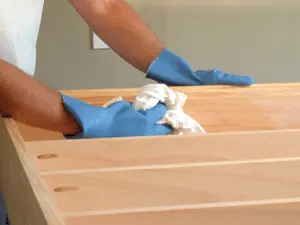
For both sanding and sealing, it’s always smart to first apply the products to a scrap piece of similar wood. This will allow you to examine the results and fine-tune your product selection or application method to get the desired result. In other words, don’t experiment on your furniture.
Bear in mind that a seal coat is not absolutely critical, but if applied correctly it can result in a more even tone. Without a washcoat, the bands of softer spring wood will absorb more stain, enhancing the contrast on the finished wood surface.
Staining
A gel stain was chosen for the shelf case shown. Gel stains are available in a variety of tints, and because the product is thick and gelatinous, it doesn’t run, making it easy to work with.
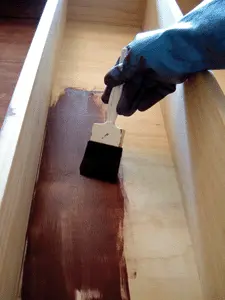
After removing any leftover sawdust, apply the gel stain with a foam brush, covering about 3 square feet at a time.
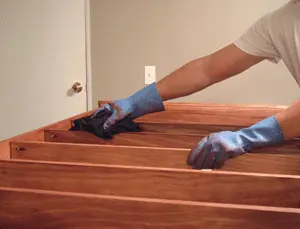
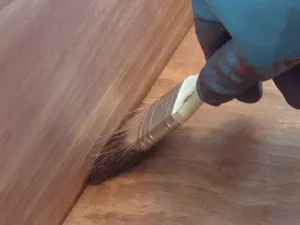
Then wipe away excess stain with a clean cloth before the stain has a chance to get tacky. Work over the entire piece of furniture in this way. Use a brush with short bristles to remove excess stain that accumulates in the corners, periodically wiping the brush clean. Once complete, allow the stain to dry for 5 hours or more. Apply further coats for a darker color.
Topcoat
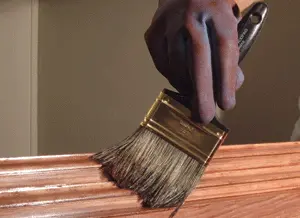
Most professionals seem to agree that pine looks best topped with a thin coat of satin varnish. You can use a gel varnish or a brushed-on coat of satin varnish. The project shown was topped with the brushed-on variety—one or two coats should suffice. If there’s any rough texture once the topcoats have dried you can lightly sand with a very fine grit of sandpaper to complete the job.
