

By Adam Clark, Westlake Royal Building Products
Flashing is a critical part of roofing and siding jobs, and installers can craft the pieces themselves using a siding brake. State-of-the-art brakes and saw tables offer the utmost precision to create a high-quality, finished look for custom exterior trim and flashing.
On-site bending of flashing and trim can not only result in high-quality materials, but it can help save money—as much as 36% versus premade trim. It can also provide a side job to bring in extra money working after hours.
A Selection of Brakes and Accessories
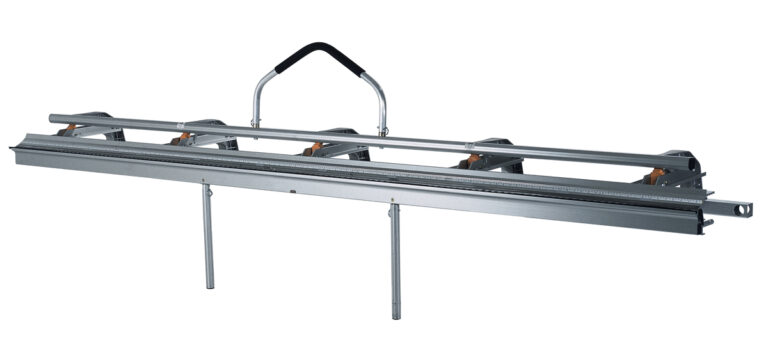
Siding brakes allow users to take aluminum trim coil, feed it into the machine, and then bend the metal into various custom flashing and trim shapes using hinged handles.
Depending on the user’s goals, there is a range of brake models available to accommodate their specific needs.
For example, the Tapco Tools PRO brake, which comes almost completely assembled and is ready to bend in just a few minutes, is ideal for smaller operations and jobs; the Windy SP is another lightweight option with portability for transporting to jobsites. On the opposite end of the spectrum are the MAX-I-MUM XL and MX Series, which are well-suited to commercial-grade and heavy-duty bending.
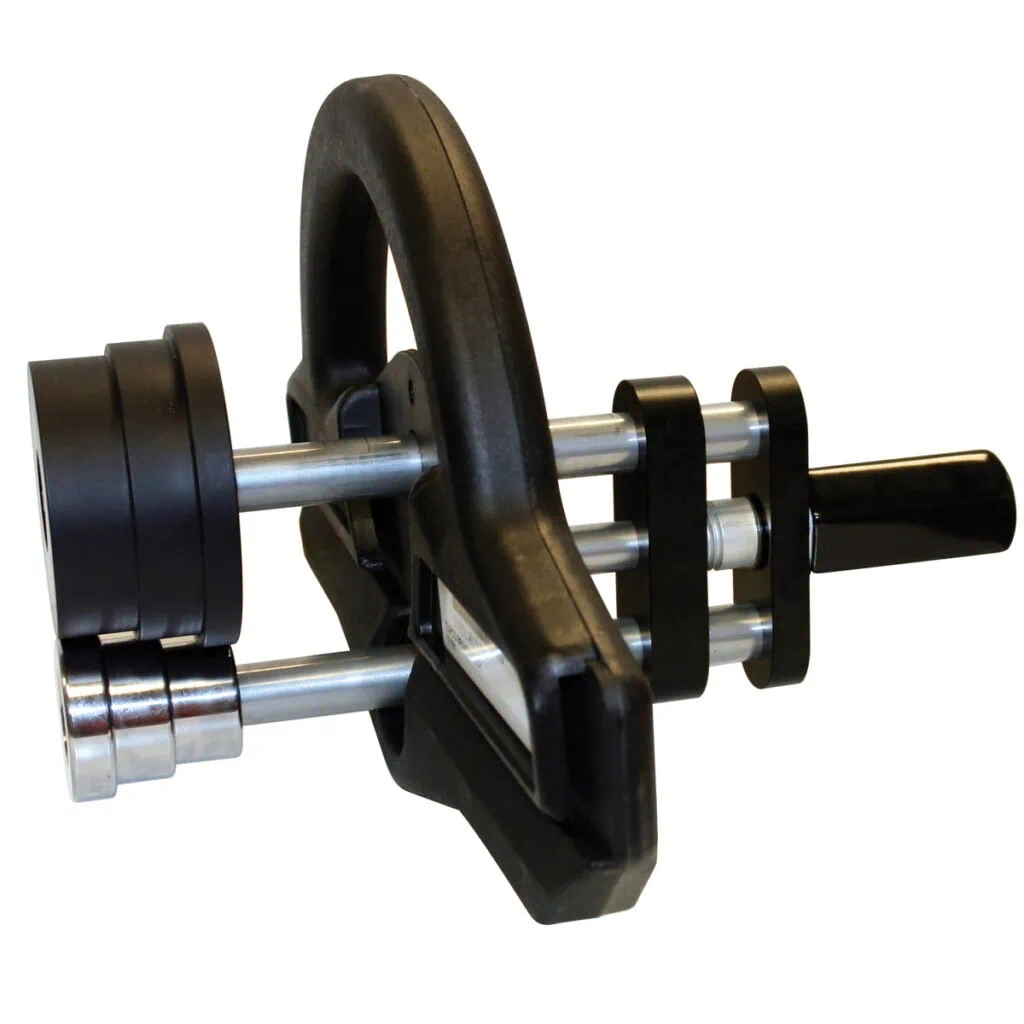
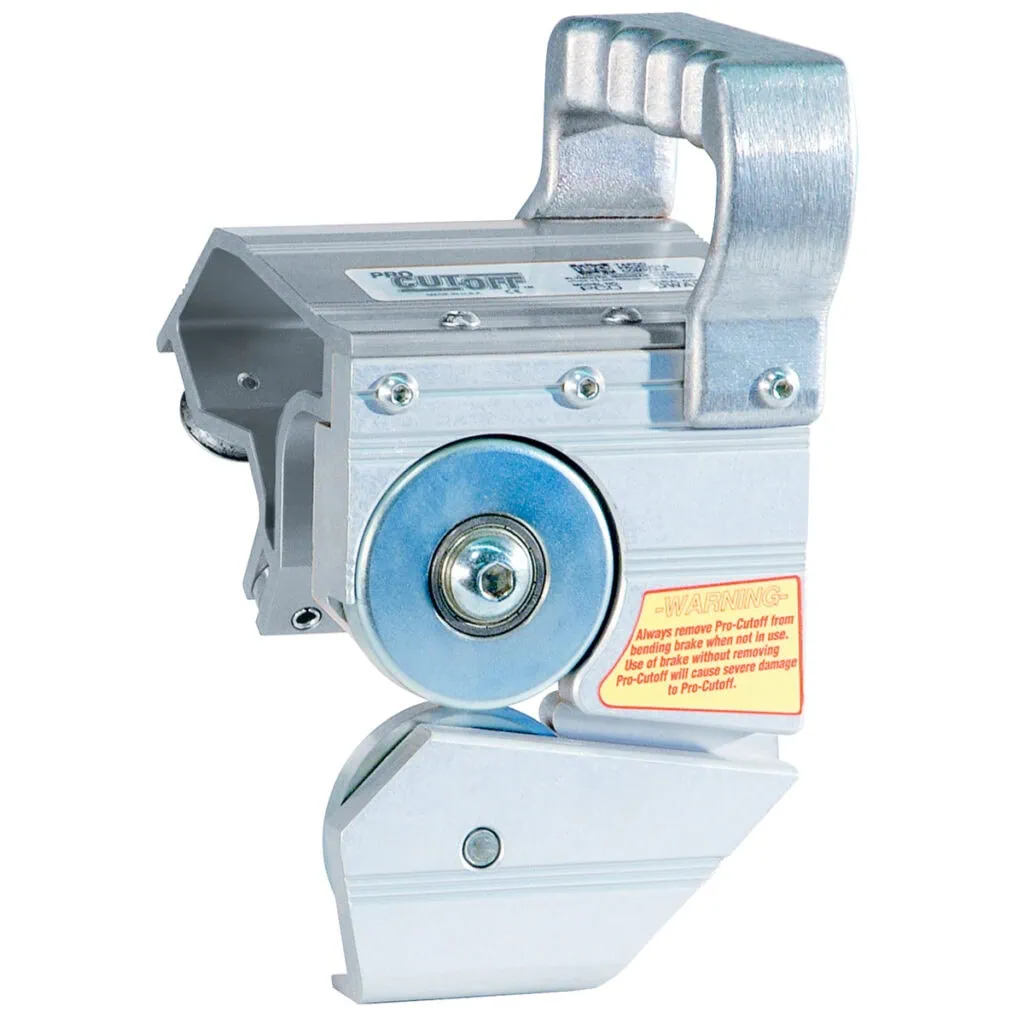
Accompanying the brakes are a range of accessories that provide even more versatility. These include a hinged onboard tape measure system for easier, faster bending; a Brake Buddy that allows for more custom and decorative trim fabrication; and a cut-off tool that provides single-pass cuts to eliminate the need for utility knives and shears.
Getting Started with a Brake
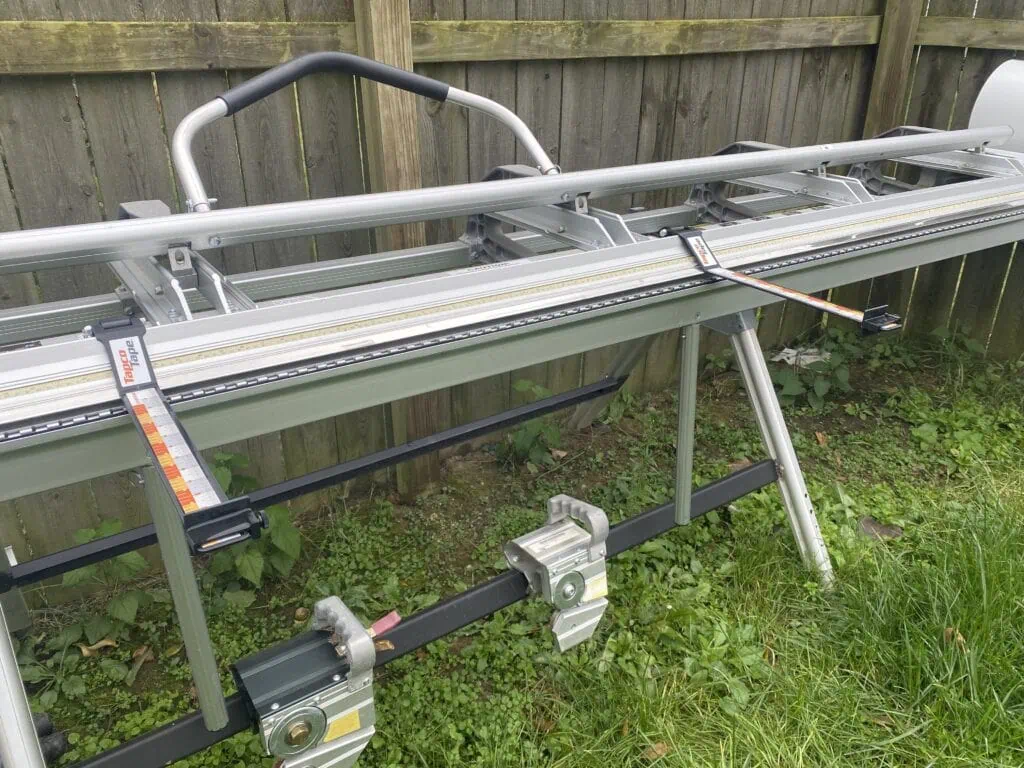
At first glance, a siding brake may appear a bit intimidating. But extensive training and customer support are available to help you get started using a brake.
Setting up a PRO-grade brake is fairly straightforward: Assemble the stand legs, then set the brake onto the stand and secure. Finally, add accessories and the bending handles.
Watch the setup process here:
Common Trim & Flashing Bends
Though there is a range of trim and flashing bends you can perform on a siding brake, here are a few of the most common.
4 Basic Shapes:
Some of the most common bends on a brake are hemming an edge, a sill seam, simple (3/4”) step flashing, and tight (1/2”) step flashing. Here’s how they’re done:
J-Channel and L-Bends
Making a J-channel on a Tapco brake is straightforward, and creating a window head flashing is a very similar process. Watch the process here:
Bending Bay Window Corner Posts
Often, installers will try to stretch a vinyl siding corner at a 22- or 45-degree bay window. Here’s a better solution.
Kickout Flashing
In honor of International Flashing Awareness Day, Siding by Ruiz showed a video on the importance of kickout flashing and how he creates it using a siding brake:
View this post on Instagram
Learn More and Get Started
To learn more about getting started with a siding brake, visit www.tapcotools.com. The site includes a library of instruction manuals and how-to videos, and the manufacturer is available to answer questions and provide training and support.
