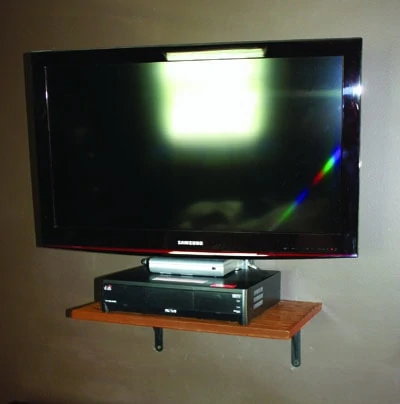
Here’s an easy-to-make accessory shelf for a wall-mount television.
By Matt Weber
If you have a free afternoon, a couple of shelf brackets and some spare plywood, you can organize a wall-mounted TV the way we did.
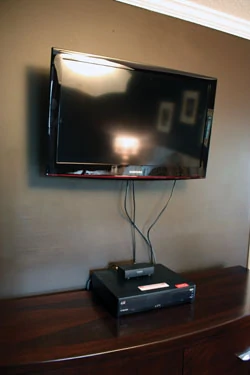
Although ready-made TV mounting hardware nicely supports a flat-screen on a wall, such systems do not accommodate a satellite receiver or Blu-ray player. After installing a new wall-mounted flat screen, a handful of cables dangled down the wall from the TV to the top of a dresser, where they were connected to the accessory electronics. It was a disorganized mess, so I built a shelf to streamline the look.
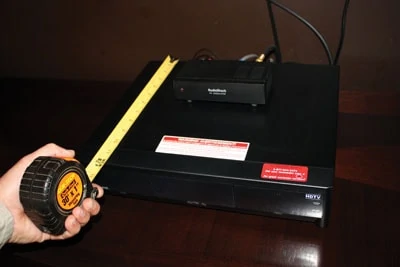
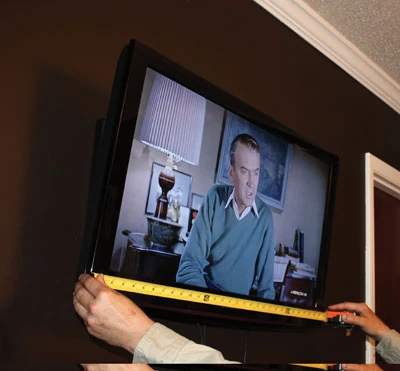
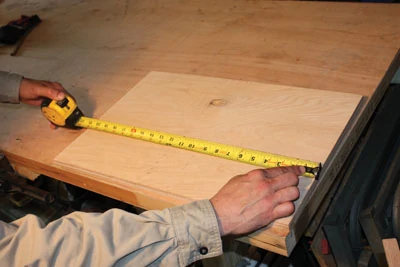
This is a simple project that requires only a few critical measurements. Measure the electronics you need to hold, making sure to leave ample room for the cords or cables that plug into the rear of the console. Also, measure the width of the television. The size of your shelf should strike a balance between a large enough size to support the TV accessories while small enough to look proportional to the TV screen.
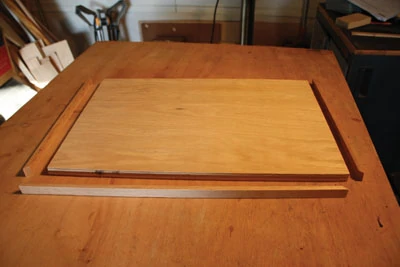
I cut the shelf from 3/4-in. oak plywood. To hide the unfinished edge of the plywood, I wrapped the front and sides of my shelf with solid oak edging. I ripped the oak strip to 1/4-in. thick, and used its 1x (3/4-in.) height to completely conceal the plywood edge. Note: Remember to account for the thickness of the edging when determining your shelf size.
The shelf was supported by metal shelf brackets mounted into the wall studs with heavy-duty screws. Since the shelf was to be mounted over a dresser, we chose brackets with an arched, concave design to retain as much under-shelf dresser space as possible.
The power outlet and satellite connection were located at the floor level and behind the dresser. To manage the wires, I drilled into the drywall to route the wires behind the drywall and through the stud cavity to a second access hole near the power outlet.
If you decide to route the wires through the wall, make sure to check the wall with a stud finder to ensure there is no between-the-stud blocking in the wall or other obstruction that would interfere with routing the wires. If you are unable to hide the wires inside the wall, an alternative solution is to install wire molding, which conceals the wires in a plastic channel. You can then paint the wire molding to match the wall color.
Step by Step
The jumbled wires and cumbersome TV accessories were an unsightly mess in this bedroom.
To solve the problem, the shelf should be deep enough for the largest of accessories, plus the necessary clearance for cords connected at the rear.
The shelf should be wide enough for the accessories without looking out of proportion to the TV set.
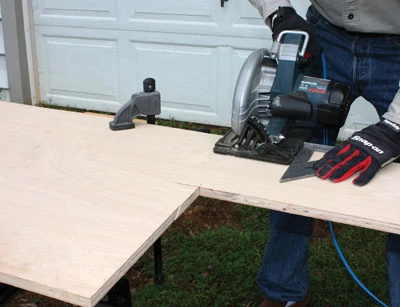
Trim the shelf stock to size, accounting for the extra 1/4” edging at the sides and front.
Locate the studs on the wall. Center the shelf over the studs and transfer those measurements to the underside of the shelf to mark the shelf brackets.
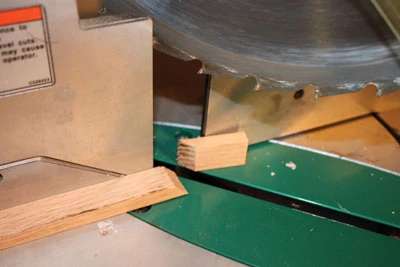
Trim the edging to size, cutting 45-deg. miters at the corners.
Test-fit the edging.
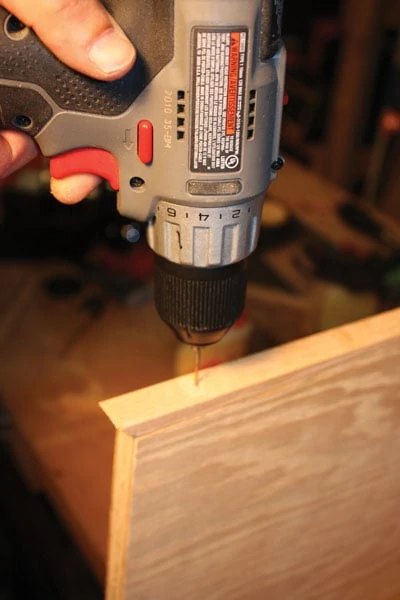
The edging was installed with a combination of wood glue and finish nails, with holes predrilled for the nails.
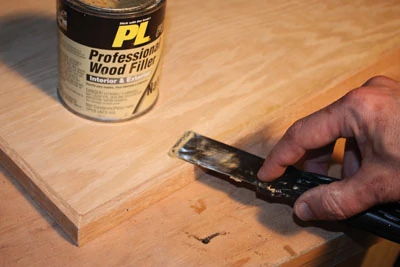
Use paintable wood putty to fill all joints and nail holes.
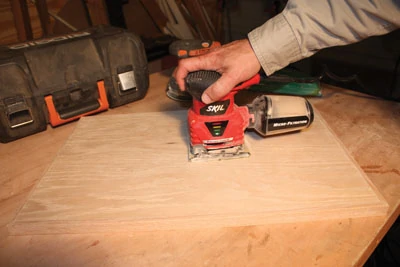
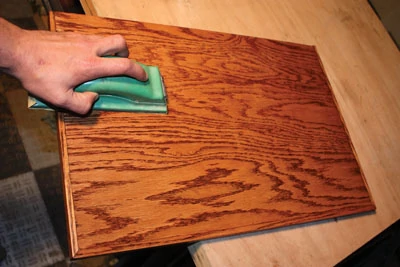
Sand the shelf in the direction of the wood grain with progressively finer abrasive to 220-grit.
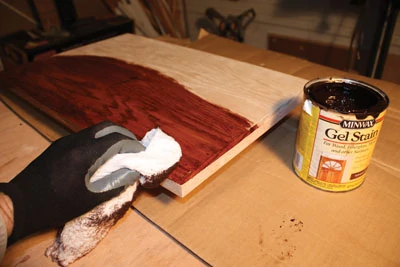
Dust the shelf with a tack cloth and apply wood stain.
I chose a gel stain because it doesn’t run and is easy to work with.
Once dry, apply two or three coats of polyurethane, lightly scuff-sanding between coats.
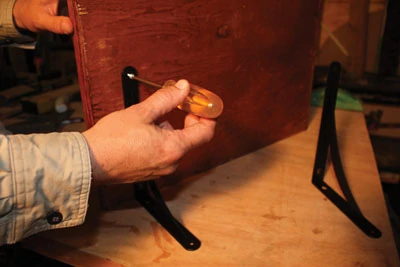
Screw on the shelf brackets with 1/2″ wood screws.
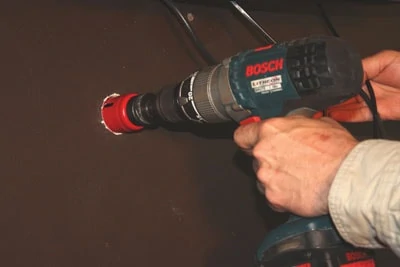
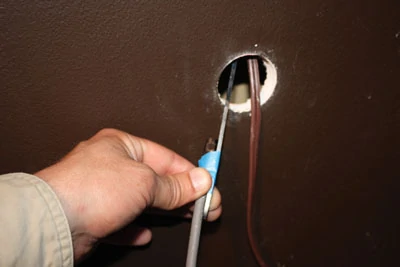
Just above the surface of the shelf location, where the hole would be concealed by the satellite receiver, I used a 1-3/4-in. hole saw to drill access for the cables. I made a second hole at the floor near a power outlet.
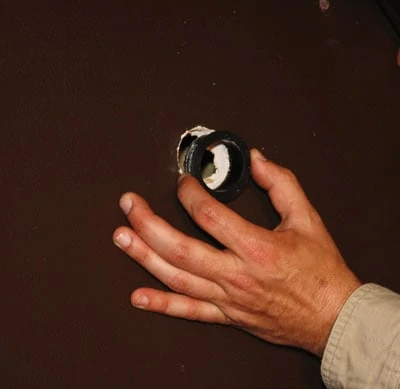
I protected the edges of the access holes with plastic computer grommets.
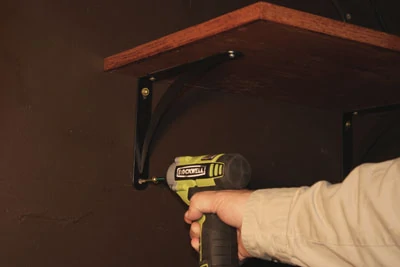
Center the shelf beneath the TV. Fasten one shelf bracket into a stud, then level the shelf.
Once level, drive home the second screw. I used 2-1/2″ R4 construction screws from GRK Fasteners to sink solidly into the framing.
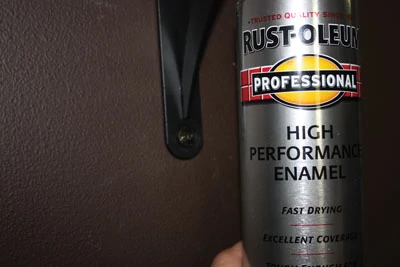
I masked the fastener heads using paper (with a dime-sized hole cut in the center), and spray-painted the heads black to match the brackets.
Finish up by using fish tape to route the cables from the shelf, through the wall, and out of the lower access hole where they plug into the outlet.


