Break on Through to the Other Side: Knock through a wall to build an awesome bar pass-through.
My wife and I bought our home because we saw its potential, not because we were in love with the existing design. In fact, we felt the upper level was a little claustrophobic and we wanted a more open floor plan so family members in the kitchen could easily chat with friends in the family room. When we bought the house, the kitchen and family room were completely separated by a partition wall. Well, we made short work of that wall and now enjoy a new bar pass-through that brings a more spacious feel to the house and provides two additional seats for those big family dinners. Here’s how we knocked down a wall and built up a pass-through.
Tear it Down
I began the pass-through by carefully removing the baseboard along the wall. First, cut the caulk bead with a utility knife. Then, starting at the end of a baseboard run, work a pry bar behind the baseboard, pressing downward so the tongue is against the sill plate, and pry the baseboard away from the wall. Be sure to pry against the 2-by-4 sill plate and not against the unsupported drywall, or your pry bar will likely break through the drywall rather than achieve any leverage. Drywall damage won’t matter in the areas that you’re tearing down, but will require an extra repair everywhere else. I removed the baseboard in whole pieces, and then pulled the nails and filled the holes with putty so they could be painted and reinstalled.
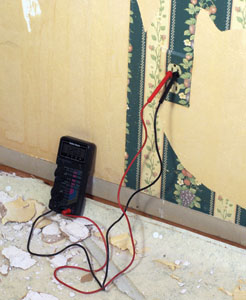
The first rule of thumb for wall demolition is to approach the job safely. At the breaker box, disconnect any power supply to nearby wall outlets, and use a volt detector to verify that no electricity is actively running through the wall.
I then used an electric stud finder to locate and mark the framing studs. We chose to remove only a 5-foot wide section in the middle of the wall, so we made careful note of which areas of the wall to leave undamaged.
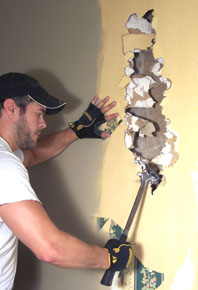
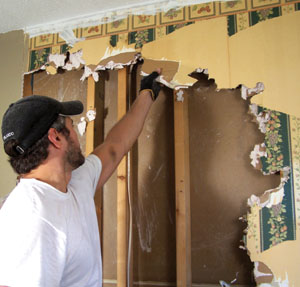
There was nothing scientific about the first few strikes to the wall. After verifying there were no water pipes or live wires behind the drywall, I sunk a 22-ounce framing hammer into the “soft spots” between the studs and began removing the crumbling, pathetic chunks of drywall that dared to challenge the brute force of my mighty blows. (Tearing down walls makes me feel like a Spartan.)
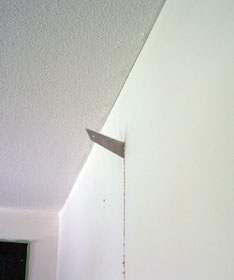
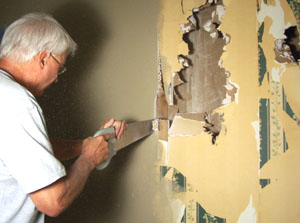
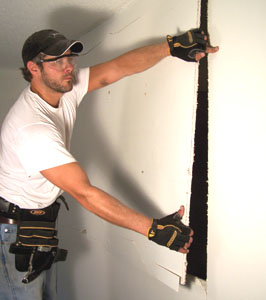
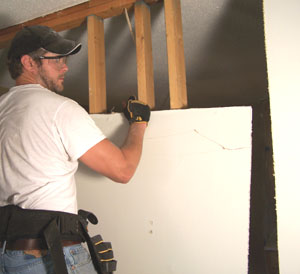
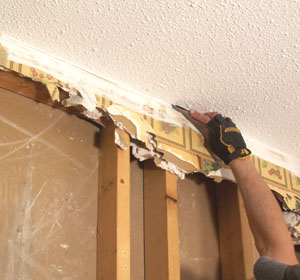
At the two studs that bordered our tear-out area, we set aside the hammer in favor of a drywall saw, which provided a smooth, controlled cut along the studs so we’d have a reasonably straight drywall joint for our rebuilding phase. Because drywall demolition generates a lot of dust and debris, we only employed the hammer tactic on one side of the wall. To minimize the mess, we used the drywall saw to penetrate the wallboard from the rear on the opposite wall, which allowed us to disassemble the drywall panel in larger, more orderly sections. Be sure to razor-cut the joints at the top, where the drywall meets the ceiling, to avoid ceiling damage.
In fact, I should stress this point further … tearing down walls is extremely messy. Dust covers everything and spreads throughout the house into seemingly impossible nooks and crannies. I highly advise wrapping plastic over everything you want to keep clean, and use some strategically placed box fans to create an outdoor draft near the work area. We did take a more laissez-faire approach in our case because we were undergoing a full-house remodel and the place was a train wreck anyway, but be advised that wall demo calls for major cleanup.
Stud Removal
Before ripping through any walls, determine if the wall you plan to penetrate or remove is a load-bearing wall. Consult a structural engineer if necessary. Load-bearing walls support the upper floors and/or the roof above. For example, all exterior walls are load-bearing, and any wall that supports lapped joists or sits on a post is load-bearing. In most cases, removal of load-bearing walls should be left to professionals, and the job may also require the approval of a local building inspector.
Partition walls provide no structural support and are used simply to divide a large space into small spaces. If you want a larger space, as we did, removing a partition wall is a good way to create one.
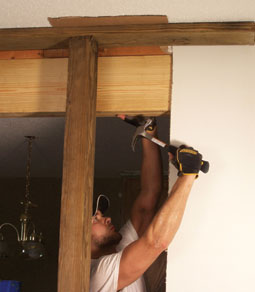
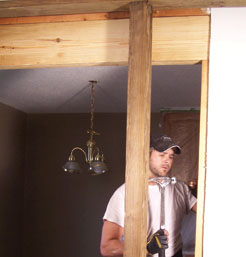
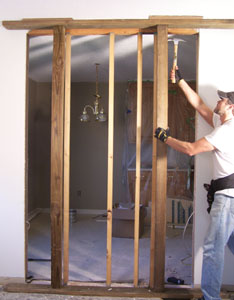
The wall we removed was technically not a load-bearing wall, but for the sake of illustration I braced it as though I would have for a load-bearing situation. I did this by building a temporary support structure from 4-by-4 posts with a 2-by cross-member at both the top and bottom, creating a temporary wall about 3 feet out from the “real” wall, which carries the weight of the upper structure while removing the studs. If using this method, make sure the support members are perfectly plumb and securely toe-nailed at the top and bottom, with the support spanning beyond each edge of the wall area you plan to remove and the posts positioned beneath the overhead joists. Use cardboard to protect finished floor and ceiling surfaces.
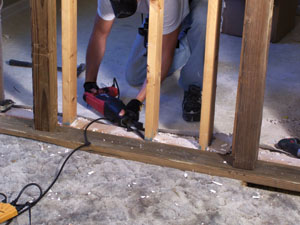
To remove the studs, it’s probably easiest to cut them in half at mid-height with a circ saw and pry them up with a pry bar or clawed hammer. But if you’re doing the job yourself, chances are you’re the type of guy or gal who finds lumber very useful. To keep the lumber intact and reusable, take a reciprocating saw to the nails between the bottom of the stud and the floor plate. Cut the bottom first and then pull the studs free by hand.
Luckily I had no pipes to contend with, so no plumber was needed. I did, however, have to relocate some wiring for a couple of electrical outlets. The electrical wire was running vertically up the wall from the shin-high outlets to an overhead light fixture in the kitchen ceiling. I couldn’t very well have the wire running up through the countertop of the bar I was building, so I had to re-route the wire so it ran up the wall a few feet over from its current location, where it would be concealed behind the drywall. This meant disconnecting the wire, venturing into my hot, dusty attic to pull up the wire, drilling a new hole in the top plate, and feeding the wire down into the other stud bay. I did so, and for the time being, the wire dangled there in suspense … (I’ll get back to connecting the wire in a moment.)
Framing the Pass-through
In general a bar pass-though is constructed just like a door or window, with a header above the opening, doubled “jack studs” that frame the opening, and shorter “cripple studs” to frame the space at the top and bottom.
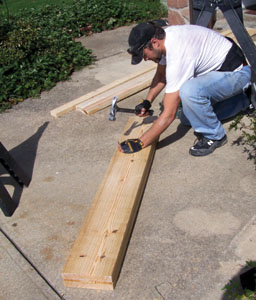
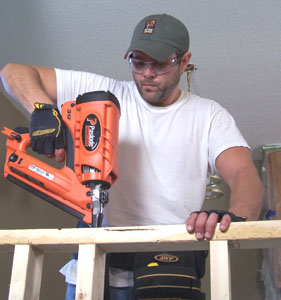
First, I made the header from two pieces of 2-by-10 lumber with a 1/2-inch piece of plywood sandwiched between them. (Note: Depending on the span of your opening, the header lumber can be as small as a 2-by-4, but I had some leftover 2-by-10 and that size gave me the overhead room I wanted without having to cut cripple studs at the top.) The header was cut to fit flush between the studs and against the top plate and toe-nailed in place. I then re-used two of the old studs to double the two remaining studs that book-ended the hole I had made in the wall. These are called jack studs, and I cut them to fit flush beneath the header (tightened with shims).
Next, I designed my countertop from the top surface down. I determined my desired finished height, 42 inches, marked the studs and accounted for all the materials beneath it. There are many ways to build a bar, and your design and materials will determine your specific measurements. For the sake of example, I had to calculate for tile, mortar bed, cement board, two layers of plywood and two horizontal 2-by-4 plates to support the countertop. Working downward from the finished height, I made similar marks on the wall studs indicating the various layers of material. These markings indicated where I needed to install the support framing. I then leveled and nailed a horizontal 2-by-4 across the opening and used it to house the new cripple studs—roughly 36 inches—that I toe-nailed into place. The studs should be spaced no wider than 16 inches on center. Planning in advance, I placed my studs so I would have two of them in symmetrical position to install shelf supports beneath the bar.
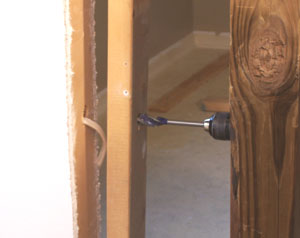
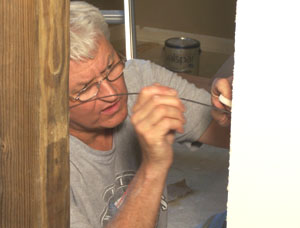
With the studs in place, I could get back to that pesky wire … I bored a 3/4-inch hole through the doubled jack studs and into the stud bay that held the wire. Note: Irwin’s highly aggressive new self-feeding Speedbor bits make this task a snap. We then used fish tape to retrieve the wire from the hole, and then drilled wire paths through the new cripple studs to make the connections and nail the outlet boxes in place.
Reconstruction
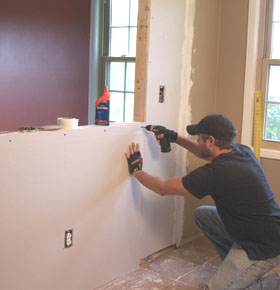
With the framing in place the wall is structurally complete, and you can ditch the 4-by-4 support rig. All that’s left is to make things look pretty again. I used drywall to tie the wall in with the existing style of the room, but panelized wainscoting may be an even easier option for a DIY’er.
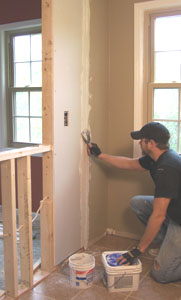
I won’t go into a long tutorial on drywall installation, but suffice it to say, it takes a lot of patience and sanding if you’re not a pro at it—and I’m not. I got the job done, but it took quite a while and did generate one piece of advice I can offer: Plan your drywall installation to use as few pieces as possible, which translates into fewer joints to finish with joint compound.
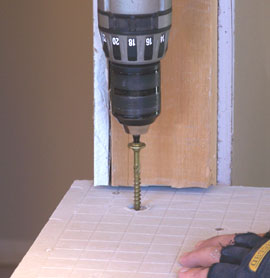
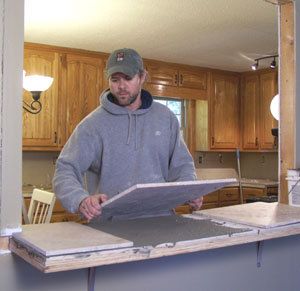
With the drywall sanded primed and painted, you’re ready to knock out your bar top. You have a laundry list of options, but I chose to use 18-inch travertine tiles as my bar or countertop surface. To make this happen, I doubled the 2-by-4 top plate to provide plenty of meat to drive some very aggressive screws. I then built the subsurface of the countertop with two sheets of 3/4-inch plywood laminated on top of each other with construction adhesive and deck screws, and topped with a layer of Hardibacker cement board.
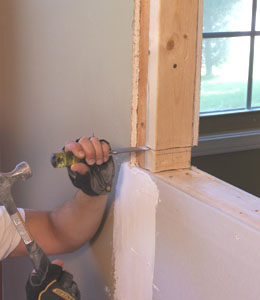
To install the bar, I notched each jack stud to accept the edge of the bar and slid the slab into the notches, squaring it with a framing square and making it perfectly level with a hand level and some strategically placed cedar shims. I then anchored the bar with some 5-inch RSS screws from GRK Fasteners countersunk through the bar top and driven deep into the doubled 2-by-4. The RSS screws are strong enough to replace lag bolts, and they’re probably overkill as far as fastening a bar, but I wanted this thing bulletproof in case any of my nephews got the bright idea to hop onto the bar as though it were a bench.
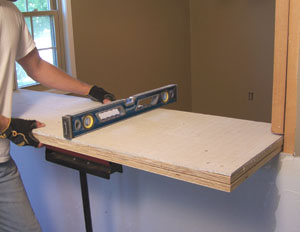
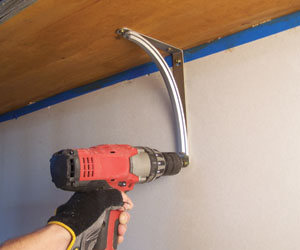
For even further support, I installed shelf brackets beneath the bar and into the cripple studs. This bar is supported from the sides (stud notches), from above (RSS screws) and from below. It isn’t going anywhere.
Final Stretch
Everything left in the bar pass-through project involved decorative issues. To apply the stone, I cut the tiles to size on a wet saw with a diamond blade, troweled on a mortar bed and leveled the tiles carefully. For countertop edging I routed a bull-nose on some oak and stained it to match our kitchen cabinets, mitering at the corners and fastening the trim along the perimeter of the bar with finish nails. The tile grout was color-matched to the grout that appeared throughout the kitchen. I then sealed the tile, which is highly recommended for natural stone surfaces.
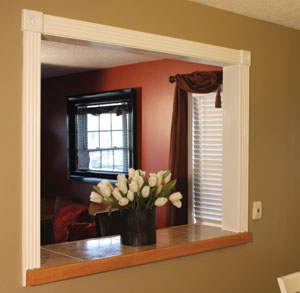
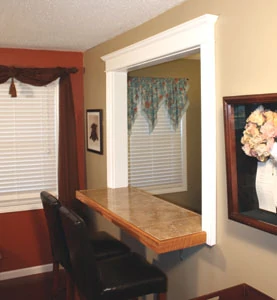
I used a combination of poplar lumber and pre-milled, paint-grade wood trim to create the decorative carpentry around the pass-through. I used two different styles on each side of the pass-through: a crown-molding inspired style on the “living room” side of the bar; and fluted casing with cornice blocks on the “kitchen” side. I basically just mapped out my designs on paper and picked up the supplies at my local Lowe’s hardware store.
You have total creative control of your trimwork, and it becomes one of the most fun and personalized aspects of the project. I’ll limit my trim carpentry advice to this: Measure carefully and keep your reveals consistent. Caulk all seams and fill all nail holes before painting and you’ll have a handsome new home focal point that you can’t wait to show your next house guest.
