Tackle the small jobs, but leave the big ones for the pros.
By Matt Weber
The Extreme How-To staff has fielded a lot of questions about granite countertops over the years. Many people like the natural appearance but ask, “Is this a DIY project?” The simple answer is that it depends on the scope of the project.
For a small end table or kitchen island, a DIY’er can likely do the job, assuming the structure beneath is adequately constructed to support the heavy material. Granite suppliers often have leftover cut-off pieces for sell that can be used for coffee tables or other small pieces of furniture. Reclaimed countertops can occasionally be found at home salvage shops.
DIY’ers should leave installation of large jobs to the professionals due to the specialized equipment required to cut, shape and transport the hard, brittle material. In fact, many experienced remodeling contractors shy away from granite countertops because the weight and rigidity of the material requires extreme care to avoid damaging a slab. If a contractor accidentally breaks a customer’s slab, they will have to replace it, and eating the cost of that expensive material can erase their profit margin for the job. There is no give in the granite material; to bend it is to break it. This means a DIY’er runs the same (or greater) risk of calamity.
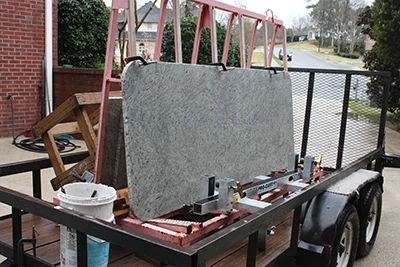
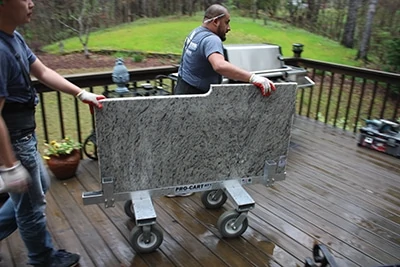
During transport from the supplier to the job site, the pro granite installers will load the slabs onto a truck equipped with special padded racks that isolate and secure the slabs to minimize vibration on the road. Large slabs are extremely heavy, requiring at least two people to load and unload them. Once arrived at the project location, special carts with rubber tires are used to move the slabs around the jobsite.
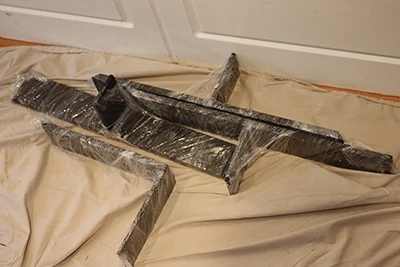
Throughout the operation of moving the slabs, countertop specialists might also stabilize the material with strategically placed angle-iron bracing during transport so the slabs don’t deflect, which can lead to cracks or beaks. The tricky nature of handling the stone material is why many contractors who don’t install granite for a living leave the big jobs to the experts. (Note: Compare this aspect of granite to solid surface material, where if two people lift a 12-ft. solid surface sheet from each end, it will deflect about 12 to 18 inches.)
This article will show how the pros install a granite countertop, and why you’ll be glad you called them.
High Demand for Granite Countertops
Since the earliest times granite has been used as a building material, and its polished stone surface remains highly popular for countertops. When polished and sealed, it resists staining and is very easy to clean and sanitize, and its extreme hardness means most knives won’t scratch it (but it will blunt knives). It makes a hygienic surface for not only countertops but backsplashes, bathroom vanities, even matching sinks and basins. Granite’s ability to withstand the outdoor environment also makes it suitable for exterior projects like garden paving, benches and more.
From an aesthetic perspective, this natural stone’s quarried origin guarantees its uniqueness. It typically has a coarse, granular and evenly flecked pattern available in many colors, from beige, brown, black and gray to an array of reds, greens and blues. It is considered a luxury material, however, and the effort required to mine it from the ground and manufacture a finished countertop means you can expect to pay a high cost to purchase it.
Out with the Old
Once you’ve made your purchase, the granite installers will arrive with all materials to not only install your new top, but to remove the existing backsplash and countertops as well. This generally requires disconnecting all appliances like the electrical cables of your stovetop and the plumbing connections to you sink basin. The installers will remove these items and set them aside safely for reinstallation later.
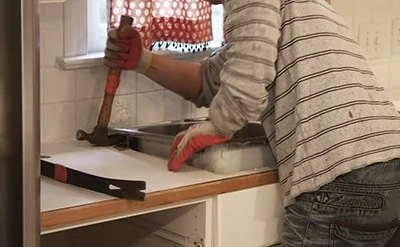
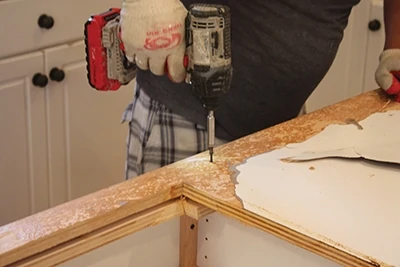
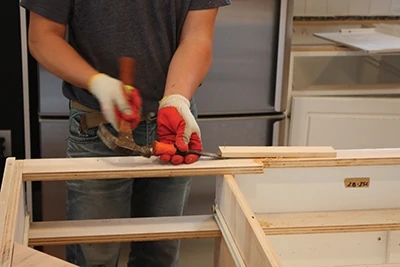
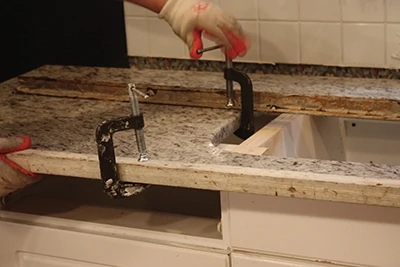
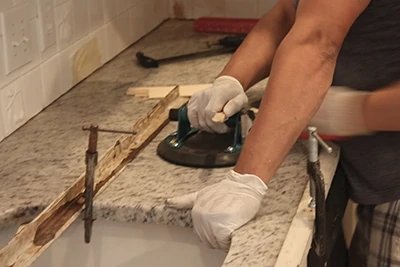
The next phase is to remove all fasteners that secure the existing countertop to its cabinet base. Although this sounds fairly straightforward, depending on the counter’s method of construction, things can get tricky. This particular kitchen was built with laminate countertops that had oak edging. The workers removed all the visible fasteners but the countertops were still stuck in place. After a little exploratory surgery with a scraper and pry bar, they learned that the countertop plywood had been screwed to the base prior to having the laminate installed. This meant there were several areas where the laminate surface had to be peeled away, or the wood edging had to be pried off, to access the hidden screws and dislodge the top. This job was a full kitchen replacement, which meant four different countertop surfaces had to be removed and replaced.
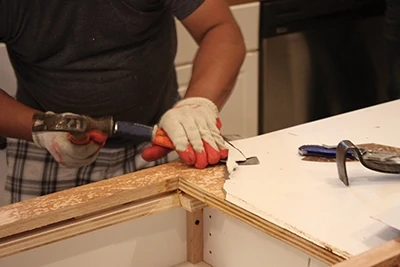
With all fasteners gone, the countertop should then lift off easily. A number of shims are often left behind attached to the cabinet base. The installers pried these off to begin installation of the granite on the flat, even top of the cabinet base.
Installation
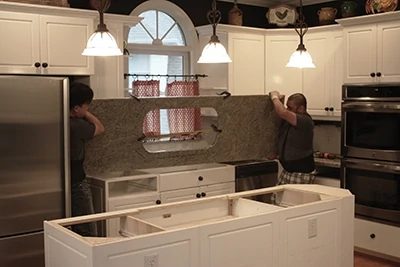
Each granite slab will have been fabricated to the exact size specified by the work order. It takes two workers per slab to lift the granite into place. This requires some muscle because the slabs must be carefully laid into position (not dropped) to avoid risk of sudden impact that could crack them or chip a corner.
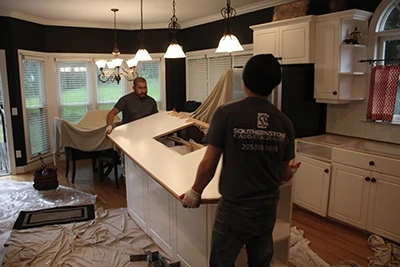
The largest of the countertops—an L-shaped corner counter that housed the sink basin—required two slab sections seamed together at a prefabricated joint.
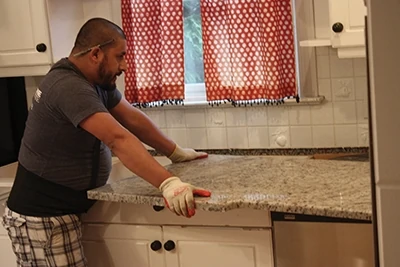
Once laid into place, the heavy slabs are very difficult to move. The installers use the type of handled suction cups favored by window installers to make slight adjustments to the slabs’ lateral position.
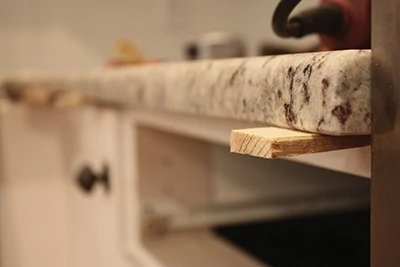
Level the countertop carefully. Use wood shims as needed to make sure the surface reads level from side to side and front to back.
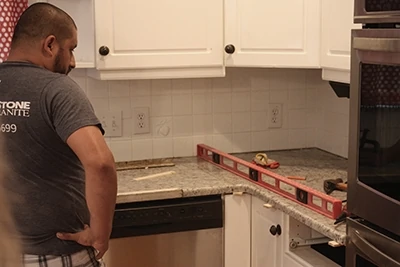
The slabs are held in place by their weight and friction, as well as a bead of silicone applied along the cabinet edges (plus silicone beads placed behind and beneath the backsplash pieces).
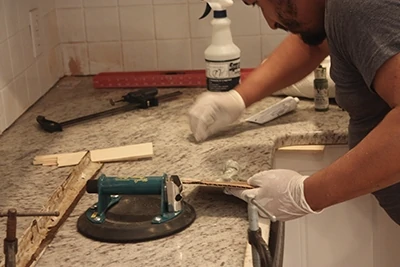
The workers came equipped with a palette of caulk/sealant in various colors, which they mixed on site to blend with the specific granite pattern chosen for this project. When the colored sealant was applied to the joint between granite sections and polished smooth, the seam became nearly invisible.
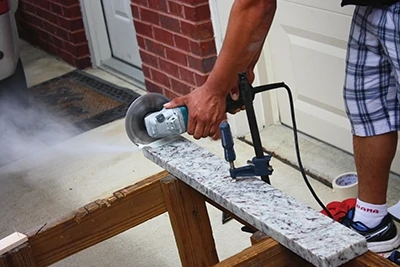
If it’s necessary to make any minor on-site cuts to the granite, such as trimming the length of a backsplash section, a grinder equipped with a diamond-grit blade should do the trick.
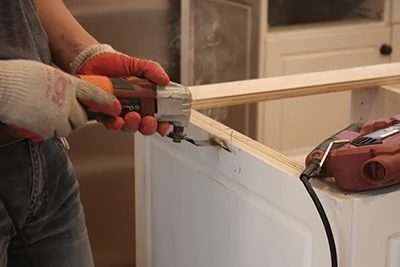
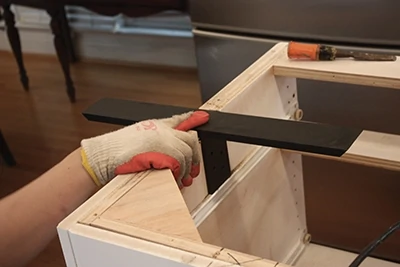
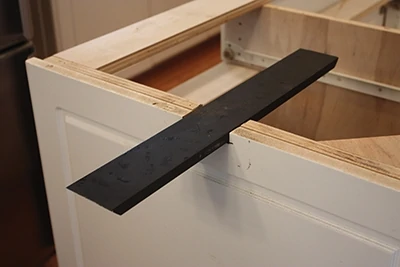
Granite countertops that have an overhang require countertop supports. These metal supports carry the weight of the granite while serving as replacements for counter corbels, which often crowd knee space or look unattractive. The supports are notched into and fastened to the cabinet base to provide a less noticeable solution.
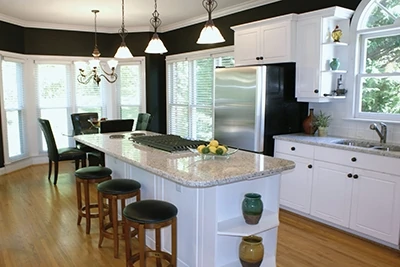
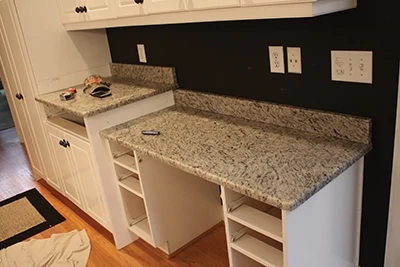
Once the entire kitchen had new countertops, the kitchen gained a dramatic change in décor. The granite gave the space a nice, luxurious appearance while complementing the kitchen’s existing color scheme. And with granite’s low-maintenance characteristics, the upgrade was a success for both looks and everyday living.
Side Note
DIY Countertops in 10 Simple Steps
1) Select the material: Solid surface (think Corian®) is popular for DIY for its workability with standard woodworking power tools. Other options like laminate (think Formica), or stone (think granite or engineered Silestone®), do not share this ease of workability.
2) Gather the tools & equipment. At a minimum you’ll need a circular saw & carbide blade, a router & correct bits, matching adhesive & dispenser (if gluing), sink (optional), straight edge, and random orbit sander & discs.
3) Planning and templating. Save yourself time and headaches with some simple planning by creating a well-thought out design, strategically placing any seams, and building a template for peace of mind for odd angles and uneven walls.
4) Make the cuts. Cuts can be made by several different methods using a circular saw and/or router with the proper carbide-tipped blades and bits.
5) Glue it up. Use color-matched solid surface adhesive and a dispensing gun to glue up all the seams. The magic happens when you sand it down to reveal invisible seams, or darn near close to it depending on the cut and glue color-match.
6) Edge buildup and shaping. Because the material glues together seamlessly, edges can be built up as tall and thick as you desire. Once glued-up, then use the router to shape the edge to your liking.
7) Install your sink (if you have one). There are several sink-types using various installation techniques. Manufacturers typically offer installation advice, or instructions can be found online (see link below).
8) Finishing the surface. Using multiple grits of sandpaper and a random orbit sander, one can achieve one of several finishes, including matte and semi-gloss, both being the most common, as well as glossy.
9) Installation. With a little cabinet preparation, several daubs of silicone, and some muscle, the countertops should drop right into place and all your planning with have paid off.
10) Get cookin! Congrats, it’s time to invite your friends and family over to show them what an incredible job you did, and how much money you saved doing it!
For even greater detailed instructions, as well as sources for material and tooling, be sure to visit the “Solid Surface 101” guide at solidsurface.com/solidsurface101.


