

Felt gaskets on ceramic grills like the Primo Grill or The Big Green Egg should be replaced annually or when damaged. Here is a step-by-step tutorial on how to handle this task.
Replacing the gasket on your ceramic grill is a quick and easy maintenance step that should be done at least once each year or when the existing gasket has been damaged. Ceramic grills like Primo and The Big Green Egg must have a good seal to operate correctly. A damaged seal will make it more difficult to control the temperature inside your grill and air leaks lead to reduced efficiency and wasted charcoal.
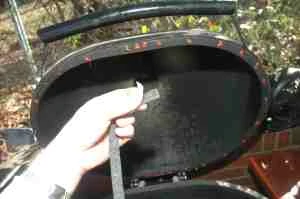
The first step in replacing the gasket is to remove the old gasket. To accomplish this you can use a grill scraper as seen in the photograph or a knife will also work.
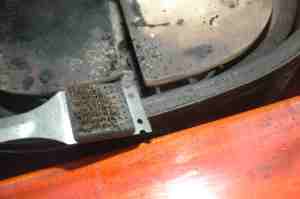
After the old felt has been removed, you will need to clean away the carbon or soot buildup on the flat surface where the new gasket will be attached. Note: Do not use solvents for this step, they will contaminate the ceramic and could be dangerous causing injury or fatality! Instead, I chose to use sandpaper and this made quick work of removing the carbon and preparing the surface for the gasket.
After sanding I took my grill brush to remove any dust left over from the sanding. Once the step was completed the surface was clean and ready for the new gasket to be attached.
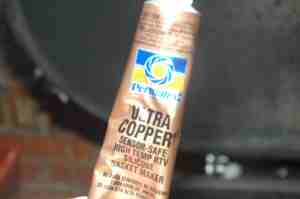
I spoke with Jeff at Primo Grill Manufacturing and he gave me a tip you might also want to try. Permatex makes a high-temp gasket adhesive that contains copper and can handle temperatures up to and including 750 degrees F. Place a small amount every six inches along the surface where the gasket will be attached. This ensures good adhesion between the ceramic and the gasket.
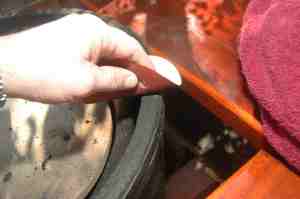
Once the sealant has been used, take one of your gaskets and remove a small amount of the backing tape. Only remove enough to easily work with, too much and the dangling gasket will attach itself to unwanted surfaces and you will lose adhesive where the gasket contacted the other surfaces.
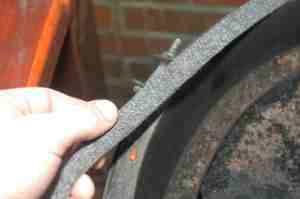
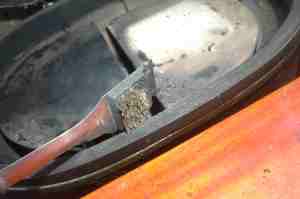
Work the gasket around the surface until you reach the beginning point. Take a sharp knife and trim the excess gasket so that the beginning and finishing points touch but don’t overlap. I also recommend using the copper gasket compound at this joint to ensure that the gasket remains in place.
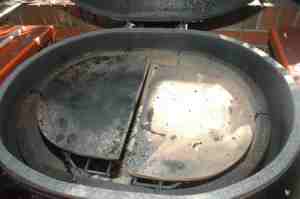
Repeat these steps for the top half of the gasket and you are done. Make sure the gasket has good adhesion. I used a wooden dowel to roll over the gasket for this and it worked well. Close the lid on the grill and lightly press down to ensure adhesion of the gasket. Allow the grill to sit overnight before using.
Thanks to Jeff at Primo Grill for the tips in this article.
