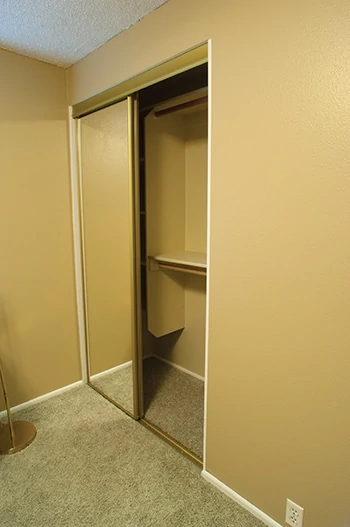
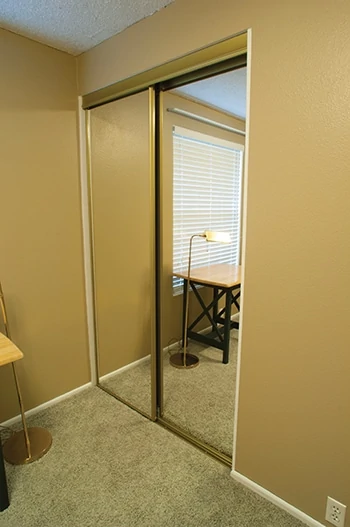
Our habit of occasionally changing houses means that I have been through the ritual of finding a good location for a full length mirror a number of times. One of us doesn’t just throw on a t-shirt, jeans and skater shoes every day, so apparently checking out the ensemble for clashing colors, misaligned buttons and accessories is a thing. My thing is making sure my wife has a mirror to view herself head to toe because I cannot be trusted to call a timeout when she intends to head out the door in violation of some fashion rule.
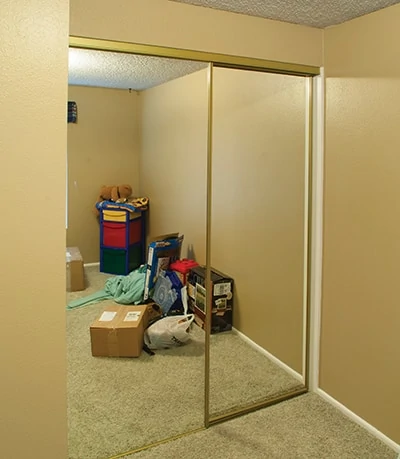
A good way to be in compliance with the full length mirror rule is to install a set of mirror bypass doors. Not only do these doors function as full length mirrors, they can also make a room look larger.
Another advantage of this product is that it can fit into a wide range of openings as long the header is not too low or the opening too wide. The doors have quite a range of elevation adjustment and, because they overlap, there is a good deal of leeway for how much they overlap each other when the doors are closed.
Although these doors give the installer a lot of flexibility for opening size, there is an ideal setup that looks best, provides maximum access to the closet when open, and rolls the smoothest when operating the doors. Whenever possible, we try to get the opening to this ideal. Of course, when framing a new opening you can get it spot on. If you have much experience with home improvement projects, you’ve discovered that things are rarely ideal and you often have to figure out how to make it work.
We’ll take a look at some of the ways to make mirrored bypass doors work in some of the situations you may have inherited, but first let’s see how to set these doors up when starting with new construction.
For New Construction
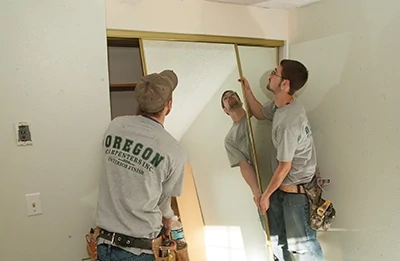
Most of these door kits are intended for 4-, 5- or 6-ft. openings in a house that has 6-ft., 8-in. high doors. Start with getting the right kit: 4, 5 or 6 feet. With someone to help, open the kit somewhere you can keep the doors protected while the rest of the process is completed. (This may be in your garage or a bedroom where there is wall space and where kids won’t be playing.)
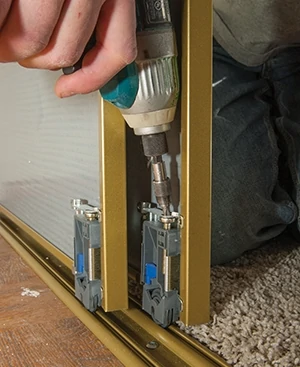
Get out the floor track and put it on the floor. Stand a door with the wheels in the floor track. Have your helper steady the door while you take some measurements. Look at the clearance from the bottom of the door to the floor track. You want about 1/2 inch, but it may have been shipped with much more than that. Adjust the screws to get the door to that 1/2-in. gap.
With your helper still steadying the door on the floor track, gently set the header valance over the door and rest it on top.
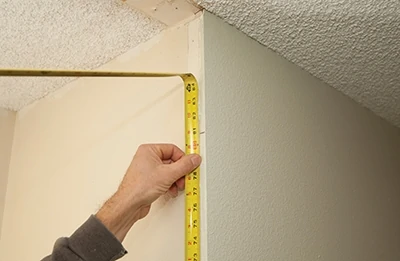
Hook your tape under the floor track and measure to the top of the header valance. Add 1/2-in. to get your finished header height. This measurement will need to be adjusted to allow for your flooring. If it will be hardwood, simply subtract the thickness of the hardwood, because the floor track will be mounted right onto the hardwood.
If the flooring will be carpet or tile, you will need to put a strip of plywood under the floor track to get it to the right elevation. It’s often best to take the floor track to where you can compare to the desired flooring. Make sure your floor track elevation takes into account the tile substrate or carpet pad along with the finished material.
Lean the doors against a wall with one overlapping the other about one inch. Have a look at that amount of overlap. Look good? Measure the width of the combined over-lapped doors. This is the horizontal measurement of your finished door opening.
One common change in width occurs when you want to change from bifold doors to bypass doors. Because the bypass doors overlap, you may need to add some material to the inside of the opening to get the doors to overlap.
Tips & Tricks
Installing bypass mirrors is not difficult but there are some tips that can make the doors function and look much better.
We always get the door kit early in the process. Reviewing instructions can be helpful, but actually handling the doors and tracks is often the best way to go, because following the instructions for door openings can end with a big gap under the doors (and the doors barely in the upper guide track). The goal is to determine the optimal door adjustment height, header valance height and amount of door overlap. We put the floor track down as close as we can to where it will eventually live. It can overlap the opening inside the closet for this initial test, since it won’t yet be cut to length. We put one of doors in the floor track with the lower adjustments at close-to-minimal extension beyond the bottom of the door. We then settle the upper track down over the door.
After positioning the upper track with the right amount of door inside, we marked the top of the upper track to show where the bottom of the finished header should be. Make sure you have some room for adjustment in the floor track guides. The idea is to make the doors look good with minimal gap at the bottom and nearly maximum penetration into the upper track with some room for adjustment.
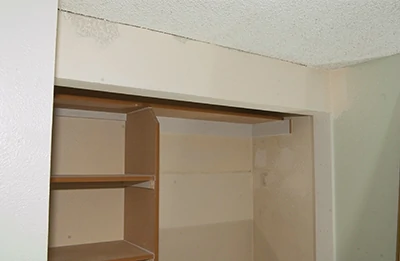
In our project we started with an opening that did not have a header. We used the top of the upper track mark to determine how much framing to add while allowing for drywall.
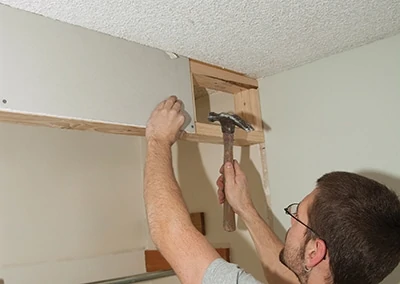
We framed in the header then wrapped it in drywall.
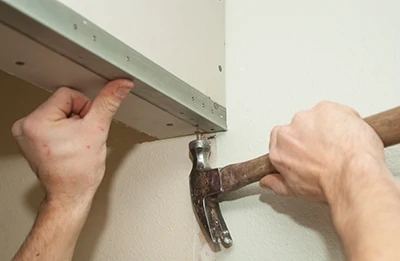
We installed corner bead before applying drywall compound and texture.
In order to make our doors overlap each other properly, we added a 3/4-in. vertical trim board ripped to the width of the header. This narrowed the opening enough to make 1 inch of door overlap when the doors were closed.
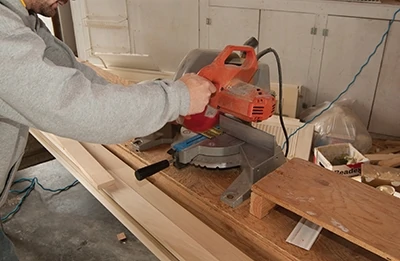
We measured the width of the opening at the bottom and cut the floor track to fit between the trim boards. A miter saw with carbide teeth makes a very clean cut on the aluminum track. Key words: carbide, aluminum.
We installed the floor track along the transition between the vinyl and carpet.
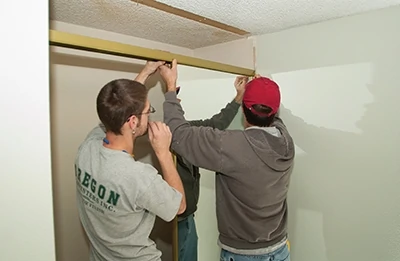
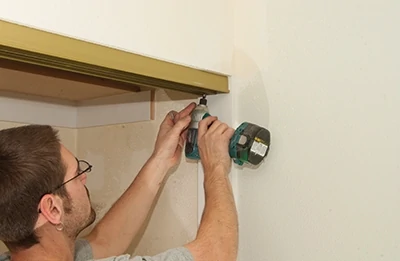
We also cut the upper track with a carbide finish blade and installed it so the doors would be plumb in the opening. We had to take into account that the wheels are located behind the doors at the bottom, while the doors center in each of the upper tracks.
Installation began with the rear door.
All of the door adjustments were made with the screws at the bottom of the doors. Each side of each door must be adjusted up or down to get the doors to align with the sides of the opening.
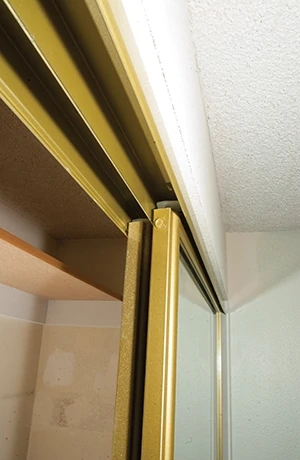
There isn’t really any adjustment at the top, but you can see how the sides and header must be square to each other to look even at the top. There is also an advantage to having the doors deeper into the upper track so the frame of the door is not visible, which hides any out-of-parallel issues.
When both doors are open you have access to less than half of the closed at a time, which is why keeping the overlap to the minimum one inch is a good idea.
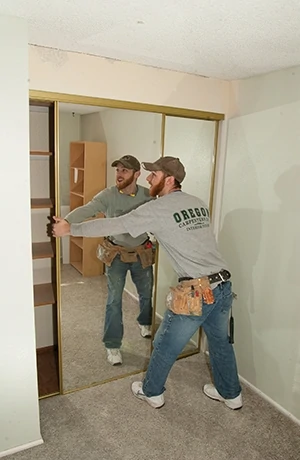
This pair of doors (left) are closed the wrong way. You want the outside door to be parked on the side where the gap between doors will be hidden. Family members may not cooperate with this idea, but you can try.
This closet is done and ready to be loaded. Notice that the painters accentuated the vertical trim board that made the opening the right size.
Side Note 1
Brutal Backside
Although you may like what you see when you look at the front of these doors, some of the makers don’t put much effort into making the backs look good. For this reason, I don’t recommend they be used for walk-in closets or any other location where someone can actually hang out in the space behind the doors. Also, note that the mirror on the back door reflects a portion of the overlapping front door, so arrange them accordingly with the gap obscured when doors are closed by putting the front door on the side from which the closet will most likely be viewed.
Side Note 2
Floor Track
Unlike traditional bypass doors, which hang from the upper track, this type of door rides on wheels at the floor track. This means the bottom track must be on reasonably solid footing—flat, straight and not too squishy. When we are setting up for these doors for carpet on both sides, we install a 1/2-in. thick strip of plywood to support the floor track. This strip is ripped to the width of the floor track and carefully fastened into the position determined by testing the doors. We write instructions on the strip for the carpet installers to carpet up to (but not over) the strip on both sides.


