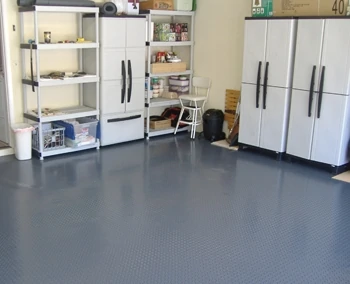
Floor protection is a great way to dress up garages, workshops and “man caves”. From residential tool cribs to professional auto shops, protective covers are popular anywhere people are tired of looking at ugly oil stains or discolored concrete. Installing a resilient covering is an easy project you can complete in a single afternoon, and the result is a brand-new surface that’s impervious to corrosive road materials such as antifreeze, oil, salt and battery acid. Floor protectors reduce dust travel and withstand all sorts of contaminants found in the garage and work environments.
Plus, most garage floor coverings are easy to move. They can be cleaned inside or outside of the garage, and the nonporous surface allows easy cleanup of oil and antifreeze with soap and water. Vinyl floor cleaners can be used to remove stubborn debris. Floor protectors also provide a moisture barrier, reduce noise, hide pre-existing cracks and stains and they last for years. The ribbed or channeled surface of the floor cover also channels away liquids to reduce the amount of dirt tracked into a home.
When it comes to floor covers, homeowners have a several different but similar products to choose from. Companies such as Better Life Technologies, LLC, offer vinyl flooring that rolls out for easy installation. The rolls come in a variety of sizes to fit almost any garage.
This article demonstrates the simple installation method of Better Life Technologies’ G-Floor Floor Cover/Protector. The EHT staff recently installed this in a residential two-car garage. G-Floor is available in seven sharp colors, from Midnight Black to Brick Red, and comes in four widths, from 7-1/2 feet to 10 feet. Custom sizes and grades are available. The covering shown features a diamond tread pattern.
DIY Installation
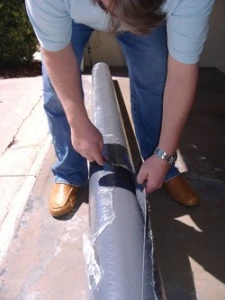
For the G-Floor, the manufacturer notes that the protector will initially have curl marks due to being rolled on a core or folded in a box. For flat results, the company recommends the product be unrolled in the sunlight on a clean driveway. The warmer the conditions, the quicker the curls will straighten out and lay flat. To facilitate the flattening process, use a wide push broom to push the air out from the center and work your way toward the edges from side to side, and end to end.
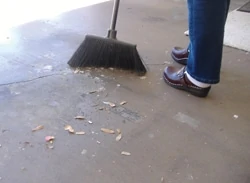
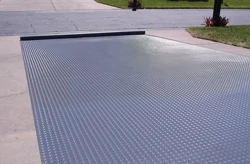
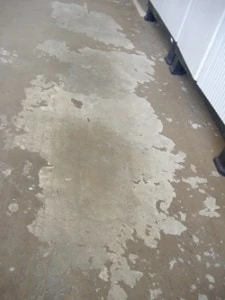
Another option is to unroll the cover right in the garage. Either way, wipe up any oil and chemicals from the floor and sweep the garage thoroughly before installing. For best results, start unrolling at the garage entrance, finishing at the back of the garage. In cool conditions, it may take up to 72 hours for the curl marks to lay flat, but you can still park your car on it during this time.
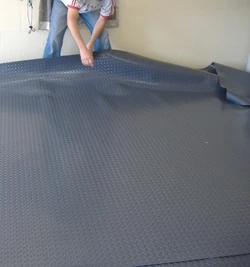
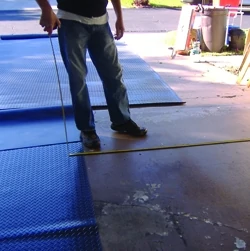
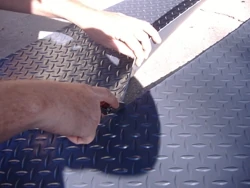
For a custom fit, allow the cover to relax in place before trimming around the edges and corners. And believe it or not, that’s the gist of the installation: Simply unroll, trim to fit and overlap adjoining sections. Taping is optional. If taping the edges or seams, use indoor/outdoor carpet tape.
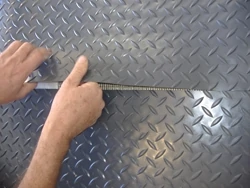
In just a couple of hours, you’ll have a new surface to park on, play on and work on—and no more ugly floor.


