Tips & Techniques for Finishing Red Oak Projects
By Rob Robillard
Did you know an Oak tree can live up to 1,000 years? Typically in my neck of the woods, a veteran Oak is 150-300 years of age. Once Oak makes it to your work shop, it’s your job to make sure that your projects lasts a good long time, to carry this trend.
There are many ways to finish an Oak project. This article discusses a few approaches that I took when finishing an Oak stool.
One consideration when finishing Oak is its grain patterns. Oak has a strong grain pattern. Unlike other wood species, Oak has large, open grain that absorbs stain easily.
Use Scrap Wood To Test Your Finish
I was always taught to test joints, cuts, fitment and even stains on scrap wood prior to using the real thing. Creating a sample board of finishes allows you, and your wife or client, an opportunity to make a well-informed decision on an accurate preview of how the finish will look.
When using scrap wood, make sure that you sand and apply the finish to your samples with the same methods that you would on the finial project. This means that if your mixing stains, take the time to measure and record what you do.
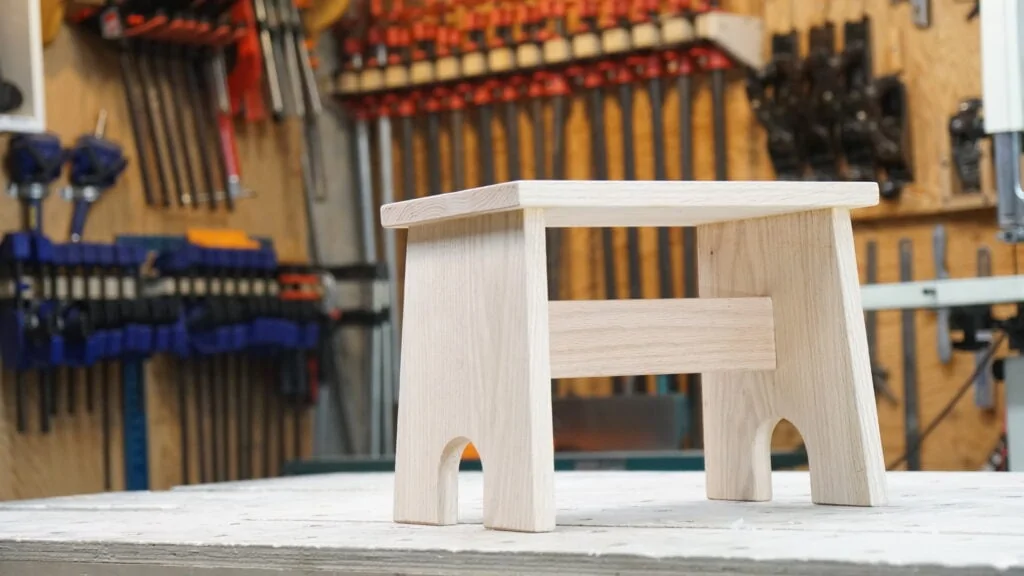
Sanding Your Project

I always sand my projects first with 80-grit to remove mill marks and then graduate through 100-120 and end with 220 grit sand paper.
After applying my first coat of finish, I will scuff-sand to 280 or 320 grit sand paper. Scuff sanding is the process of lightly sanding a surface in preparation for primer, paint, and/or varnish. This sanding process removes any raised grain, and etches the finish for the next coat to adhere to.
Adding Color with Dye or Stain
Adding a dye or stain to your Oak project creates a strong undertone that can really pop the grain. Traditionally, mixing and using dye is a process done by woodworkers and furniture makers. Dye coloring tends to be yellow or reddish brown. Using dye is more labor intensive, as it’s typically thinned 50% and applied to the bare wood with a brush and any excess is blotted up. If a darker result is desired, apply additional coats.
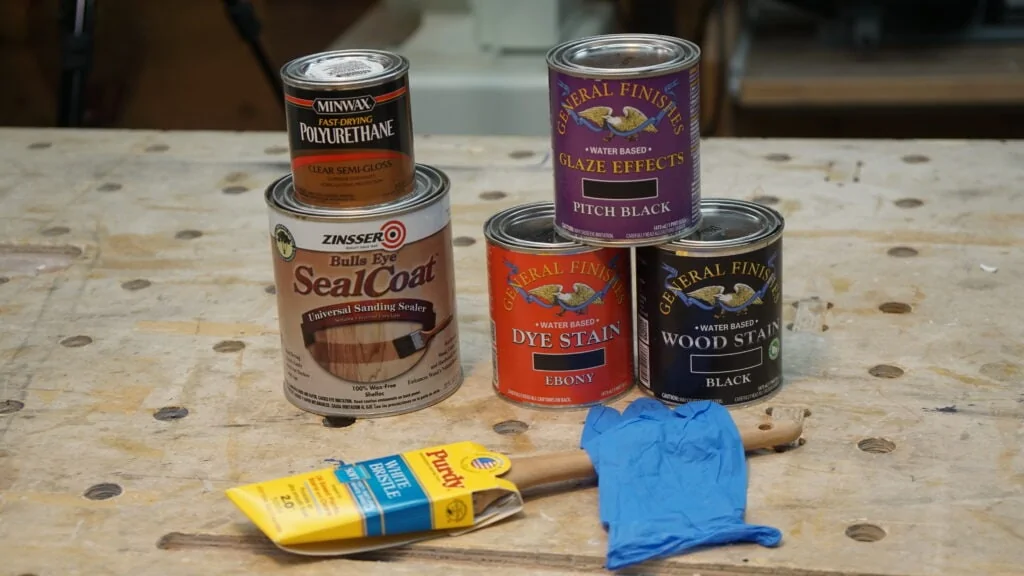
A simpler approach — and one that I favor —is using a wood stain or dye stain like General Finishes.
If desired you can mix any two colors in a 50/50 blend to create a custom, unique hue. It’s really up to your creative efforts.
Applying A Glaze To Your Project
I appreciate glaze finishes. Glaze fills the grain or deeper detail profile cuts of your project creates a finish similar to an aged, distressed, marbling, or burnishing effect.
For Oak I seal the surface with a shellac prior to glazing. I use a dewaxed shellac. Many woodworker mix and thin they’re own batch of shellac, I buy ready-mixed in the can. Make sure you use 100% wax-free Shellac listed often listed as a “universal sanding sealer”
Glaze is a thick stain, that is applied over a sealed surface. General Finishes makes a “Glaze Effects” stain that can be used to create antique, graining or faux finishes. You can also get tinting glazes that can be tinted with any colors or oil-based paint.
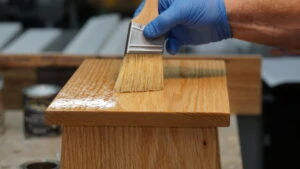
Glaze is best applied with a stiff brush, to work the pigment into the grain, and then wiped off with clean rags. After the glaze has dried, seal it again with the dewaxed shellac, let it dry and apply your top coat.
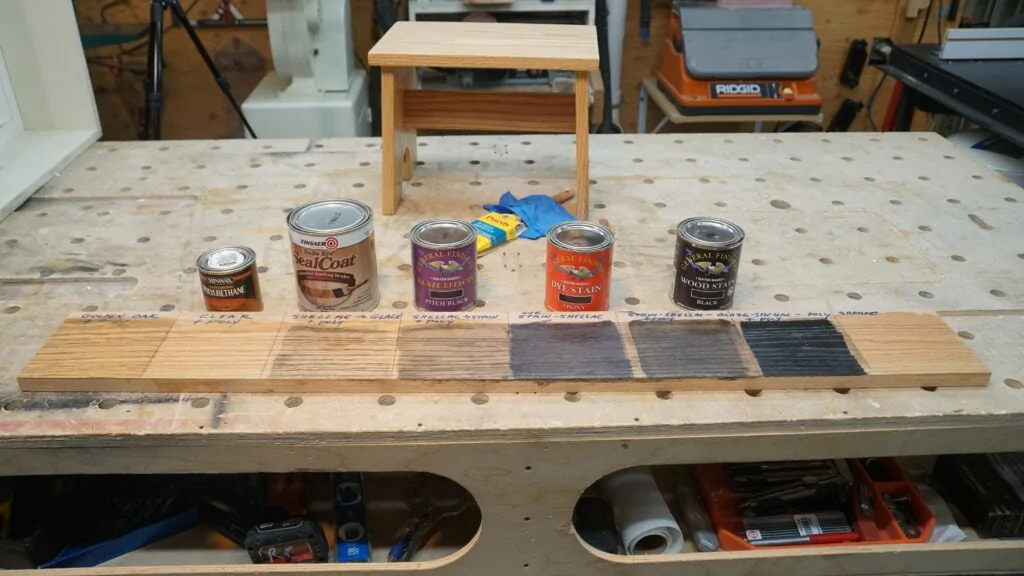
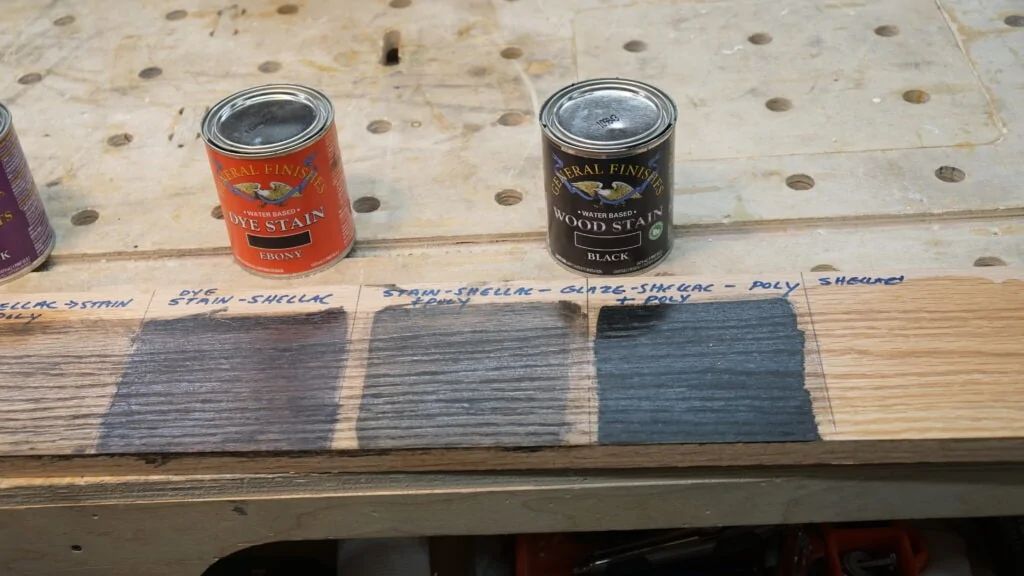
Testing Colors
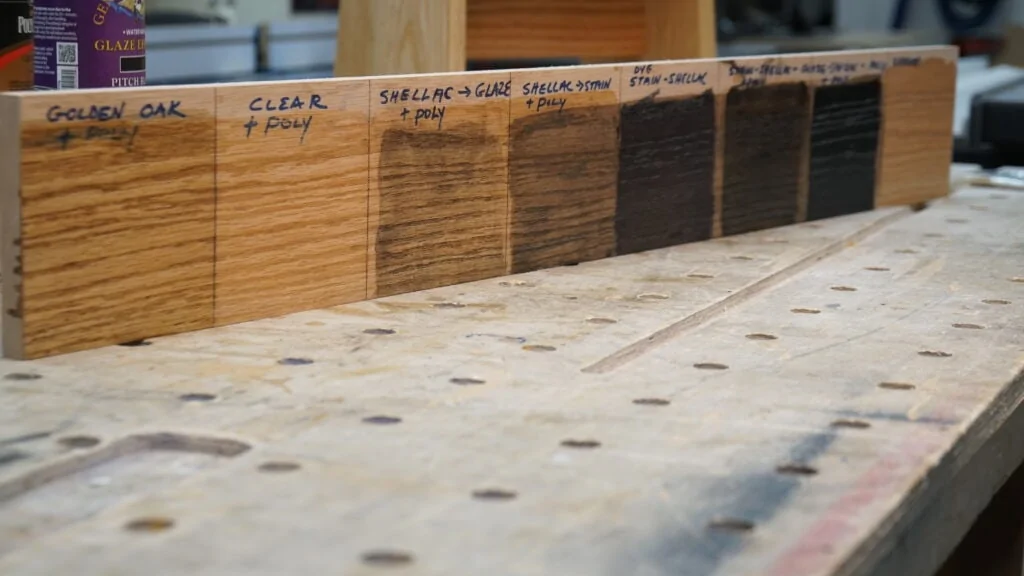
I used a 1×6 Red Oak board to try out different stain, dye and glaze effects. I was leaning toward a darker finished project, but the wife stepped in and decided she liked my sample that was sealed with Zinsser shellac, scuff sanded and coated with Polyurethane.
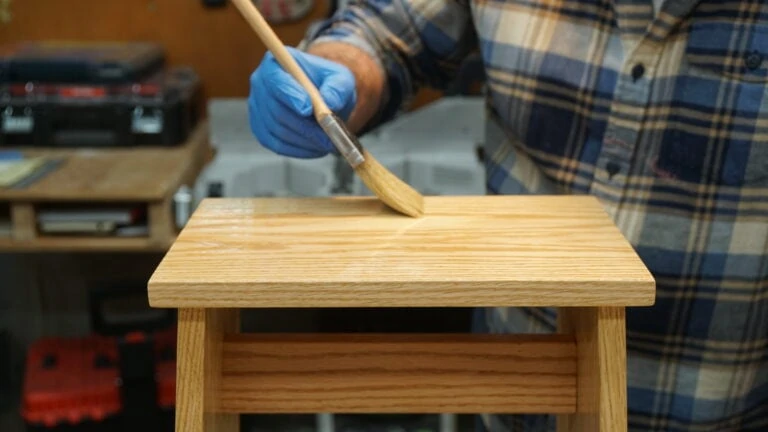
Apply Your Top Coat

A top coat protects your project for years to come. You can use a water-based or oil-based varnish or lacquer.
Full Finish Process Steps [Steps 1, 3 and 4 are optional]
| 1. Apply dye or stain to the bare wood and let dry.
2. Seal with shellac and scuff-sand when dry. 3. Glaze with dark [your color choice] gel stain. 4. Seal with shellac and scuff-sand when dry. 5. Apply a topcoat of your choice.
Short Cut Finish Process [Step 1 is optional] 1. Apply two coats of Wipe-On gel stain. [color of your choice] let dry. 2. Apply a topcoat of your choice |
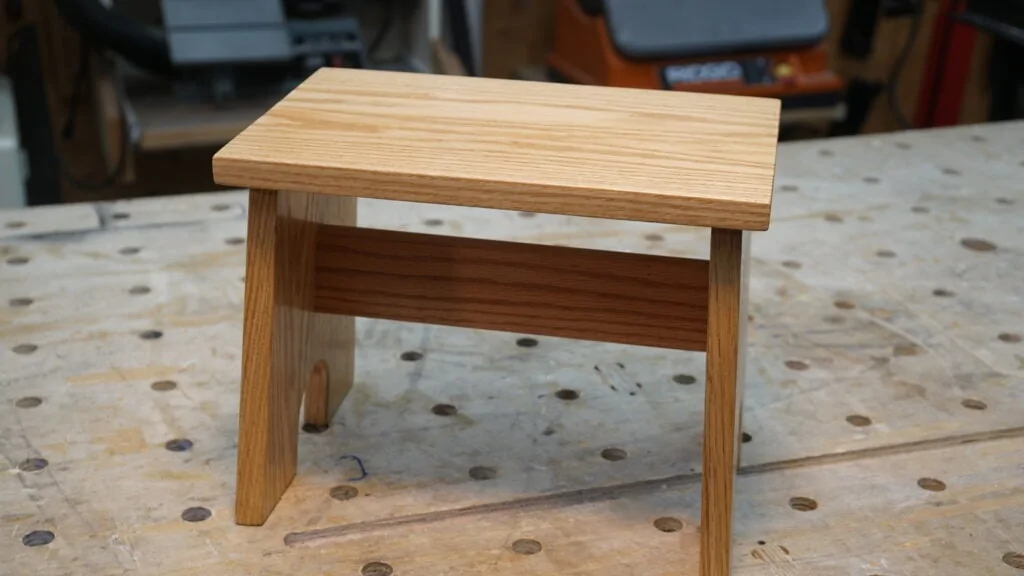
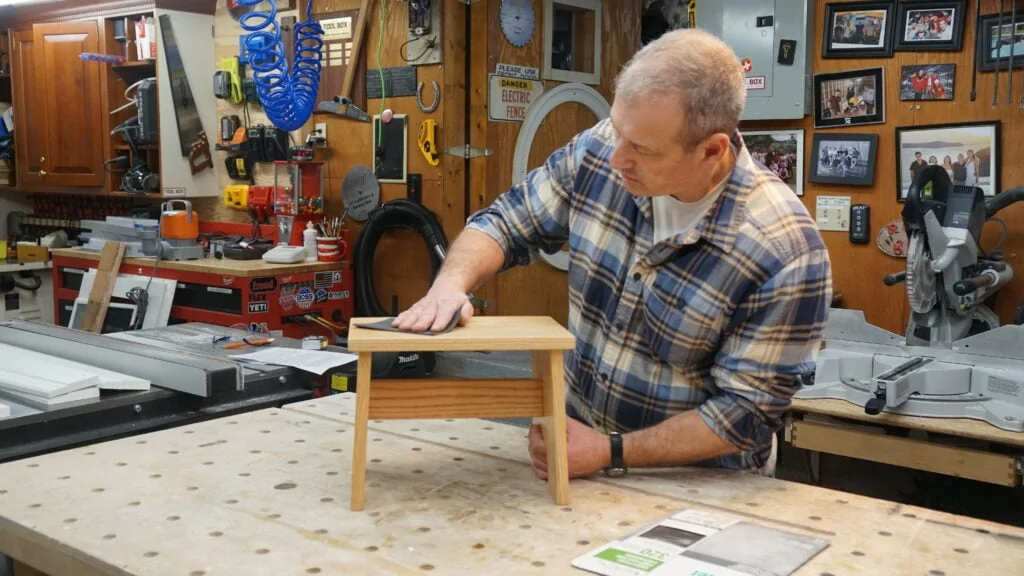
Final Product
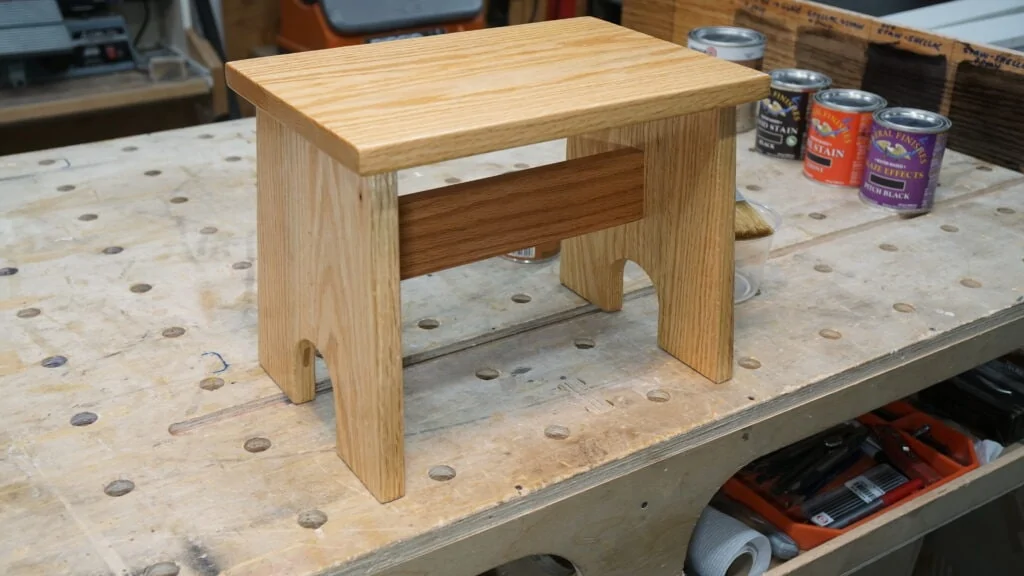
Once finished, Oak pops with beauty. Light reflects through its layers, giving these finishes stunning depth and beauty. In the end, I finished my Red Oak stool project with Shellac and Minwax polyurethane.