Does the water in your home have an odor or chlorine taste? Installing a central water filter for your whole house can provide pristine water from every tap. Filtered water is safer for drinking and cooking, and it improves the softness of hair and skin.
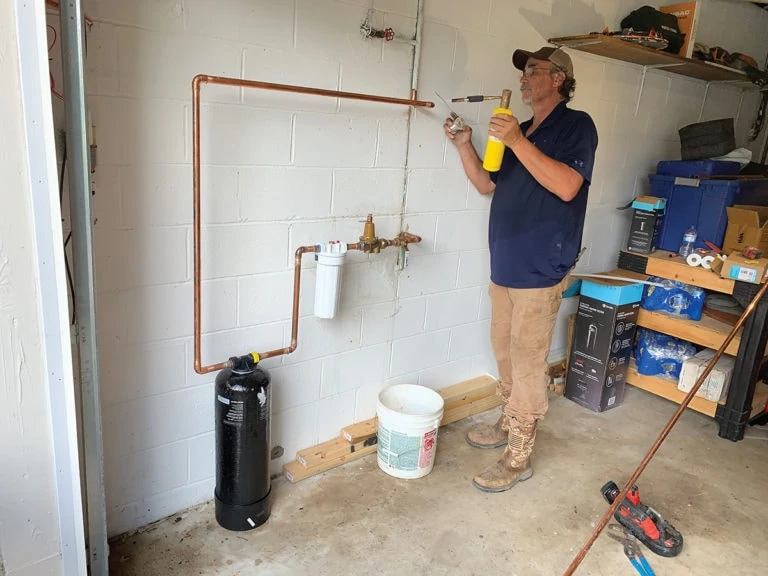
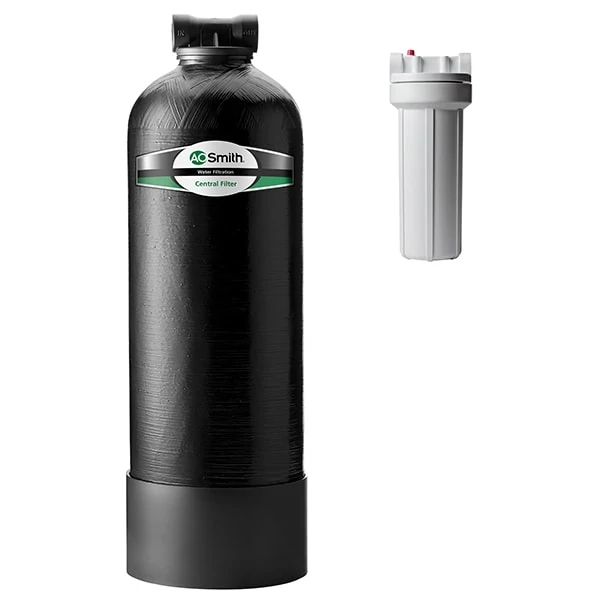
We recently installed an A. O. Smith Central Water Filter (model AO-WH-FILTER) to reduce chlorine taste and odor by over 97 percent. We coupled the central filter with company’s Whole House Sediment Filter (AO-WH-PRE0), which filters down to 20 microns. It reduces sand, sediment and rust from your main water supply to minimize buildup in kitchen and plumbing appliances.
Installation Overview
A professional plumber should have no problem installing the filters. A DIY’er with some basic plumbing skills should be able to complete the job by following A.O Smith’s instructions. The filters must be installed in an area where the main water line enters the home but before it connects to the water heater.
Always turn off the main water source to the home prior to installation. You’ll need enough tubing to connect from the filtration system to the existing plumbing. We used copper tubing, but you can also use PVC, CPVC, steel or PEX plumbing.
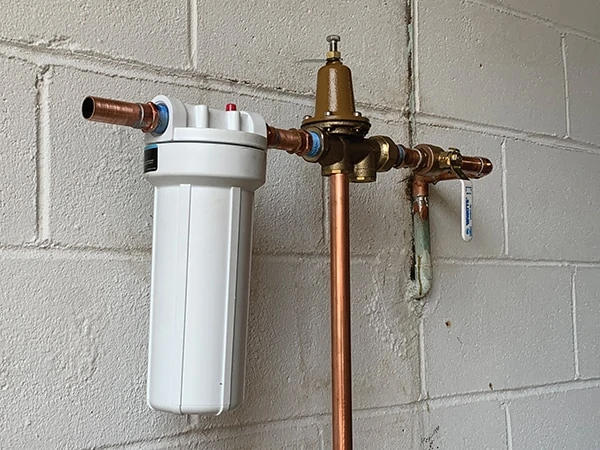
A shut-off valve should be installed at the supply line prior to the filters so the homeowner can perform maintenance in the future, such as changing the sediment cartridges.
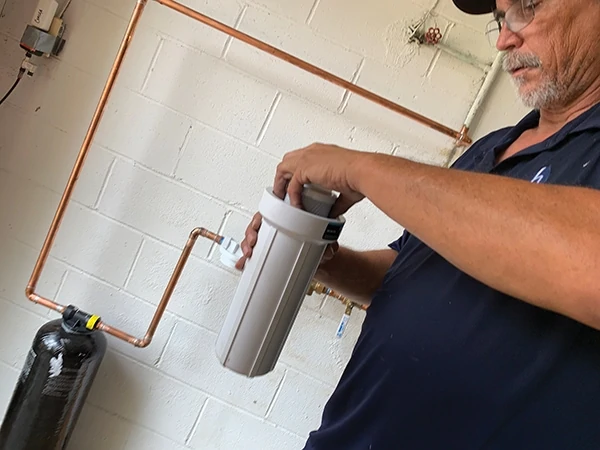
If you’re using the recommended sediment filter, it should be installed as a pre-filter (after the shut-off valve but before the central filter).
The central filter is the next component in line, and it must be oriented in a vertical position to maximize contact with the filter media, and the tank should be supported from below. The simplest way to support the weight of the filter is to keep it on the floor. The central filter must be located indoors, protected from direct sunlight and freezing temperatures.
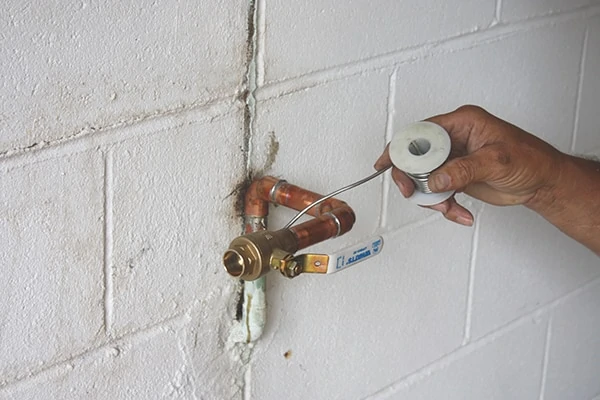
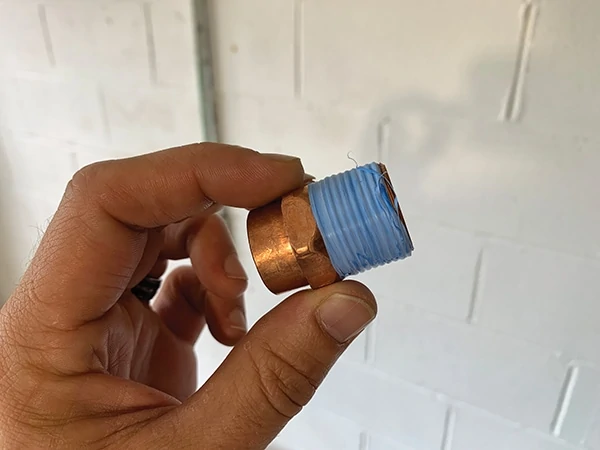
Note:The plumbing connects to the filters using threaded connections. Do not over-tighten the fittings, which may cause damage and leakage. Also do NOT use pipe dope, which voids the warranty. You may use NSF-certified pipe primer, glue and plumber’s tape.
Flush the Filter to Precondition
Before final connection to the plumbing system, the central filter will need to be pre-conditioned by “surge flushing” it with water. This can even be done with a garden hose before beginning installation. The granular carbon medium used in the tank contains 1 to 2 percent by volume of carbon fines that must be flushed out prior to use. You can use the garden-hose adapter included with the filter to connect a standard hose to the filter’s inlet port. Slowly turn on the faucet so the discolored water flows through the filter and from the outlet port into a suitable drainage area. The first few gallons will appear black and cloudy due to the carbon fines.
After an initial 15-minute flushing, begin the “surge flushing” phase by turning on the water supply for 30 seconds and then off for 30 seconds, repeating the cycle for 15 minutes or until the initial surge of water is completely clear and free from discoloration and cloudiness.
Once the water is clear, disconnect the garden hose and position the filter for final installation.
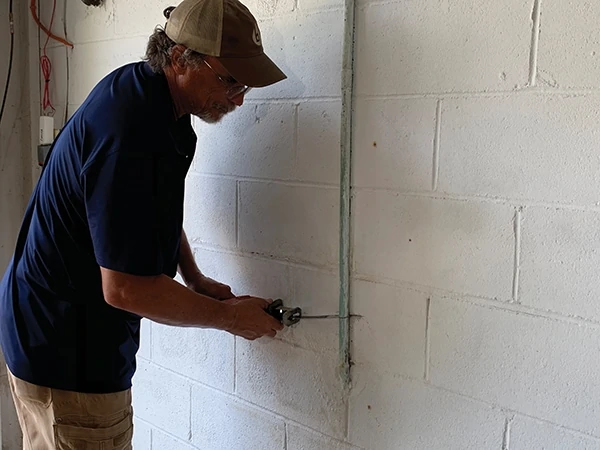
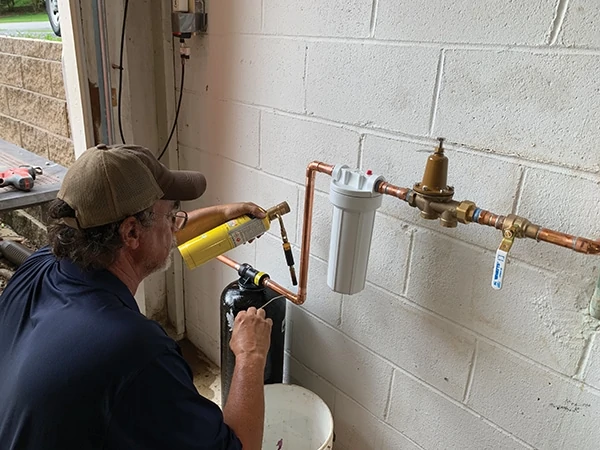
Soldering Basics
Although PEX and other plumbing methods can be used to connect the filter, we felt that over time the weight of the sediment filter might stress the PEX connections and risk leakage. To play it safe, we opted for traditional soldered copper pipe.

Use only lead-free solder identified for potable water applications. Use fluxes intended for use with lead-free solders. Avoid using ‘self-cleaning’ fluxes. Your local hardware store can advise you on the proper flux.
1. Measure and mark the tube with a pencil. Remember to allow for the length of tube that fits into the fitting cup. Dry-fitting the tube and fittings before soldering will ensure the fittings are square and the runs straight.
2. Cut the tube to the measured length. The tube can be cut with a disc-type tube cutter, a hacksaw, an abrasive wheel, or with a stationary or portable band saw. Be careful not to deform the tube while cutting. Regardless of the method, the cut must be square so the tube will seat properly in the fitting cup.
3. Ream all cut tube ends to the full inside diameter of the tube to remove the small burrs created by cutting. If the rough, inside edge is not removed by reaming, erosion or corrosion may occur in the tube. A properly reamed tube provides a smooth surface for better water flow. Also remove any burrs on the outside of the tube end to ensure proper entrance of the tube into the fitting cup. You can use the reaming blade on the tube cutter, half-round or round files, a pocketknife or a suitable deburring tool. If using soft tube (annealed), be very careful to not deform the tube end by applying too much pressure.
4. Clean off all oxides and surface oil from the tube end and fitting cup. This will allow the proper flow of solder into the joint. Failure to remove them can interfere with capillary action and may lessen the strength of the joint. Lightly clean the tube end using sand cloth or nylon abrasive pads for a distance slightly more than the depth of the fitting cup. Clean the fitting cup by using abrasive cloth, abrasive pads or a proper-sized fitting brush.
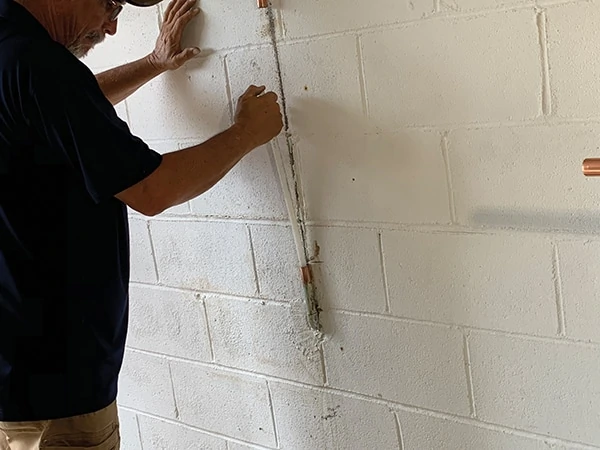
5. Apply a thin, even coat of flux with a brush to both the tube and fitting as soon as possible after cleaning. Do not apply the flux with your fingers, because chemicals in the flux can be harmful if they come into contact with the eyes, mouth or open cuts. Apply the flux carefully, because residue from excessive amounts of flux can cause corrosion.
6. Insert the tube end into the fitting cup, making sure it is seated against the base of the fitting cup. Twist it slightly to ensure even coverage by the flux. Remove excess flux with a cotton rag. Support the tube and fitting assembly to ensure a uniform capillary space around the entire circumference of the joint.
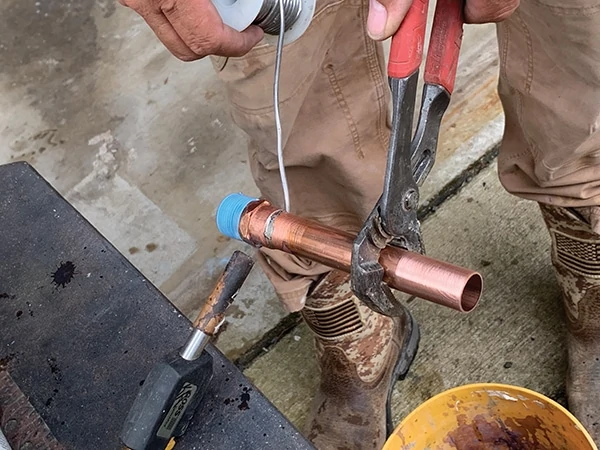
7. Begin heating with the flame perpendicular to the tube, which conducts heat into the fitting cup. The extent of preheating depends on the size of the joint. Preheat the entire circumference of the tube in order to bring it up to a suitable temperature. (For joints in the horizontal position, avoid directly preheating the top of the joint to avoid burning the soldering flux.) Practice and experience will indicate the amount of heat and time needed. Next, move the flame onto the fitting cup. Sweep the flame alternately between the cup and the tube a distance equal to the depth of the fitting cup. Again, preheat the circumference as described above. Touch the solder to the joint. If the solder does not melt, remove it and continue heating. Do not overheat the joint or direct the flame into the face of the fitting cup, which could burn the flux and destroy its effectiveness. When the solder melts, apply heat to the base of the cup to aid capillary action in drawing the molten solder into the cup toward the heat source. The heat is generally applied using an air-fuel torch.
8. Allow the completed joint to cool naturally. (Shock cooling with water may stress the joint.) When the joint is cool, clean off any remaining flux residue with a wet rag.
Good Results
After installing both the central and sediment filters, we noticed a difference in the first glass of filtered water we drank. The water is completely odor-free and has a lighter, crisper taste to it. The whole-house filters are ideal for households of four or more people. The cartridge in the sediment filter lasts up to six months before requiring replacement, and the central water filter lasts up to six years or 600,000 gallons. If the A.O Smith water filters sound like a good fit for your home, you can find them sold exclusively at Lowes.

Learn more at www.aosmithatlowes.com.