Here’s how we overcame challenges when expanding a hardwood floor.
Years ago, my parents had oak hardwoods installed on the foyer, staircase and top landing of their home. During a recent remodel, they decided to expand the hardwood floor into the living room. Like any remodeling project, the job came with its own unique set of problems, such as discrepancies in board size and uneven subflooring. This article shows the challenges we faced and how we overcame them to achieve a beautiful new floor.
Flatten the Subfloor
The living room we planned to re-floor had been covered with carpet. When coupled with an underlayment pad, wall-to-wall carpet does a nice job of concealing uneven spots in a floor. The trouble comes when you rip up the carpet padding and expose those hidden problems. Maybe you’ve heard that tongue-and-groove hardwoods aren’t quite as forgiving as a rug. The oak boards don’t easily flex to fill dips or bend to cross high spots, and such problems can make connecting a tongue-and-groove joint very difficult. Nope, the subfloor beneath hardwoods should be as flat as possible, and ours had significant issues. Although we found particleboard subflooring beneath the carpet, it had notable low spots (possibly from the house settling), and its thickness also caused a height discrepancy between the new hardwoods and the existing ones. For this reason (and also because particleboard does not provide enough grip for floor fasteners), we pulled out the old subfloor and replaced with new plywood.
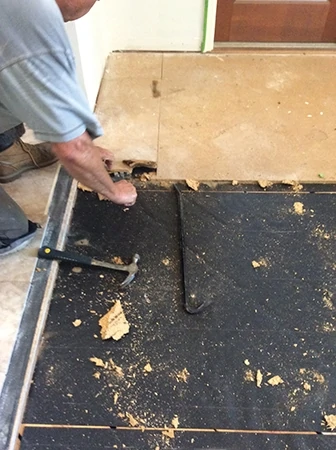
But before we could lay the new plywood panels, we had to shim the floor beneath them. This proved to be a big job with the wavy subfloor of this old house, which changed elevation in several different spots throughout the room. To establish a control point to measure the subfloor elevation, we ran taut string lines across the floor from wall to wall and measured down from the string. The results weren’t pretty; we found several dips across the floor. And, when we re-located the string to different spots of the room, we found different elevations in different locations.
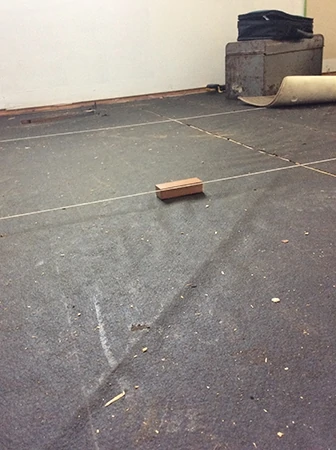
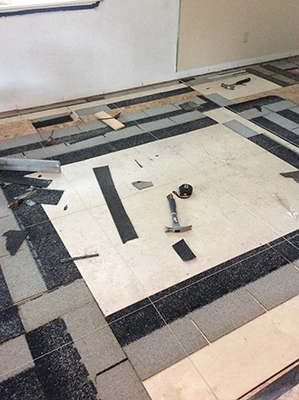
One way to address an uneven subfloor is to use a liquid floor leveler, but those products come with their own messy drawbacks, and we had a large area to flatten. The job would require a lot of leveling product, would be difficult to screed perfectly flat, and would create a huge mess inside the home. Instead, we opted for a “multimedia” approach.
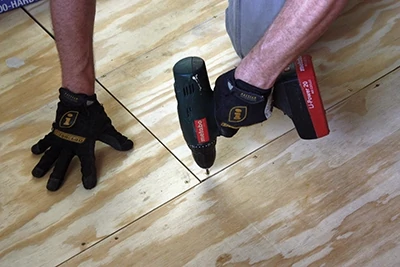
My dad handled the grunt-work of leveling the subfloor. He strung several level lines across the floor at the same elevation in a criss-cross pattern between opposite walls. He used the string as a reference point for measuring the low spots. He then filled all the low spots using asphalt shingles, roofing felt, or sheets of luaun until the room was reasonably flat (measuring the same distance down from the string). This provided an even surface for the new plywood subfloor, which we screwed to the floor joists in 4×8 sheets, staggering the joints between panels.
Note: The hardwood floor in this article was installed on the upper level of the home with an air-conditioned room beneath it, reducing concern of moisture problems. Nevertheless, we still found a damp-proof membrane beneath the subfloor. When laying hardwoods, it’s always a good idea to cover the subfloor with a damp-proof membrane—and it’s absolutely critical with first-floor installation.
Acclimatize the New Flooring
Speaking of moisture, hardwood flooring (or any wood product) expands and contracts in response to changes in temperature and humidity. For this reason, it’s important to allow your new wood flooring to be conditioned to the environment where it will “live” prior to installing it. Store the boards in the room for at least 48 hours before laying them.
Floor Selection
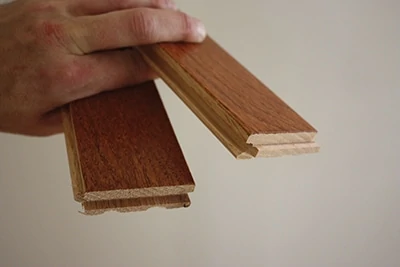
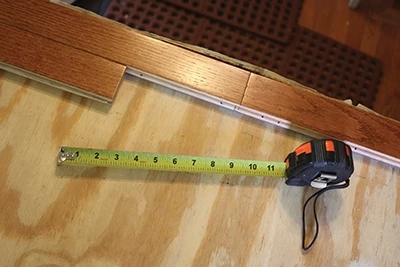
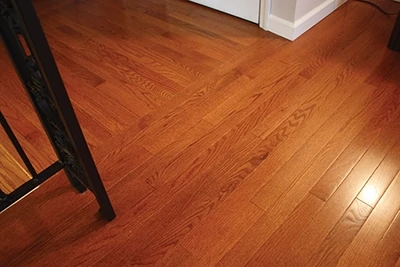
The search for matching hardwoods presented another hurdle. The existing flooring in the home had held up well and looked just as good as the day it it had been installed, making a good case for using more of the same on this new project. However, finding a matching size became a challenge. At Lumber Liquidators, we found a board with a matching finish and almost the same dimensions. The Builder’s Pride 2-1/4-in. hardwoods are sold with a beautiful Classic Gunstock Oak finish virtually identical to the older boards. The only hitch was that the new boards from Lumber Liquidators measured slightly wider than the older flooring, so the new ones would not fit seamlessly into the existing rows of tongue-and-groove hardwoods. Even when separated by a dividing strip, the joints between the old rows and new rows would be visibily mismatched.
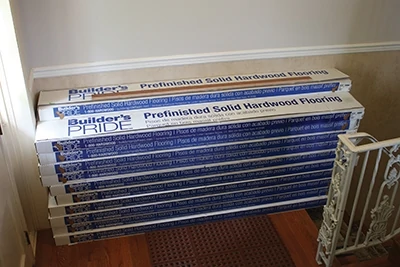
We liked the appearance of the Lumber Liquidators flooring, so we devised a workaround. Rather than continue the layout of the existing hardwoods, we decided to break the pattern along the old carpet transition line and turn the flooring 90 degrees, installing the living room’s floor separate from the adjacent hardwood landing.
Making the Turn
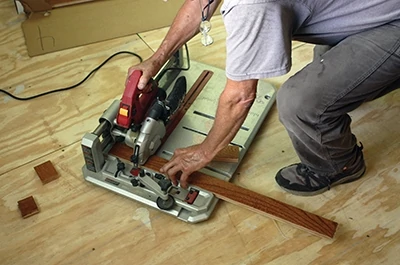
To make the 90-degree transition from one hardwood floor to the other, we had to carefully establish a neat and orderly joint between floors. First step was to “gang cut” the ends of rows all at once. Using a track saw to ensure a smooth, controlled cut, we removed only enough material to ensure we established a smooth, even line at a perfectly square angle. Our plan was to begin a new perpendicular row of hardwoods butted against the ends of the intersecting flooring.
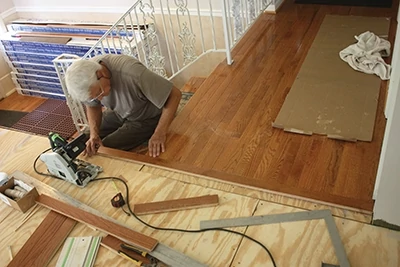
new flooring in the living room perpendicular to the existing oak floor of the stair landing. This first required us to make a perfectly square cut to the ends of the oak boards using a track saw.
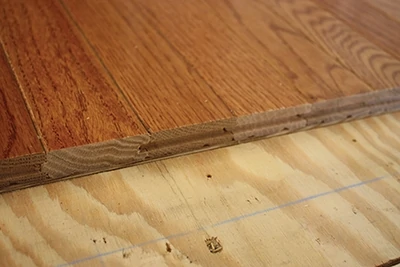
This plan, however, didn’t leave us a standard tongue-and-groove joint to interlock between the two floors, which would help close that transitional seam. But fortunately, we were facing the “starter” end of the existing floor, so we had some end grooves to work with but no tongues. And the mating edge of our new flooring also had a groove. How could we connect the two grooves?
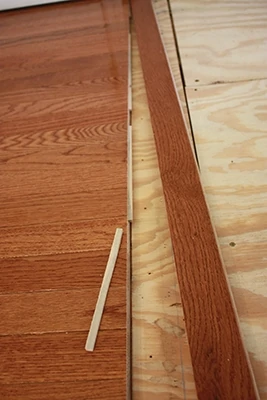
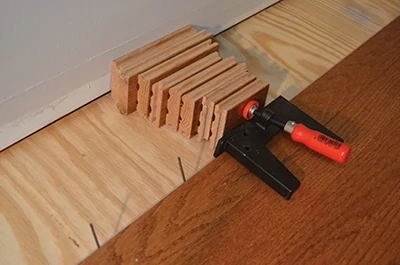
Dad’s solution: Cut custom wood biscuits (or “tongues”) to bridge the joint of both mating floors. On a table saw he sliced up some scrap pieces to the exact width, length and thickness to fit inside all the abutting grooves. Bridging the joints ensures the boards remain locked in an even plane so there’s no lippage along the joint that can catch a toe or wear away. I thought this was a smart solution.
Fasten it Down
Thanks to having a nice, flat subfloor, the remainder of the installation went closely according to plan for nail-down hardwoods. The basic idea is to tightly close the tongue-and-groove connections while staggering the end joints by a minimum of 8 inches.
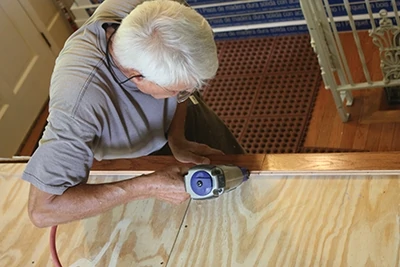
To speed up the fastening process, we used a Duo-Fast pneumatic flooring stapler. With the tap of a mallet, the FloorMaster 200-S drives a 2-inch, 15-gauge wire staple into the subfloor for a rock-solid connection. If you don’t want to invest in the cost of a floor stapler, most rental outlets have them available.
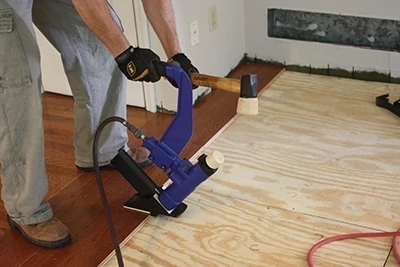
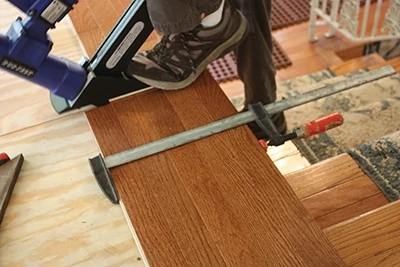
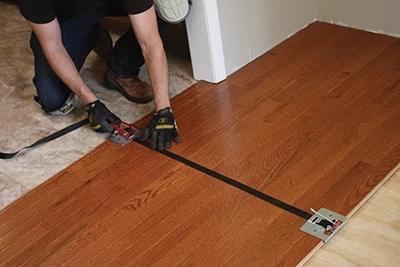
The design of a flooring stapler requires some clearance to use the tool, meaning you need room to stand behind the stapler as well as room in front to swing the mallet. In some cases, this makes it tough to use the stapler. For one example, the starting row of our new floor ran along a ledge above the foyer, leaving no place for us to stand. Another example is when you approach the wall of your last row and run out of room to swing the mallet. In these situations, a stapler isn’t practical, leaving you the option of face-nailing or blind-nailing.
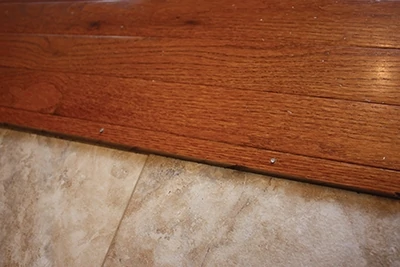
doorway to give the first row a firm hold.
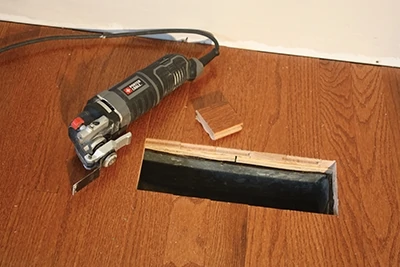
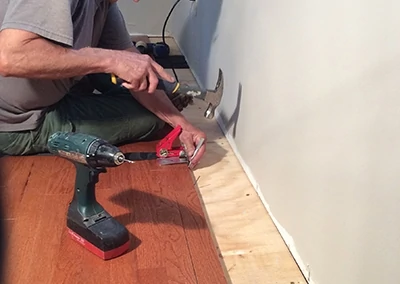
If you have room to access the T&G joint with a finish nailer, you can drive a finish nail at a 45-degree angle through the exposed tongue to fasten down the board. For the last rows, you won’t be able to fit a nailer, but you can usually fit a hammer. Face-nails on the boards located against the wall can often be concealed with baseboards and shoe molding.
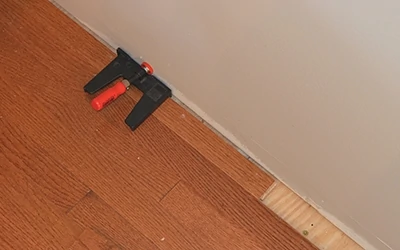
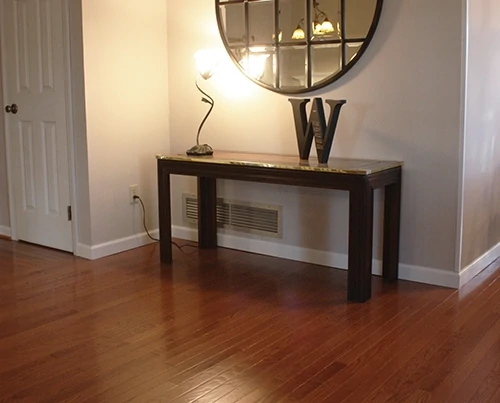
Once the floor was fully installed, it completely changed the look and feel of the living room. Everything appeared much more refined and stately, and the new hardwoods from Lumber Liquidators complemented the old flooring perfectly. Mission accomplished.
 Side Note
Hiding the Gaps
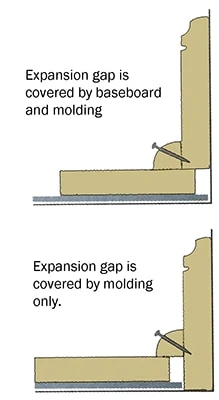
Wood floors require an expansion gap of 1/2 inch along the surrounding walls to accommodate expansion and contraction with changes in moisture and humidity. You have two options to hide the gap. The first option is to remove any existing floor trim (such as baseboards) before installing the floor, and then replace the baseboards over the expansion gap. The second option is to leave any baseboards in place, install the flooring, and then cover the gap along the baseboards with additional floor molding.


 Side Note