The right truck cap setup offers protection, convenience and style.
By Larry Walton
It’s no accident that today’s heavy-duty pickup trucks have nicer interiors and greater cargo hauling capacity than ever. Even the auto manufacturers are paying attention to the guys like my brother, Chad, who use their trucks for both work and play.
Chad needs to haul tools with his truck but he wanted to get away from the daily grind of hooking up and towing our tool trailer. As a long-time contractor, he has been through several tool hauling set-ups over the years (pickups with canopies, trailers, work vans) so he knew he wanted a truck cap on his pickup.
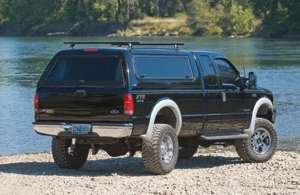
Like a lot of other business owners, his work truck is also his daily driver, his grocery getter and his vacation transportation. That’s why any truck cap would have to match his lifted F-350’s look. Styling was as important as tool security, and overall looks ranked at least as high as loading and unloading ease. When it came to choosing the right truck cap, he was not ready to take function over form.
Another requirement for the truck cap was that it not be obviously commercial in appearance. This was not just for style points, but it was also to keep would-be tool thieves from guessing what was inside. Stealth storage was a top priority.
That’s why he was very happy to find that A.R.E. had a cap for his truck in their CX Series. Not only was it cab high, form fitting and color-matched to his truck, it was also available with side toolboxes, which is a very practical design for construction workers and hobbyists alike.
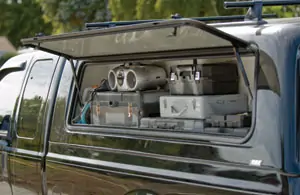
Rather than windows in the side doors, A.R.E.’s side toolbox option is designed with aluminum recessed panels where the glass usually lives. The panel inserts both deter prying eyes and secure tools, fishing gear, or whatever it is you want to haul.
Often truck cap side doors are practically useless, especially for lifted trucks. That’s because it’s tough enough to reach over the sidewalls of the bed, let alone being able to grab something heavy out of the bed and hoist it back over the bed walls. Also, it doesn’t take much experience or imagination to know what havoc tool belts and jean rivets can wreak on the paint job.
The side tool boxes, however, make is easy to access usable storage space. The floors of the tool boxes are slightly below the opening, making this a great space to keep any number of tools or toys readily reachable when the doors are open.
When we ordered the truck cap from A.R.E., they asked for truck make, model, year, cab and bed configuration and the exact paint code from the sticker in the door jamb of the truck.
Harley Christoffersen of Canopies Plus, our local A.R.E. dealer, called us when the truck cap was in his shop to set up an installation appointment. The dealer installed the unit, making sure the weather seals and lights were working properly.
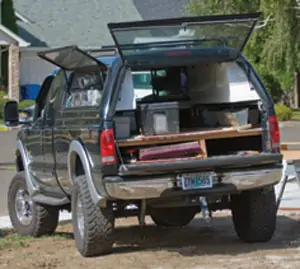
Eventually Chad wants to install a cargo tray such as the Gorilla Slide (www.highwayproducts.com), but while he’s waiting for funds to be available we decided to install a simple wall-to-wall shelf with sliders that we’ve used in the past. The idea is to maximize cargo capacity and to minimize effort getting at tools on the job site and toys in the field.
Tool Transport
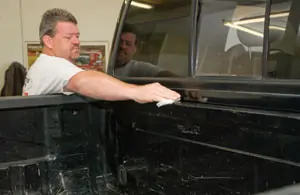
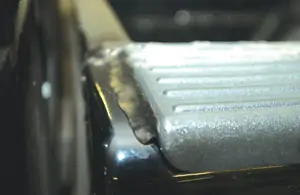
Harley Christoffersen of Canopies Plus, an A.R.E. dealer in Eugene, Oregon, preps the bed rails for the weather seals.
Christoffersen used 3M Window-Weld to build a little transition ramp at the end of the bed rail protectors on the F-350. He knows from experience that this step-down has too many right angles for the weather strip to conform and seal without some help.
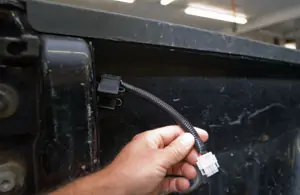
One of the secrets to a successful truck cap install is getting a wiring harness for your application.
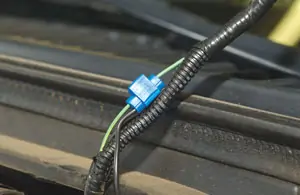
The wire for the hood lamp is a good place to tap into for the truck cap dome light.
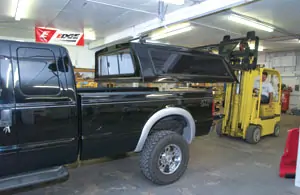
You probably don’t have a fork lift with extended, padded forks, but a friend on each corner will do.
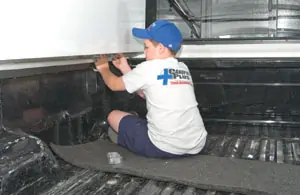
Eleven year old Garrett Christoffersen, an experienced canopy man, installs the clamps that attach the truck cap to the bed rails.
Aluminum panel inserts on the side doors look like tinted glass on this black truck.
Side access tool boxes make a great place to stow gear.
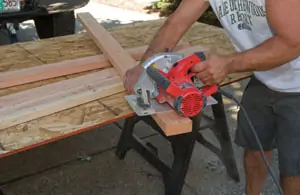
A simple square cut on a 2×4 is all that’s needed to make the cross members for the horizontal deck.
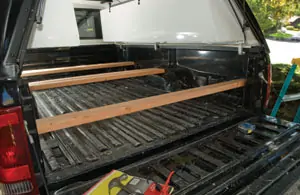
Two-by-4 cross supports fit into pockets in the bed walls.
A 2×8 on edge was almost the right height to make a center partition/support running the length of the bed. We used cedar shims to fill the void before fastening the parts with 3” drywall screws.
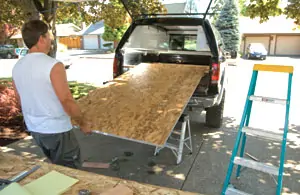
We slid a sheet of 3/4” tongue and groove decking into position on top of the cross supports.
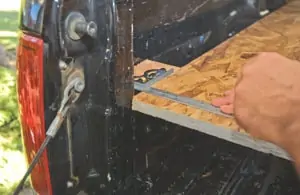
The shelf had to be fit to the irregular contours of the pickup bed walls. A combination square can be used to transfer marks.
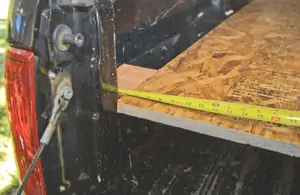
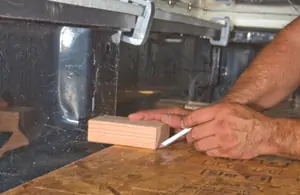
We measured the widest gap and cut a block of wood to match the gap.
We then used the block as a gauge to scribe the shelf to fit the bed walls.
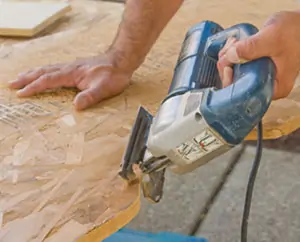
A jigsaw does a good job of cutting the scribe lines on the shelf.
After adjusting the shelf with some back cuts, we used it to trace a layout for the other side of the pickup bed.
You can adjust the foot of the jigsaw to make these cuts at an angle or if you are impatient like my brother, you can just tip the jigsaw at an angle to match the curve of the bed walls.
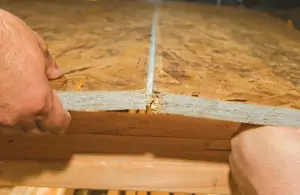
With both pieces in place against the bed walls, we tipped them up at the seam so the tongue and groove could lock together.
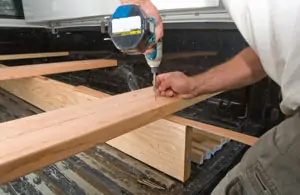
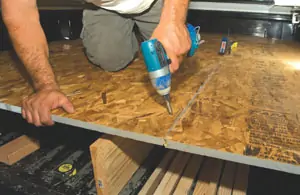
Drywall screws secure the shelf to the cross members.
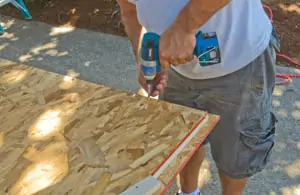
We made a slider for the top shelf by cutting a piece of 1/2” wafer board to fit between the built-in tool boxes. We added 1-by-2 rails to the outside perimeters and fastened them with drywall screws from the bottom side.
With the slider in place, we screwed down some 1-by-2 rail guides to keep it centered on our bed-sized shelf.
The side doors with built-in cargo boxes make a great place to haul frequently used items so they are easily accessible.
Sliders above and below the shelf make it easy to pull tools from the bed without climbing inside.
A well organized truck cap setup makes life easier on the jobsite.
A well organized truck cap setup makes life easier on the jobsite.
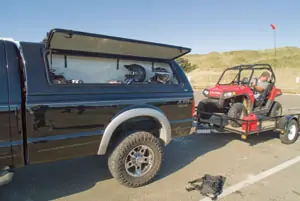
It takes little effort to transform the tool hauler into a weekend warrior for a quick trip to the Oregon dunes.


