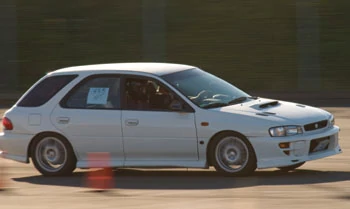
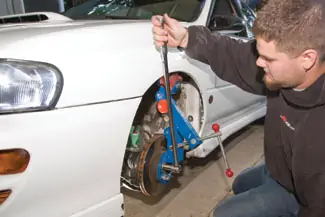
Race day was fast approaching and the used set of race tires and wheels I had just bought needed a little extra clearance, especially for making auto-cross maneuvers. Fortunately, one of my friends had just the solution: the Eastwood Fender Roller.
Most stock car wheel fitment and tire sizes are on the conservative side, so the addition of wider tires can provide a handling and traction advantage. Depending on how aggressive the tire size and wheel offset (the distance between the inside rim of the wheel and the bolting surface), some massaging of the stock fenders may be needed to gain some extra clearance.
Fender clearance can be gained in stages starting with removing the fender liners. Next comes rolling the fenders—that is flattening the L-shaped lip of the inside of the fender opening, which also gets the sharp metal edge away from the tires. This is a good idea in case fender and tire do meet at some point. Some guys go beyond flattening the lip to slightly flaring the fenders.
Previously, we fitted our Impreza with some coilovers, allowing for adjustable ride height and a stiffer ride for reduced body roll. Because the coilovers are thinner than the stock struts, they also provided additional clearance along the inside edge of the tire for deeper off-set wheels.
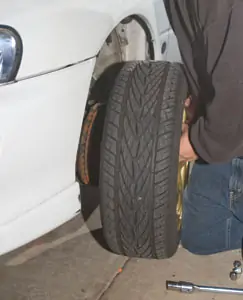
The addition of Kuhmo Victoracer R Compound tires had us looking for clearance for the outside of the tires, and rolling the fenders was a good option. However, if you are an autocrosser, you probably already know that changes in tire size and type as well as fender modifications may put your car in a different class. Check your local rule book.
The Eastwood Fender Roller, a popular tool with performance car enthusiasts, can be purchased or rented online if you can’t find one for rent in your area. Because of the risk of potential paint cracking and the associated repair, many shops won’t roll the fenders for you, which makes it an ideal do-it-yourself project. With the right tools, preparation and time, fender rolling can give you the extra clearance you need for some serious rubber.
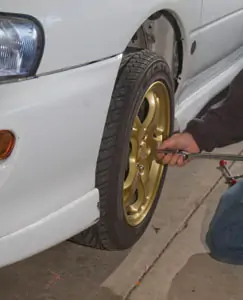
Step 1: Break the lug nuts free before jacking the vehicle off the ground.
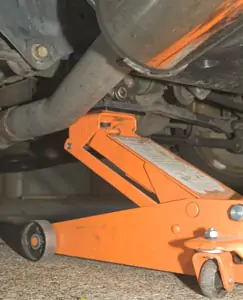
Step 2: Check the owner’s manual for floor jack placement to prevent damage to the vehicle. Jack it up until the tires clear the ground.
Step 3: Properly support the vehicle using jack stands (once again referencing the owner’s manual for locations) and remove the wheels.
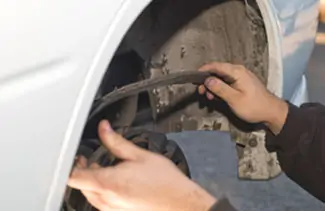
Step 4: Remove the stock fender liners or rubber trim strips.
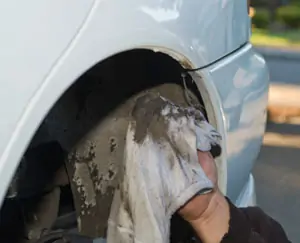
Step 5: Clean the inner lip of the fender to ensure you’re not pressing rocks and dirt into the lip you’re rolling.
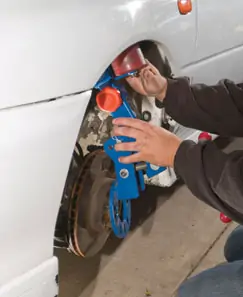
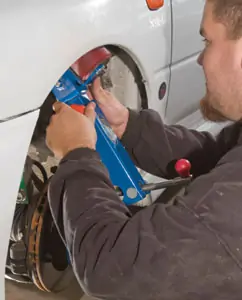
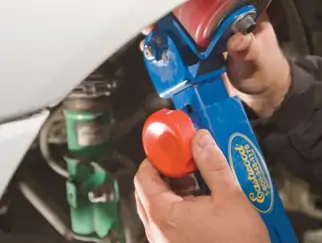
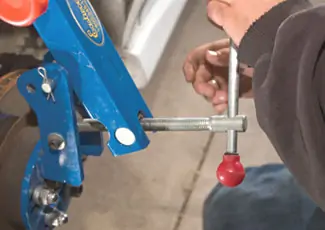
Step 6: Adjust the fender roller for clearance to the fender and line it up with the lugs for mounting.
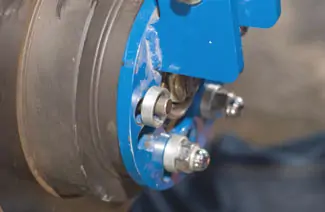
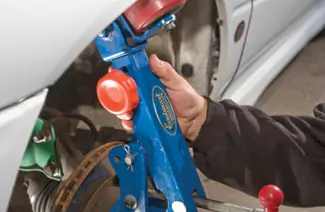
Step 7: Using the supplied washers, attach the fender roller tool using the vehicle lug nuts.
Step 8: Snug down the lugs to hold it in place—but do not over tighten, which can bend the tool.
Step 9: Align the center of the roller with the inner fender lip.
Step 10: Adjust the angle of the roller head so it will start to bend the fender lip upward.
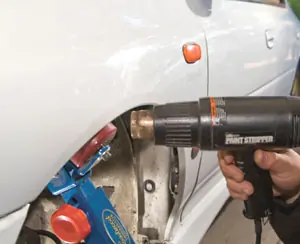
Step 11: Heat the inside and outside of the fender to help prevent paint cracking.
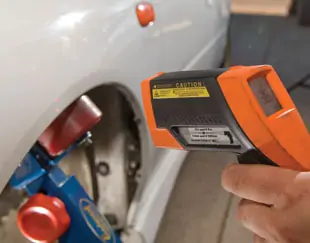
Step 12: Constantly monitor the surface temperature of the areas being worked. We used an infrared temp gun and were aiming for 135 degrees. These temperatures may seem extreme, but imagine the heat paint is exposed to on a hot 100+ degree day.
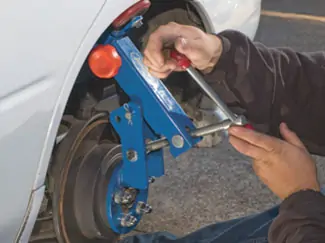
Step 13: Slowly apply pressure using the fender roller tool. Make gradual adjustments to increase the reach of the tool. Rolling smaller sections of the fender will apply less pressure to the paint than trying to do a full 180-degree arch.
Step 14: Apply a little more force; working slowly and ensuring the temperature of the paint and metal remain consistent. Check tire clearance if you’re working towards a specific application: in our case, some Kuhmo Victoracer tires for autocross.
After installing the wheels and tires, use a torque wrench to tighten your lug nuts to proper manufacturer specifications. Lower the car just enough so the tires don’t spin during torquing.


