By Larry Walton, Photos by Bruce W. Smith
An amazing array of accessories is available for hitch receivers: trailer hitch balls, bike racks, steps, winches, spare tire racks, shackles, tow hooks and even gas grills. Why be content with having all of these receiver hitch mounted items at the tailgate when, at times, they would serve much better front and center?
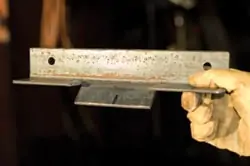
That’s what Warren Spears had in mind when he started carving holes through the air dam of his Chevy. To determine the size of opening needed for the air dam, he used a piece of receiver hitch stock, which has a tighter fit, a heavier gauge and a more reinforced opening compared to standard square tube.
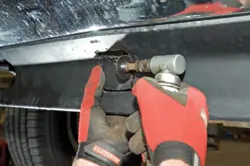
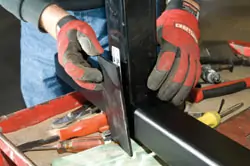
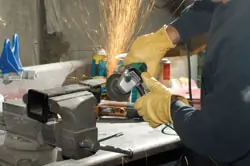
A 4-inch grinder with a cut-off wheel works well for the job of making an opening for the receiver stock. Spears took advantage of the small driver head on his pneumatic grinder and a nearly worn-down abrasive wheel to cut the small opening.
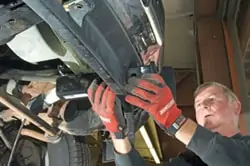
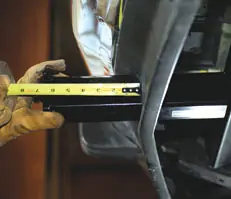
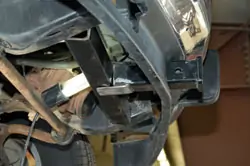
A test fit indicated that the opening was the right size and that keeping the tube level would allow it to tie into a cross brace welded to the frame rails.
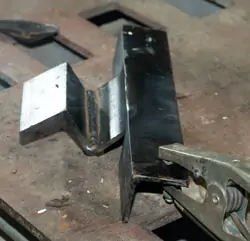
To make the cross brace, Spears chose square tubing of the same size as the receiver so he could employ gussets on the top and bottom and keep everything flush.

A cut-off saw with abrasive wheel makes a good tool for cutting the metal parts for this project. Spears used the saw to cut the tubing to length, to cut the angle iron for the bumper bracket and to cut the gussets for the receiver-to-cross-bar connection.
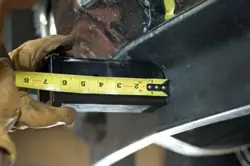
Spears tested the positioning of the receiver tube. Because he wanted to use a specific winch, he needed to make sure the tube protruded enough to allow the winch to clear the bumper when installed. After making this measurement he determined that he could trim about 2 inches off the receiver tube.
Spears welded gussets to the top and bottom of the receiver tube. He then used an angle grinder to clean up the edges of the gussets.
Spears positioned the cross brace and receiver tube to mark the location for attachment.
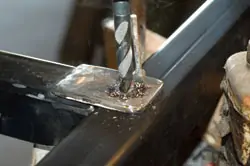
With a C-clamp holding the tubes in place, Spears drilled through both gussets and the cross brace so they could be fastened with a bolt.
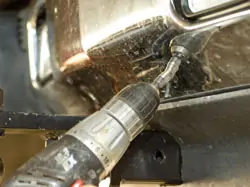
Spears enlarged two existing holes in the bumper to add a support bracket behind the bumper.
The support bracket began its life as a foot-long piece of angle iron, which was cut and bent to accommodate a brace.
Spears welded another piece of angle iron to the bent section of the bumper bracket that corresponds to the receiver tube. The idea here was to work with existing holes in the bumper and fit the angles at that part of the bumper with the top surface of the receiver hitch.
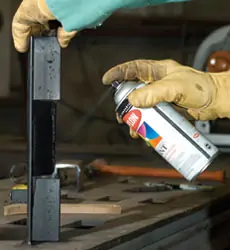
It’s a good idea to paint some parts before they are installed because they can be almost impossible to reach once in place. Although you can’t see it behind the bumper, the paint protects the metal from rusting.
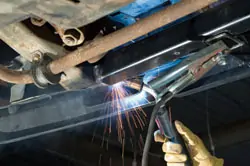
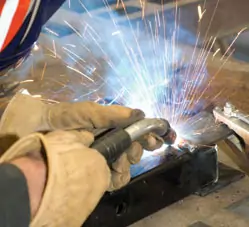
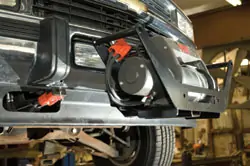
With all of the components built and in position, the final location of the cross brace can be determined and the cross brace welded to the truck frame.
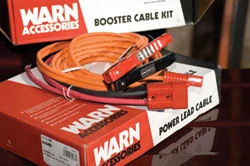
Warn Industries offers a couple of different ways to get power to their Multi-Mount winches. The power lead cable gets wired-in permanently and has a quick-connect that plugs into the winch lead. The booster cable kit has jumper cable-style clamps for a battery hookup.
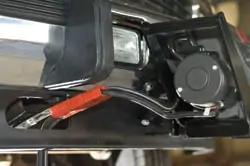
Spears attached to the frame rail a bracket, which extended into the tow hook slot of the air dam to support the end of the power lead cable.
Warn supplies an end cap to protect the power lead cable for when the winch is not in place or in use.
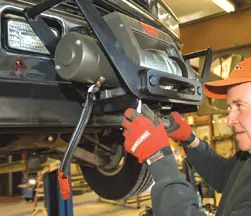
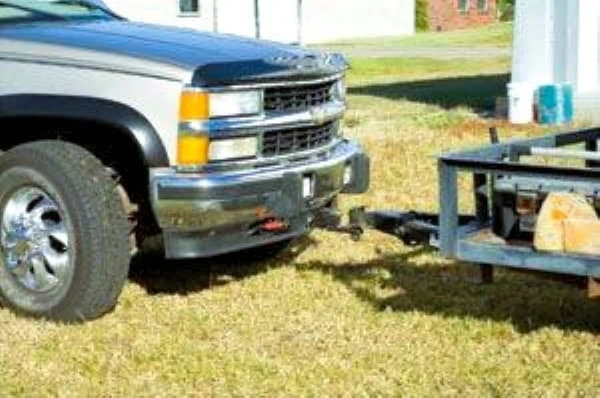
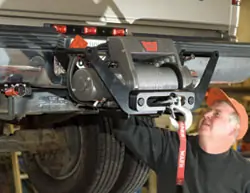
With the front receiver installed, Spears takes advantage of the opportunity to attach the Warn XD9000i to the Multi-Mount.
Spears uses one last zip-tie to keep the power lead cable in place for the rear of the truck.
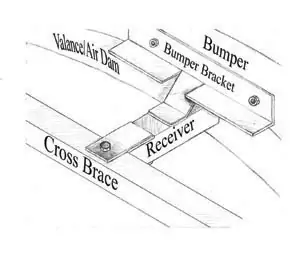
A sketch (below) of the front receiver assembly shows how the receiver tube is attached at the cross brace and the bumper. Spears designed the receiver so it can be removed by removing the bumper.