Replacing an Entry Door and Transom Window
By Matt Weber
Our latest door-replacement project was a taller order than usual. This particular entry upgrade came with an overhead transom. Essentially an extra window above the door, the transom opens up the living space, and along with the new door’s insulated glass option, brings much more natural light into the home. The transom first had to be attached to the pre-hung door for installation, and here’s how we tackled the project.
Out with the Old
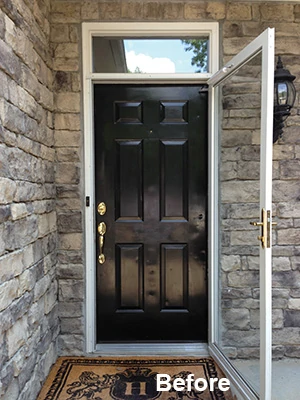
The homeowner had a few problems with the old metal door. Over time, impact damage to a metal door can result in dents and dings that hard are to ignore, and this door had a few. Furthermore, a previous homeowner had painted the door (improperly), and the afternoon sun that blazed down upon the black paint each afternoon would cook the coating and cause it to peel. Lastly, the homeowner simply didn’t like the big dark slab that blocked out the light and the outdoor scenery.
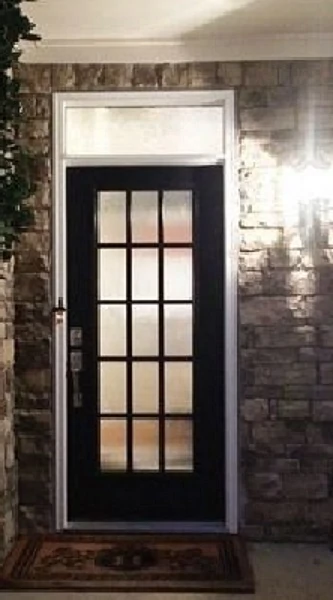
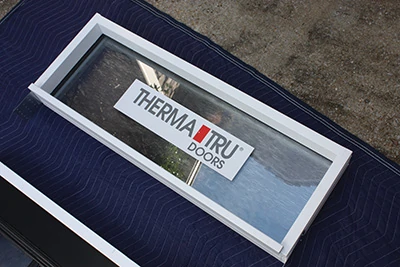
The new door and transom were ordered from Therma-tru. The pre-hung insulated entry door comes from the company’s Smooth Star product line and is made of rugged compression-molded fiberglass with deep, detailed panels. The design creates attractive shadow lines and contours on the door’s surface, and the fiberglass resists damage from day-to-day traffic and will never rust or corrode.
The homeowner selected “chord” style glass from Therma-tru’s many glass options, and used it for both the door and transom.
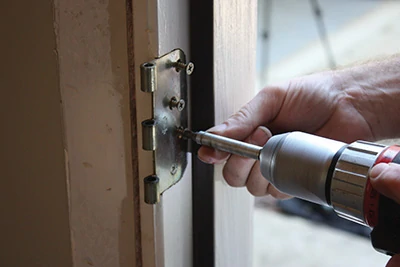
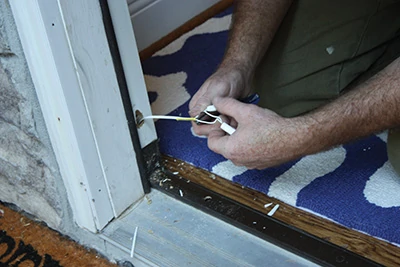
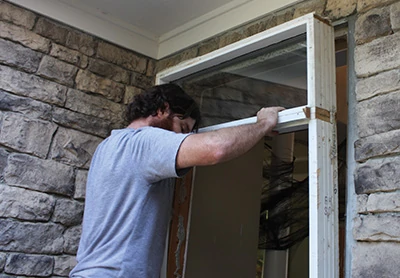
The old entryway included a storm door, which we unscrewed from the jamb and removed. We then took out the old entry door, which was a little more complicated. Keep in mind any electronics that are associated with the door, such as a hard-wired security system. Disconnect the system and be careful not to accidentally cut the wire. It may help to tape the wire out of the way while you replace the door.

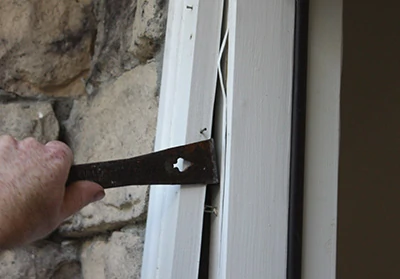
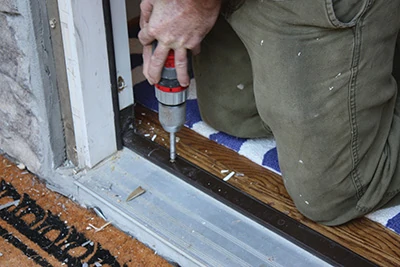
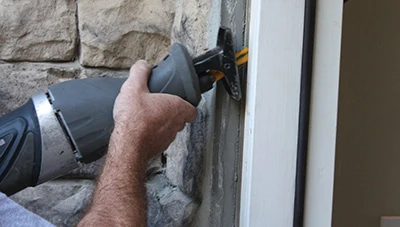
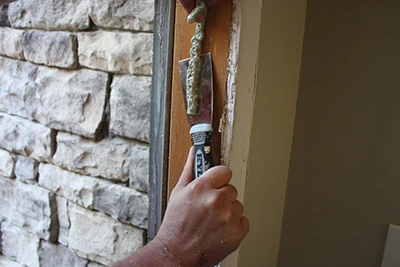
Take the door off its hinges and then back out the hinge screws to remove the long stud screws that hold the jamb to the framing. Remove screws from the sill as well as the bolts of the door strike. Use a razor to cut loose all caulked joints. Pry off either the casing on the inside or the brick molding on the outside to allow removal of the jamb. If the jamb is still not loose in the framing, then additional fasteners must be holding it to the house. Run a reciprocating saw with a long blade between the jamb and framing to cut through any remaining fasteners. This should free the door so you can tip it out of the rough opening for removal.
We donated the old storm door and metal entry door to our local Habitat for Humanity branch, where they will be reconditioned and repurposed by other homeowners.
Installation
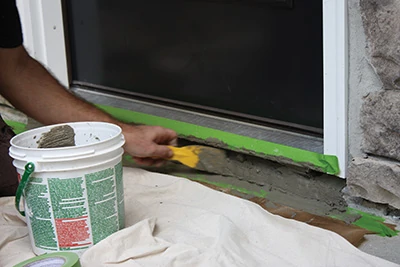
The entryway in this project was protected from rain by a deep overhang, plus the jamb was set off the ground on the lip of the mortared house wall. This design keeps the bottom of the door from exposure to pooling water, but if this is not the case for your door then we recommend installing a sill pan in the rough opening beneath the new door.
Prepare the rough opening by checking all corners for square. Double-check by comparing diagonal measurements. The rough opening should be frame height plus 1/2 inch, and frame width plus 1/2 to 3/4 inch. Use a 6-ft. level to confirm that the framing and walls are plumb (front to back and left to right). Fix any problems now using shim boards (or by adjusting the studs). Also, make sure the subfloor is level and solid. Scrape, sand or fill as required.
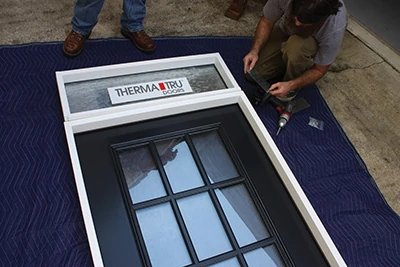
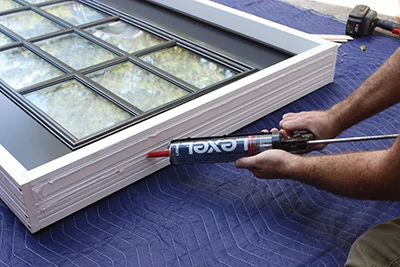
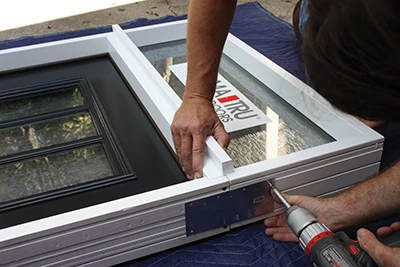
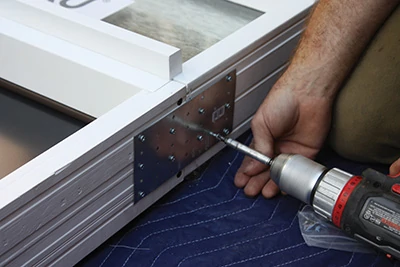
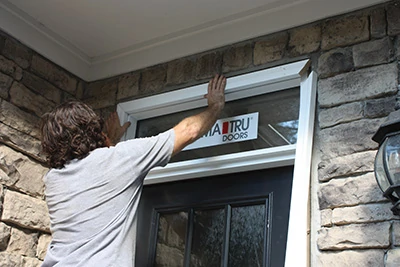
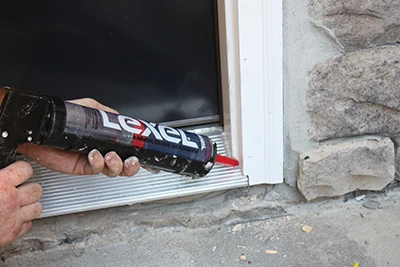
Next step is to assemble the door and transom, which arrive as two separate pieces. Find a very flat work surface to lay down the door, and protect it with a blanket to prevent scratches. Liberally apply beads of sealant between the door top and transom bottom. We used Lexel, which is a liquefied rubber sealant that sticks to virtually anything and remains flexible when it dries. Position the transom onto the door and flush with the jamb. Use an extra pair of hands (or clamps) to hold the seam tight while you screw the two pieces together using metal nailing plates along the jamb. For a solid connection, fill all the holes in the metal plates with short screws into the mating jambs. Before placing the door, caulk the subfloor using a liberal amount of quality sealant.
(Also caulk the rear of the brick molding if it’s pre-attached.) Sit the threshold over the sealant and tip the pre-hung door into the rough opening.
Temporarily secure the unit in place by installing screws in the center predrilled hole locations on both jambs. Use 3-in. screws, but don’t tighten them all the way at this time.
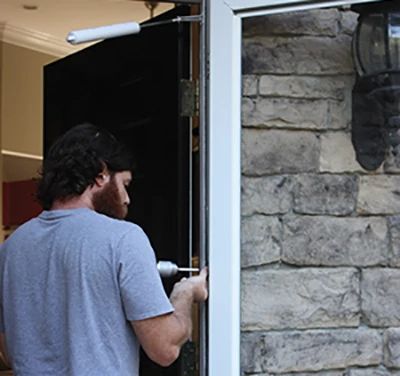
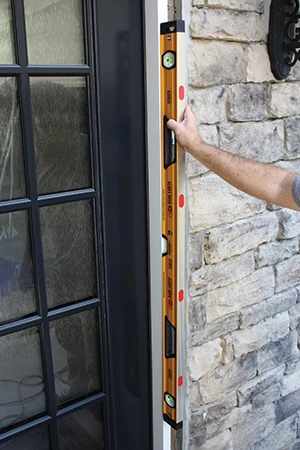
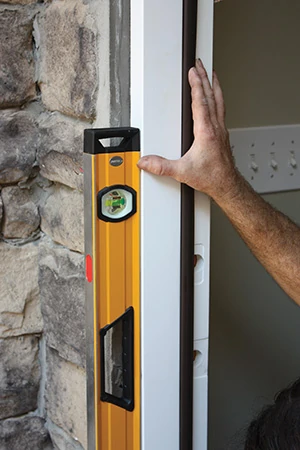
The traditional rule of thumb when installing a door is to plumb the hinge-side jamb first (in both directions) so the door swings properly. Use a 6-ft. level to check and make adjustments. Place screws at each hinge location, so shims can be placed behind hinges above screws. (The screws prevent the shims from falling down while adjustments are being made). Slide the triangular shims in or out of the jamb to adjust spacing until the hinge side is plumb and straight. Finish driving screws tight in the middle first then top and bottom last.
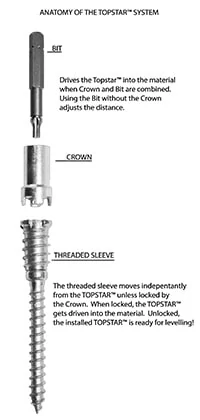
For this particular installation, however, we used the two-part Top Star Shim Screws from GRK Fasteners. This patented two-piece fastener creates a “screw within a screw” to save time and labor when plumbing door jambs, window frames, paneling and built-in cabinets. (See sidebar.)
Once the hinge side is secured, check the door’s weatherstrip margins and points of contact. Adjust the frame so the weatherstrip contacts the door surface equally at the top, center and bottom. Secure the lock side jamb with 3-in. screws through the top and bottom, using shims to make adjustments as needed. Recheck everywhere for plumb and square, then drive all the screws tight. Remove the transport clip that keeps the door closed, and open it to test the swing for smooth operation.
Once you’re satisfied, drive two 3-in. screws through the top hinge and into the stud. This anchors the frame to the door to prevent sagging. Close the door and shim behind the strike-plate area. Predrill and drive 3-in screws through the strike plate into the lock side jamb. Adjust the strike plate for proper operation, then tighten all screws.
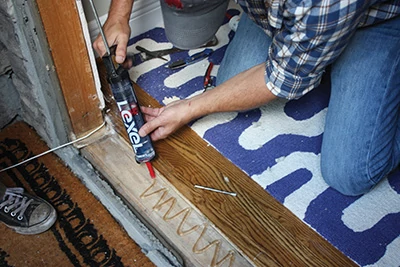
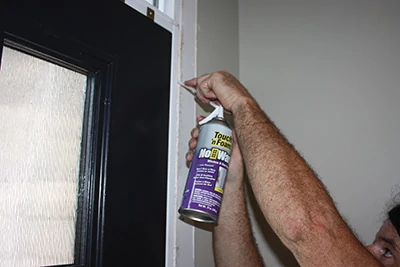
Seal any space or gaps with expanding foam insulation, but make sure to use the low-expanding foam formulated specifically for windows and doors (otherwise the foam may bow out the jamb and interfere with door operation).
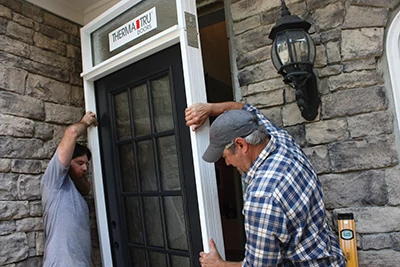
Install brick molding around the door exterior using finish nails. Caulk all seams, including the bottom sill corners, using quality adhesive.
At the end of the day, the homeowner had a beautiful new entry that will withstand the outdoor elements, allow more light into the living space and add value to the house. Learn more about Therma-tru doors at www.thermatru.com.

Top Star Shim Screw
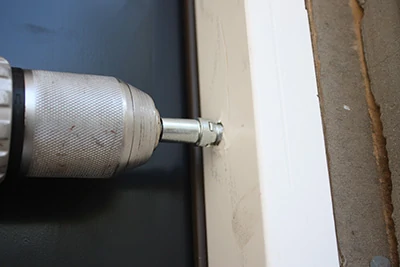
The Top Star Shim Screw from GRK has an ingenious design that you really need to see in action. This patented two-piece fastener creates a “screw within a screw” that reduces labor for the plumb installation of window and door frames (jambs), paneling and built-in cabinets. The Top Star’s inner screw turns independently of the outer portion of the fastener for easy adjustment without shims. First, drill a pilot hole for the screw and then drive the Top Star with GRK’s crown bit through the jamb into the rough-opening frame until flush. Slide off the crown bit to reveal the inner star bit. Use the inner star bit to adjust the jamb in and out of the frame until flush. This system of door installation is much faster than using wood shims to make fine adjustments. Learn more at www.grkfasteners.com.


