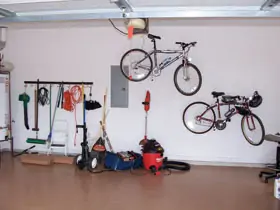
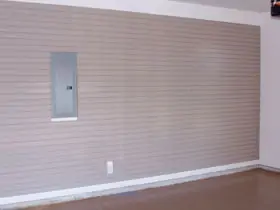
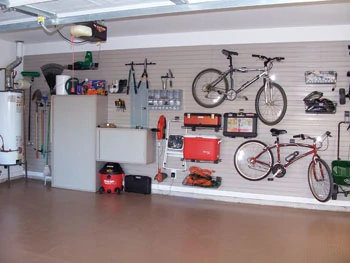
Slat-wall storage systems can help organize your shop or garage.
Does your garage look like a war zone? Are your shelves strewn with tools and piles of miscellaneous gadgets? Are your long-handled garden tools haphazardly leaning in a corner, just waiting to spill everywhere as soon as you reach for a rake? Do you spend more time searching for your tools than you actually spend using them on a project? If this sounds like your situation, it’s time to get organized.
It’s practically an American tradition for garages to be chaotic storage shelters for anything and everything you might use for the home. It’s a tradition that needs to be abandoned for the sake of safety and easy usage. The walls are a great place to start organizing your messy dwelling. Slat-wall or slotted wall storage systems make use of unused storage space, allowing you to customize the wall systems to fit your personal needs. Similar in concept to the often used pegboard-and-hook configurations, these newer wall organizers offer a sleeker look and greater load capacity. Plus, they’re available in a variety of colors and are a breeze to install.
You have a handful of systems to choose from, such as the StoreWall slat-wall system or the Gladiator GearWall panels from Whirlpool. In this article we demonstrate the HandiWall system from HandiSolutions.
HandiWall is made of cellular PVC and comes in paneled sections, available in 8- and 4-foot lengths. The panels are moisture-resistant and simple to clean with a garden hose. The PVC material is strong and durable and somewhat scratch-resistant. Surface scratches can be easily repaired and are less noticeable because the material is colored throughout the product. For a finished look, trim pieces are available such as edge caps, J-molding, corner molding and baseboard trim. Once installed, you can equip the walls with a variety of accessories, from baskets and shelves to a wide range of hooks.
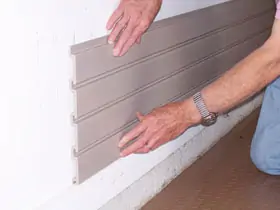
Easy Installation
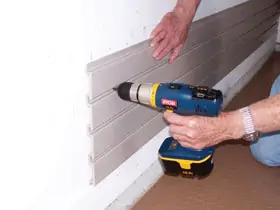
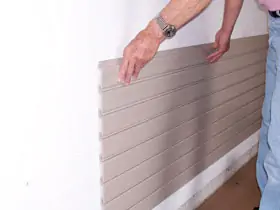
The easiest way to install the wall panels is from the bottom up. First locate and mark the studs. Position the first panel and use a hand level to make sure it is level. Drill holes at the stud locations and install the screws that are included with the system. Screws must be installed in every slot and every stud.
Once the first panel is secure, position the second panel evenly along the top of the first and fasten it in the same manner. The panels can be cut horizontally or vertically to accommodate room dimensions. To cut, make sure the panel is firmly supported, and use a circular saw with a thin, sharp blade.
When all the panels are fastened in place, finish the installation with whatever trim pieces you prefer. Then all that’s left is to fit your panels with all the shelves, baskets and hooks you need to hang and store bikes, shovels, hand tools—you name it. In practically no time at all, you’ve completed an attractive wall storage system and cut down on the chaos that typically plagues garages everywhere.
