Replace an overhead door with pre-hung double panels.
By Matt Weber
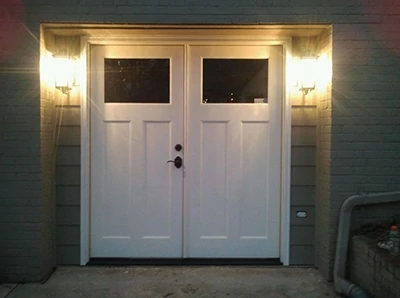
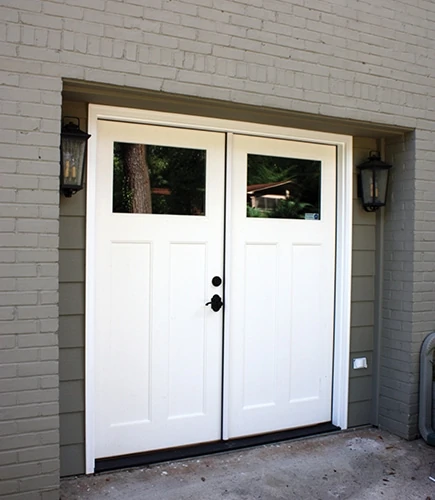
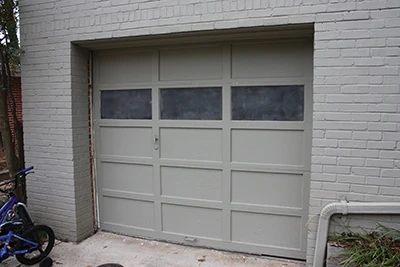
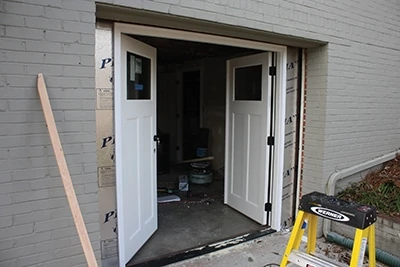
To increase the finished living space in a split-level home, we removed a garage door and replaced it with a double door to remodel the interior into a family room. This insulated fiberglass door was smaller than the garage door opening, which required us to frame the new opening. Replacing a door usually presents the challenge of installing the door snugly and securely into the existing rough opening. In this case, however, we built the rough opening to fit the door. Here’s how we tackled the project.
Non-load-bearing Framing
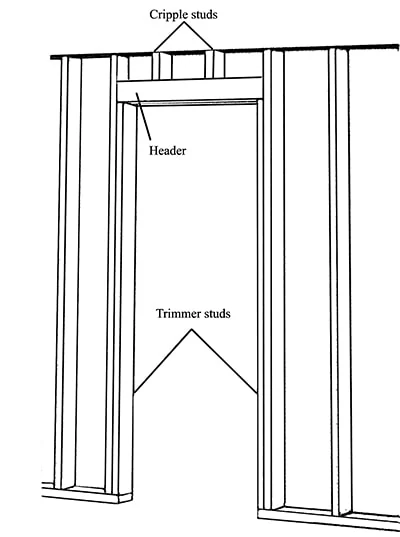
It’s important to note that we framed this door as a non-load-bearing wall. Most exterior doors require a load-bearing header installed directly above the jamb. Headers are structural framing members made from doubled 2x lumber that bridge the rough opening of a door or window to distribute the overhead weight that would otherwise fall on the missing studs. The size of the header depends on the span of the opening and whether or not it is a load-bearing wall.

In this case, we removed the existing garage door, which had already been constructed with a substantial header, and left the structural framing in place to carry the load. We then constructed a secondary wall just inside the framed opening to house the new double door. Because the existing header satisfied the load-bearing requirements, the secondary wall serves only to define the rough opening, enclose the sides of the door, and provide a nailing surface for wallboard and sheathing. Since the new, secondary header was not a load-bearing component, we built it with doubled 2×4 lumber.
Determining Placement
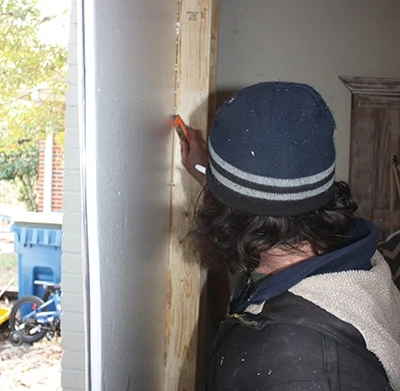
First step was to take a few measurements to center the double door in the opening. We calculated the proximity of the new wall to the existing frame by accounting for the thickness of the sheathing that would be installed between them. We then snapped a chalk line on the floor to guide placement of the door jamb and new wall.
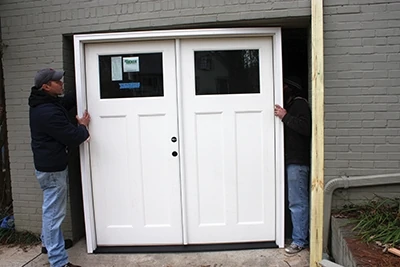
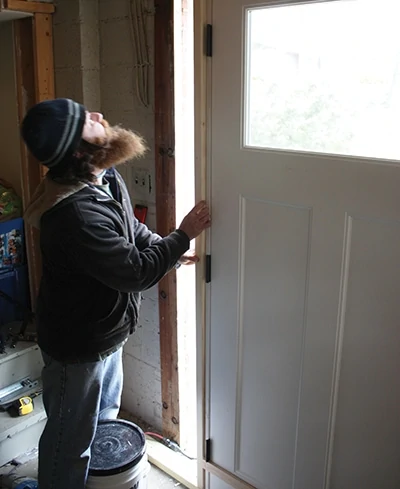
At least two people are required to move a double door. Placing the pre-hung door and jamb into the opening, however, enabled us to easily make accurate measurements and layout marks to build the surrounding frame.
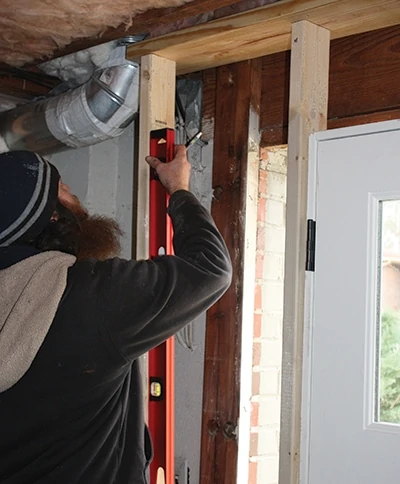
Sometimes when installing a replacement door the jamb is a little too small for the opening, requiring shims or trim-boards for adjustment. When framing around a door, though, you can construct the frame with as tight a surround as you want—just leave enough fudge room to allow maneuvering the door into the rough opening. Building around the door also enables you to eliminate the out-of-square framing errors associated with the house settling (or poor carpentry). Always make sure to build the rough opening plumb, square and true for doors and windows, ensuring no studs are bowed.
Building the Frame
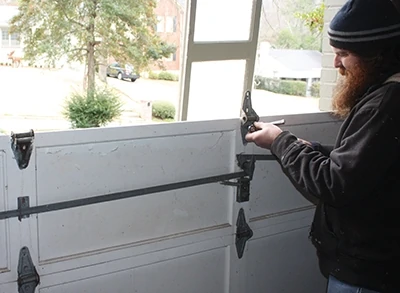
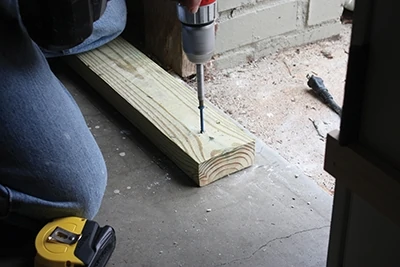
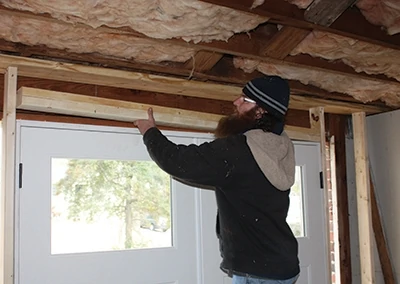
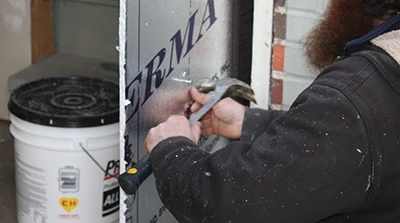
We constructed the wall with a typical sill plate, bottom plate, and studs spaced 16 inches on center. We anchored the sill and installed a top plate with two studs on each side of the door. We then removed the door and set it aside while we continued construction of the wall.
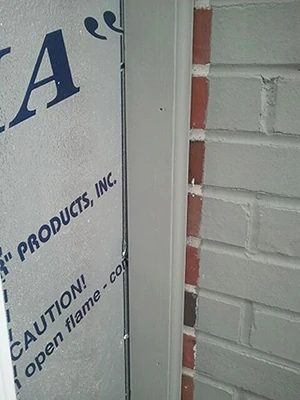
Installing sheets of rigid foam insulation with a moisture barrier helps to weather-proof the building envelope of the new frame. We nailed the foam sheets over the face of the frame and cut it to fit. Apply flashing tape to seal the edges of the rigid foam to the surrounding frame. Use a sill plan to ensure moisture protection at the bottom of the door jamb.
Installation
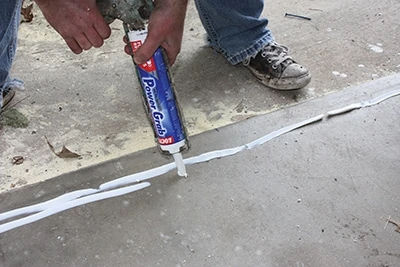
We applied beads of sealant along the bottom of the opening, including the seams at the lower corners, and inserted the pre-hung door frame from the outside of the house. Don’t slide the door in place, however, which messes up the sealant beads. It’s best to tilt it into position and then make adjustments.
Refer to the manufacturer’s instructions for specific steps to install your door, because methods may vary among models. In general you should center the jamb in the door frame, then drive one 10d finish nail or 3-inch screw through the mid-point of each hinge jamb into the framing studs. The nails or screws are used to hold the door in place while you plumb and square the jamb, using shims if necessary. Place the shims at the hinge locations between the jamb and the studs. Use shims in other locations as needed to square the opening. Check for square by measuring the diagonals of the jamb in an X pattern (corner to corner) to confirm they match.
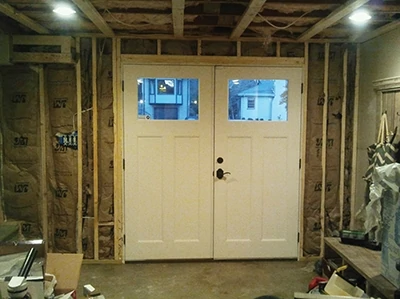
On double doors, it’s important to make sure the door panels are even across the top and bottom and that the reveal between them is even.
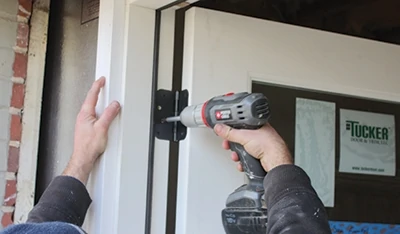
Pre-hung doors often include long screws that insert into the open holes of the door’s hinge(s) once the door is in final position. When driving the screws, make sure not to bow the sides of the door jamb.
After checking to make sure the door opens and closes properly, continue fastening the jamb to the frame with 10d finish nails or predrilled 3-inch screws.

Finishing Touches
As with any new door installation, the edges and air gaps should be insulated and sealed with spray foam and caulk.
Refer to the manufacturer’s instructions for specific steps to install your door. They often come with ong hinge screws that are driven through the hinge locations of the jamb, through shims and into the stud framing. Make sure not to bow the sides of the door frame.
Pro Tip: Insert a foam backer rod around the brick-mold of the door as deep as it will go to provide at least 3/8-inch clearance from the surrounding siding. Caulk over the backer rod with a bead of quality exterior-grade sealant, and tool the caulk bead smooth. This method creates a flexible sealant line around the door that is capable of expanding and contracting.

For this project, we finished the exterior wall with cement siding, trim boards and a new coat of matching paint. Two decorative outdoor wall fixtures wired into the new wall gave the new double doors a finishing touch that greatly added to the curb appeal of the home.