How to make Floating Shelves with a Table Saw
By Matt Weber
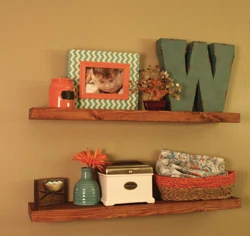
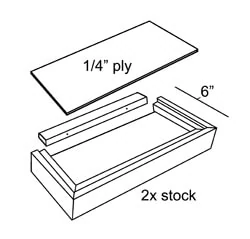
By appearing to hover on the wall with no visible mounting hardware, floating shelves are an interesting design element that provides surface storage while optimizing space. With no brackets to contend with, shelves can often be situated more closely together, granting more room for more shelves. Floating shelves are essentially made of flat, hollow boxes. Depending on the method of construction, the hollow shelf mounts to either metal rods or a wooden cleat that fit inside the rear of the box and supports it from within. The rods or cleat are fastened securely into the wall studs for the strongest holding power.
Design
The first step is to decide the size and shape of your shelf as determined by its location. I was mounting to a partition wall to the left of a bar pass-through, giving me about 4-1/2 ft. of room. On the other side of the wall is entry to the kitchen. I wanted to prevent having people turn the corner and get hooked by the shelves, so I decided to keep the depth close to the wall and the shelves narrow enough to avoid the walkway. (A kitchen island also rested beneath the mounting location, which kept traffic safely routed away from the shelves.)
Another consideration when designing the shelves is the hollow nature of the construction. Since the mounting cleat only extends about 2 inches into the shelf, the shelf must be lightweight and well-balanced so as not to pull away from the fasteners. For my design, the upper and lower panels are made of thin 1/4-in. plywood—not exactly heavy-duty material. For this reason, it’s smart to limit the shelf size to a fairly shallow depth. My floating shelves extended only 6 inches away from the wall.
Construction
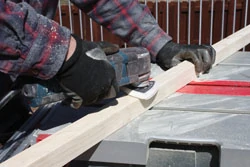
My first step was to rip the rounded edges off 2×4 stock using my table saw. I then ripped the 2×4 in half lengthwise into two nominal 2×2’s.
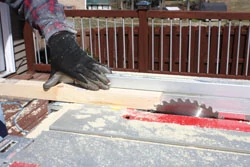
The edges of the shelf are made of the 2×2 pine material, while the upper and lower panels are made of 1/4-in. stain-grade birch plywood. To ensure a flat, flush shelf surface, I cut 1/4-in. deep rabbets along the upper and lower edges of the 2×2’s. When arranged as the sides of the box, these rabbets would form an interior channel or trough for the plywood.
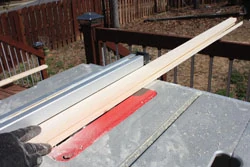
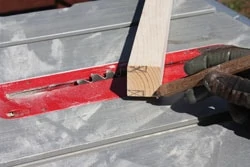
For a solid mounting surface with plenty of nailing room, I cut the edge rabbet 1 inch wide on the top and bottom. I simply used a combination square to mark “mirror-image” 1/4-by-1-in. rabbets on both sides of the 2×2. The grooves were cut by adjusting the blade depth to make intersecting partial rips on the table saw.
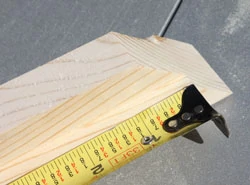
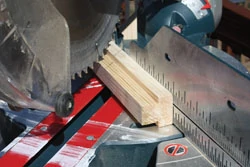
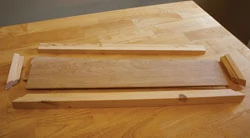
Next, cut the 2×2 channeled blocks at 45-degree miters on a chop saw, according to your shelf size. When cutting, hold or clamp the stock firmly so it does not rock beneath the blade since it now has a partial bottom side. The shelf requires two side rails with opposite 45-deg. miters on one end, and square cuts on the other will butt against the wall. The front rail should extend the length of the shelf and have matching 45-deg. miters on each end. The back side will be left open for the cleat.
Loosely assemble the rails to check the miters for fitment. Note: When measuring for the plywood panels, place the end of your tape at the corners of the rabbets and not at the outside corners of the rails, otherwise you’ll cut the panels too large.
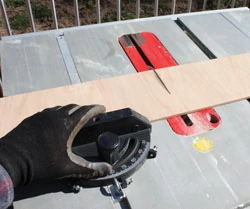
I trimmed the plywood to size using my table saw and miter gauge. Dry-fit the panels in the rails before final assembly.
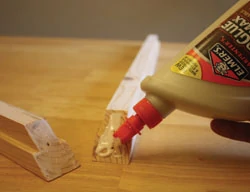
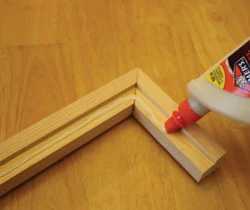
To join the mitered rails, I used a combination of wood glue and finish nails. To ensure a super-solid joint, I used 3-in. finish nails. You should always predrill the nail holes, and finish hammering with a nail set to bury the head below the wood.
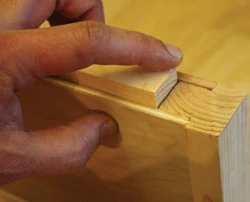
Be sure to select the most attractive panel side for the top, keeping the unfinished surface facing inside the box. The panels should fit snugly into the groove.
I anchored them with wood glue and pin nails.
To make the mounting cleat I used the leftover T-shaped 2x rail material with the rabbets. I simply ran the piece flat-side downward on the table saw, shearing off the “ears” of the profile so that the
“T” became shaped like an “I”. I then cut the length to fit snugly between the two side rails of the hollow box. Test-fit the cleat in the hollow shelf before mounting to the wall studs.
Before mounting, I filled all fasteners holes, sanded the shelves, and added wood stain and varnish.
Installation
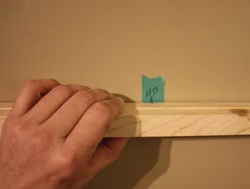
For this project, I was centering the shelves on the wall, so I used the wall’s mid-point as the control point for my shelves. I marked the midpoint with painter’s tape at the approximate height on the wall, and then aligned the mid-point of my shelf to get my horizontal orientation. It may help to mark the ends of the shelves on the wall with painter’s tape.
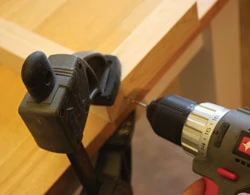
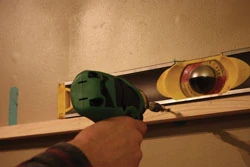
Within the span of the shelf’s mounting cleat, mark the wall framing using a stud finder. Use a level to mark the studs in a level plain. Avoid marking within 1 inch of the end of the cleat, because the mounting screw will likely split out the wood. You’ll achieve the most holding power with a stud-mounted screw on both ends of the cleat, but if necessary you can use a bracketing wall anchor on one end.
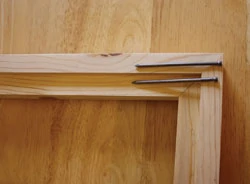
Next, transfer these measurements to the wood cleat and predrill holes for your mounting screws. You want the screws to penetrate through the cleat, through the wall board (5/8-in. drywall) and sink at least 1 inch into the studs. I used a couple of 3-1/4-in. RSS screws from GRK Fasteners. For shorter screws, you may have to countersink the screw heads to ensure a solid bite.
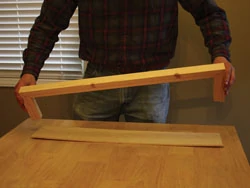
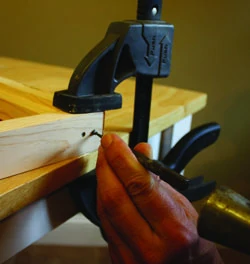
Next, align the mid-point of the cleat, check for level and then sink the mounting screws into the studs so the cleat tightens to the wall.
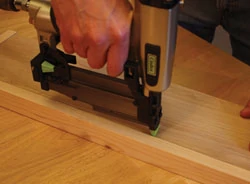
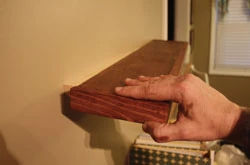
The floating shelves should fit snugly over the cleat and flush with the wall.
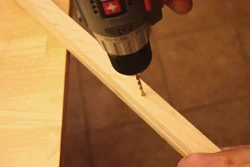
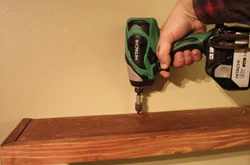
Next, drill pilot holes along the back edge of the shelf for a few wood screws spaced 8 to 10 inches apart. Drive the screws through the plywood and solidly into the wood cleat.
In my case, I repeated the process for Shelf Number 2, although you may opt for Shelves 3 and 4, as well.
Side Note 1

Taking the world of finishing by storm, the Mirka Ceros electric orbital sander features an excellent power-to-weight ratio and a low profile design for enhanced control. The 7 variable speeds range from 4,000 to 10,000 rpm. Quiet and powerful, this sander uses much less energy than an air-powered sander. You can purchase the optional industrial vacuum cleaner or attach your central vacuum or shop vac.
For more information, go to wwhardware.com and search “Mirka Ceros” or call Woodworker’s Hardware at 1-800-383-0130.


