Upgrade your lighting options with energy-efficient LED technology.
By Larry Walton
Photos by Mark Walton
We had another old-school fluorescent tube light fixture bite the dust in our home office, so we picked up some new light fixtures at the home improvement store. We wanted the fixtures to accomplish a number of things: use bulb-type LEDs; take advantage of the reflective nature of the white ceiling; allow air flow for light bulb longevity; maintain a low (or is it high?) profile; and cost less than most fixtures.
In addition to the light fixture shown here, the following steps will also be useful for those who need to install a remodel-style electrical junction box, regardless of shape.
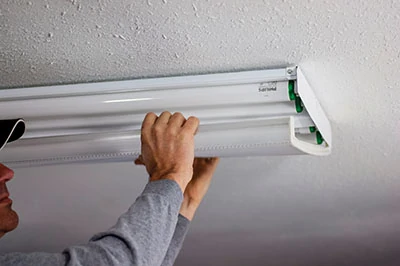
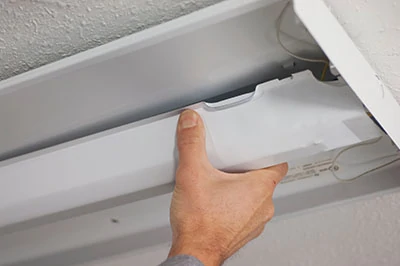
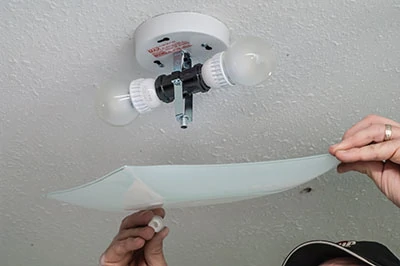
The light fixture lens comes off by grabbing one side or the other and spreading it away from the light fixture to open it up and drop it down.
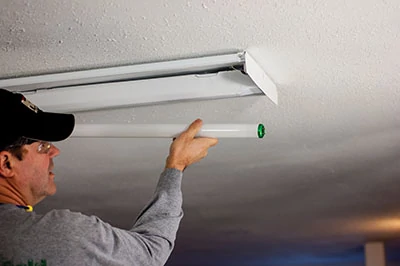
We carefully removed the 4-ft. fluorescent tubes by gripping each tube and turning them 90 degrees so the pins align vertically and release from the mount.
These fixtures have a built-in cover that act as a junction box. This explains why there was no electrical junction box in the ceiling and why we had to install some remodel J-boxes for this job.
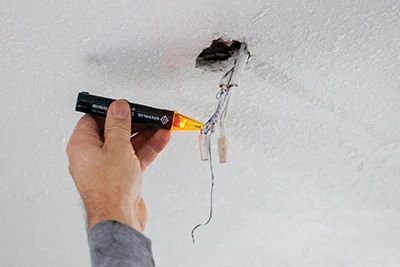
We used a circuit tester to make sure power was off before proceeding with the wiring parts of this project.
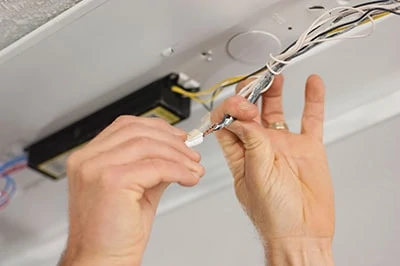
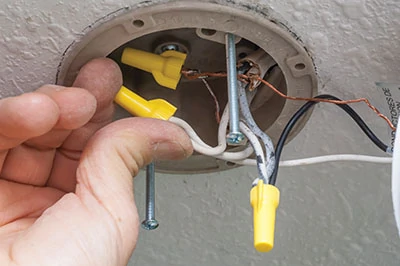
We removed all of the wire nuts by turning them counterclockwise and separating the wires.
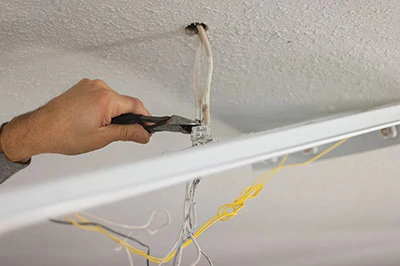
On one of the fixtures, we found enough slack in the wires to simply cut them off. Be careful with this approach and make sure you have enough wire for the new fixture.
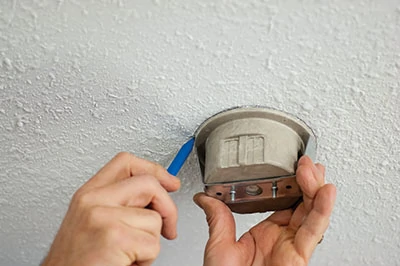
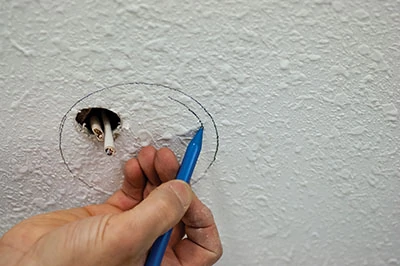
We positioned each remodeling J-box so the outside flange was against the ceiling. When tracing the J-box, make sure that it is not crossing framing lumber such as the bottom cord of a rafter.
Note that this type of box does not fit flush with the drywall but overlaps the outside of the ceiling board. Therefore, you need a cutline that is inside the flange and approximates the outside cylinder of the box.
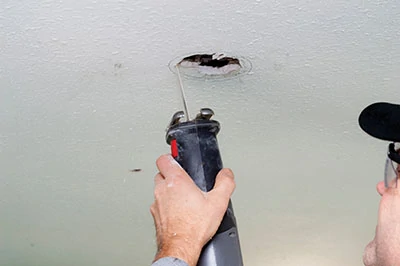
We used a Porter Cable reciprocating saw to cut out the opening for the J-box.
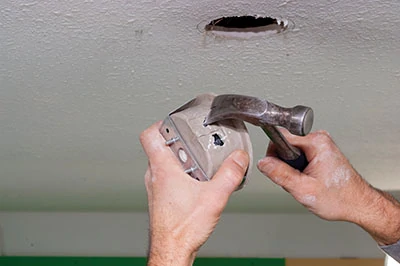
We used a hammer claw to break out the knock-outs in the J-box.
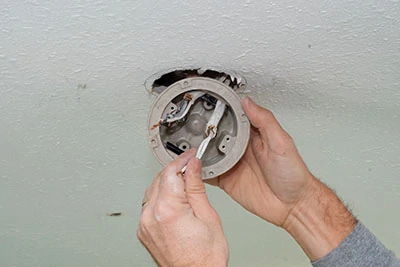
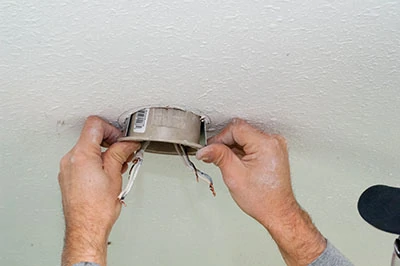
The wires are then routed through the newly made holes in the J-box.
Push the J-box up until the back of the flange contacts the ceiling, so the ends of the metal clamping tabs are above the upper surface of the drywall.
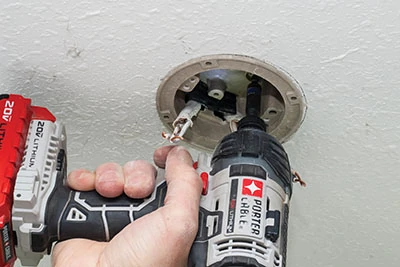
We used a drill/driver to tighten the bolts that draw the ends of the mounting clamps to clamp the J-box to the drywall.
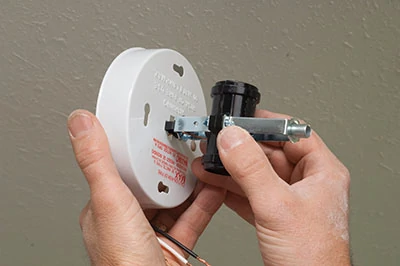
Assemble the components of the light fixture base.
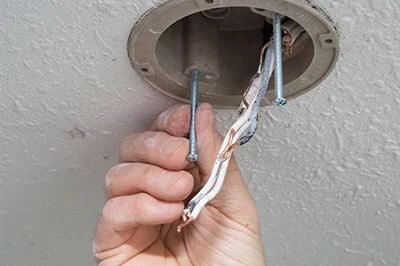
Insert the light’s mounting bolts into the J-box.
Connect the light fixture wires to the groups of wires as they were for the previous fixture. Cap the connections with wire nuts and tuck the slack up into the J-box.
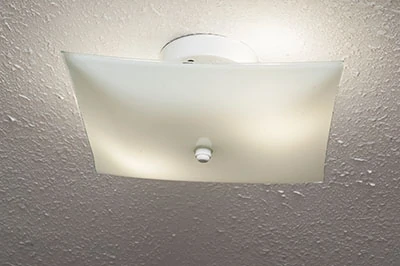
Push the fixture base up into place over the mounting bolts and turn them to the end of the slots before tightening. Follow this by screwing in the bulbs and placing the diffusers.
The new fixtures are simple, functional and energy efficient.


