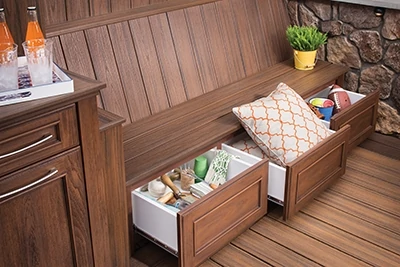
This easy-to-build bench can be used on your patio or deck—or anywhere.
By Matt Weber
When I build outdoor furniture I want it to last.
I also want to spend as little time maintaining the furniture as possible. That’s why I often choose cedar as my outdoor building material. In my area of the country cedar is more expensive than treated lumber, but it has the benefit of containing natural oils that act as preservatives to help the wood resist decay and insect damage. Cedar is also a dimensionally stable wood that lays flat and stays straight, which makes it easy to build with, and you can depend on the boards to hold their shape.
These cedar benches became a project because as my family has grown I’ve noticed a lack of seating on our back deck. I noticed the same problem on my parent’s paver patio. To solve both problems, I decided to whip up a couple simple benches for people to park on. These benches are fairly easy to build, and you get to exercise some of your favorite tools: a table saw, a miter saw (or handheld circ saw), a router and a nail gun.
Materials
If you’re like me, you keep your eyes peeled for building materials to squirrel away for a rainy day. I ended up with a few scrap cut-offs of 6×6 cedar posts. They’d been thrown into a dumpster by a work crew during the construction of a screened porch. I rescued them, and just a few months later found a good use for the wood.
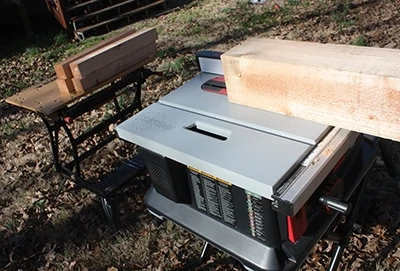
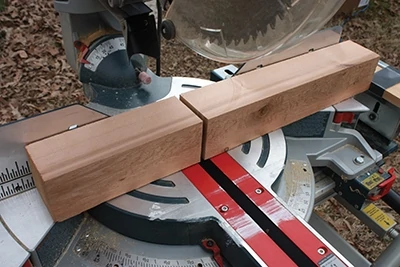
On my table saw, I ripped the 6×6 chunks right down the middle to create four equal 3×3 boards. Not only did I keep this perfectly usable wood out of a landfill, I saved money on not having to purchase a new 6×6. The 3×3 boards would serve as the legs of the benches, and I cut them to equal length on my miter saw.
Aside from the 3×3 legs, all the other wood components are cut from 1×4 cedar boards, which should simplify your shopping experience. (Note: “1×4” is a nominal designation, and the 4-in. wide cedar boards I purchased from my local Lowe’s measured only 5/8 inch thick, so the following cut list reflects this thickness).
Cut List per Bench
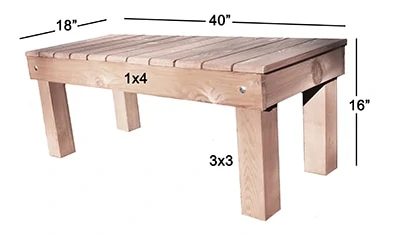
- Front and Back: 2 pcs., 40″ 1×4
- Sides: 2 pcs., 16-3/4″ 1×4
- Legs: 4 pcs., 15-3/8″ 3×3
- Slats: 11 pcs., 18″ 1×4
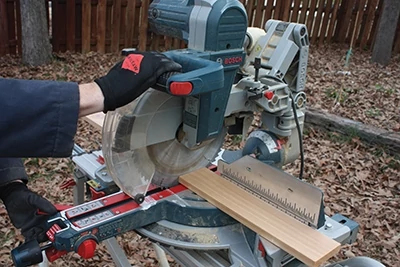
After making the legs, I cut the bench’s sides, front, back and slats to length on a miter saw. Although you can measure and cut each board with a handheld saw, I suggest setting up stops on a miter saw to cut each matching board to the exact same size. Not only does setting up stops increase productivity by eliminating the need to measure and mark, but it also ensures the boards are a consistent size, which is critical when assembling a square frame.
Routing
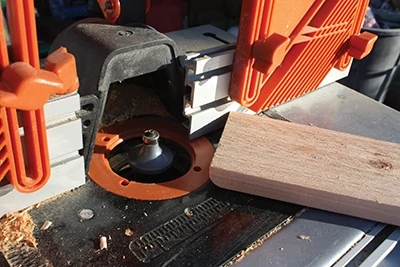
The seat of the bench is made of 1×4 slats. I wanted the edge of the seat to feel comfortable so I used a router with a round-over bit to ease the sharp 90-degree edges into a smooth “quarter-round” profile. This is most easily accomplished by mounting the router in a router table and running the ends of the slats over the bit. You’ll get the best results and less tear-out by rounding the ends with multiple shallow passes over the router.
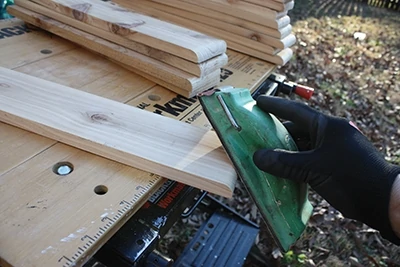
Once you’ve rounded both ends of every seat board, use a sanding block to smooth the end grain.
Test the Fit
To make sure this project was coming together as planned I preassembled the parts without fasteners to test how they fit.
To determine the layout of the seat boards, I began with a 1×4 slat flush to one side of the bench and spaced each succeeding slat 1/2 inch apart, using a 1/2-in. dowel to gauge the distance. What I discovered is that the 1/2-in. spacing resulted in an oddly sized slat at one end. I then tried centering a board on the bench, then working outward toward the sides. This resulted in slats either overhanging the sides conspicuously, or I could rip the slats on each end into “skinny” slats so they fit flush over the bench frame.
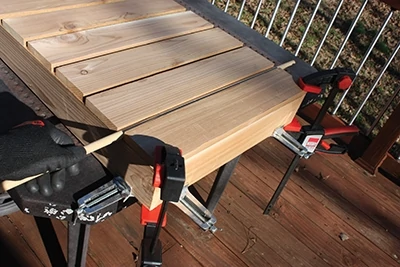
I had the option to expand the gaps between slats but reasoned that any spacing greater than 1/2 inch would cause the boards to cut into the thighs of the people sitting on them, resulting in an uncomfortable bench. I decided instead to tighten the spacing to 1/4-inch between each board, which determined that I needed 11 slats for each seat (rather than the 10 per bench I had originally cut). Note: This 1/4-in. layout resulted in end slats that slightly overhang the bench by about 1/4 inch on each side, but my wife and I decided we liked this look, so we stuck with it.
Staining
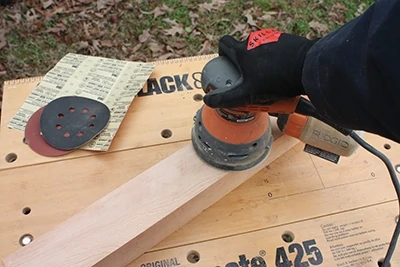
Sand all rough wood surfaces smooth before applying stain/sealer.
I suggest pre-staining all bench components prior to assembly. Staining/sealing the individual pieces grants you access to all sides and edges, which is difficult or impossible to achieve once the bench is built. Although most people won’t generally view the underside of the bench to know if it’s been stained, a thoroughly applied preservative will better protect it from the outdoor elements.
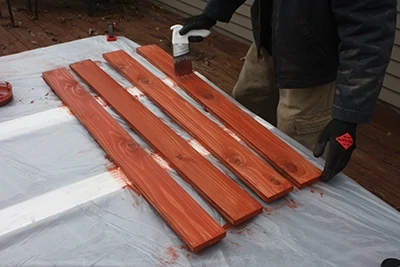
For this project I selected an exterior-grade stain/sealer in a “redwood” color tone. I brush-applied the stain and allowed it to dry overnight before assembling the benches.
Assembly
To fasten cedar, you need to use coated fasteners or stainless steel to prevent iron-staining of the wood. I used a stainless carriage bolt, nut and washer on each leg, as well as some finish nails and pin nails. However, I used the nails primarily as temporary fasteners to hold the assembly together as the polyurethane glue dried. (To minimize fastener holes, I used Gorilla Glue at every joint.)
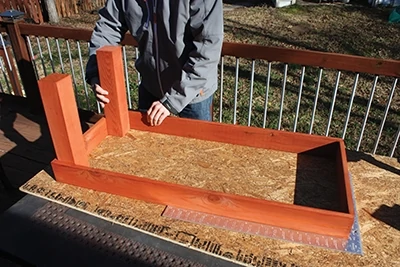
Set up a flat, sturdy work surface and assemble the bench frame upside-down. I used a framing square to help guide placement of the seat frame (front, back and sides), and secured the four legs at each corner with clamps.
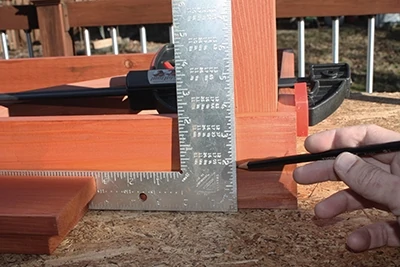
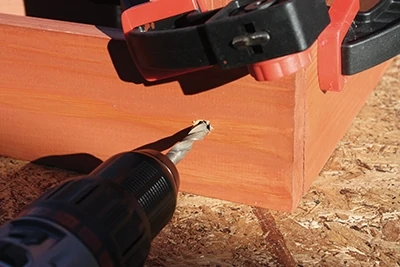
I then used a 5/16-in. brad-point bit to drill through the midpoint of where the front/back piece overlaps each leg. Drill completely through the legs and the mating board.
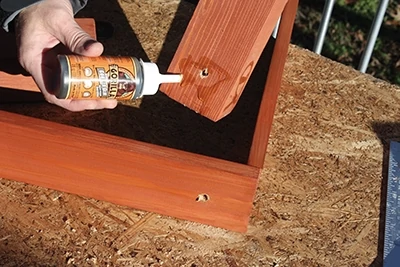
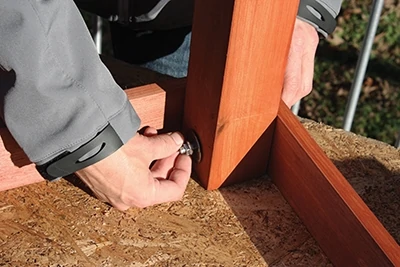
Before fastening I removed each leg and applied Gorilla Glue to the mating faces of the boards. Use a damp rag to first moisten the wood surfaces, which will help activate the polyurethane adhesive when applied. I then replaced the legs and threaded a 5-inch long, 5/16-in. stainless steel carriage bolt through the hole, and fastened the threaded end with a washer and nut.
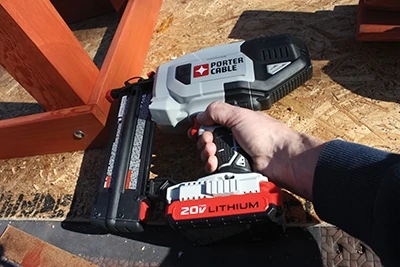
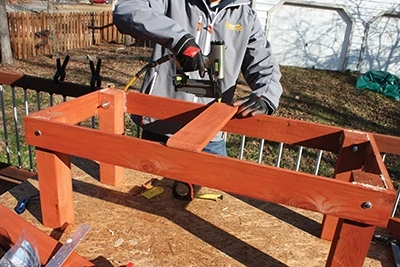
After double-checking that the legs were perfectly square and plumb to the bench frame, I fired two finish nails through the side boards to hold the legs in place while the glue dried. This same assembly process applies to each leg.
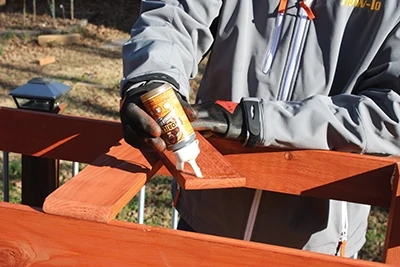
After the frame is assembled and the glue has dried, flip it over and fasten on the seat slats. They’re designed to fit flush over the frame from front to back. I began with the first board centered over the midpoint, and spaced the remaining boards using a strip of 1/4-in. hardwood as a spacing guide.
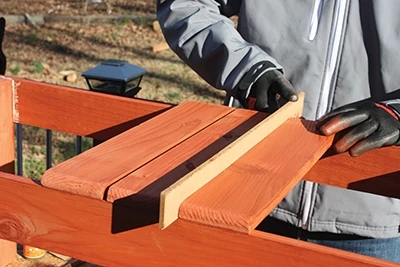
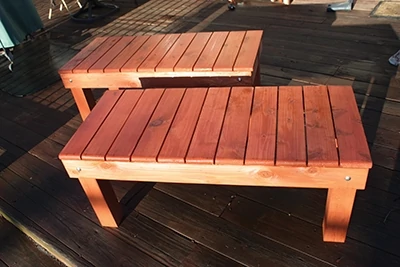
I used Gorilla Glue to fasten each slat, but used pin nails to hold the slats in place while the glue dried. The bench is complete once you fasten your last slat. Allow the glue to dry, and then have a seat.
Side Note
More Patio Accessories
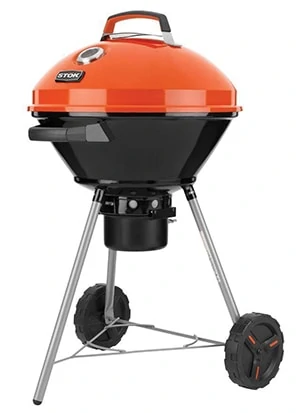
STŌK Drum Charcoal Grill
The STŌK Drum (SCC0070N) allows you to do more with charcoal using the Interchangeable STŌK Insert System. The Drum is a first-of-its-kind grill that allows you to change the grill grate to any STŌK Insert such as a pizza stone, smoker, veggie tray and more. The Drum includes a 22-1/2-in.diameter firebox, 363-sq. in. grilling surface. Features include a built-in temperature gauge, porcelain-coated hood, firebox and cast-iron grate, plus a tubular tripod frame. Using the integrated air-flow optimizer, charcoal can be ready for cooking in as little as 7 minutes. Visit www.stokgrills.com.
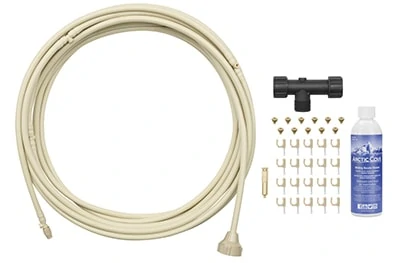
Arctic Cove Misting System
The Arctic Cove 3/8-in. Misting System is easy to set up for 22 ft. of instant cooling for any outdoor living area. Easily enhance cooling performance by using a booster pump. The system is expandable up to 125 ft. Slip-lock connectors make set up fast and easy, and it attaches to any standard garden hose for outdoor use (with cold water only). The kit includes 3/8-in. PE Tubing, (1) Brass Drain Valve, (1) T-Filter, (10) Brass Nozzles, (20) 3/8 in. Hanging Mounts, (1) 8oz Nozzle Cleaner and an operator’s manual. Visit www.arcticcove.com.
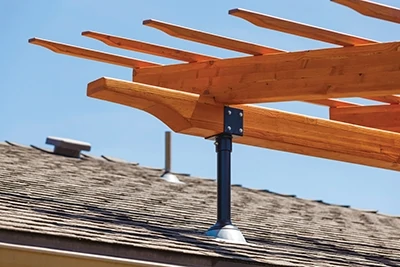
SkyLift Roof Riser
SkyLift Roof Riser hardware is designed and engineered to support an elevated wood-framed patio roof cover. These brackets come in a variety of sizes to accommodate every design and pitch requirement. Engineered to hold the weight of standard beam construction, the brackets are cut through the existing roof, bolted to a structure’s exterior weight-bearing walls, and sealed with a standard pipe jack waterproof flashing to form the roof support system. The elevated roof increases pitch that helps water flow and discourages debris accumulation, solving most of the leakage and rot problems of low-pitch or flat covers. Visit www.skylifthardware.com.
Trex Outdoor Storage
With Trex Outdoor Storage cabinets, boxes and benches, you can add undeniable style and utility to your yard with storage that complements your deck and organizes your belongings. Available in a wide variety of sizes and storage options, Trex Outdoor Storage products are engineered to withstand the elements and resist corrosion. They’re made with high-density, low-maintenance resin that won’t warp or crack. This 100-percent waterproof material has the natural look of real teak, and is easily customized with marble, granite or stone tops (purchased separately). Visit www.trex.com.
The Tempest Torch
Breaking the barriers of standard torch design, the Tempest Torch by Travis Industries is a decorative gas lamp that is the ultimate lighting enhancement for any outdoor setting. The Tempest Torch’s patent-pending design features a spinning, spiral-like flame enclosed in a unique, rectangular ceramic glass housing. From patios to pools to gardens, the Tempest Torch can be used as beautiful walkway pillar lighting, mounted onto movable bases or featured on an exterior wall. The Tempest Torch is conveniently available in two versions: with an easy manual light system, or with electronic ignition which allows for multiple units to be turned on/off with a light switch or tied to any home’s automated lighting system. Visit www.travisindustries.com.


