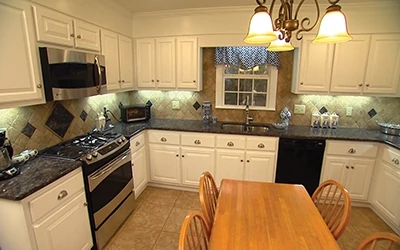
Give your kitchen a brand new look.
By Danny Lipford
I often get questions from homeowners about painting cabinets. This is one of the most economical ways to update a kitchen or bathroom. Tackling this project is hard work, but definitely a task that a do-it-yourselfer can tackle with proper planning and commitment.
Here are the materials you’ll need for cabinet painting:
- Degreaser
- Shop towels
- 220 grit sandpaper
- Pad sander
- Screwdriver
- Putty knife
- Auto body filler
- Oil or alkyd-based primer
- Oil or durable latex paint
- Quality paintbrushes
After you’ve gathered your supplies, remove the contents of all of the cabinets to provide a clear working space.
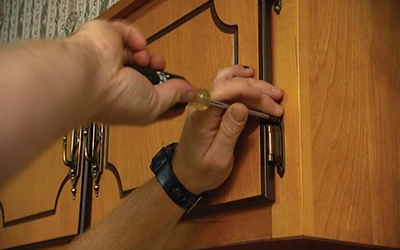
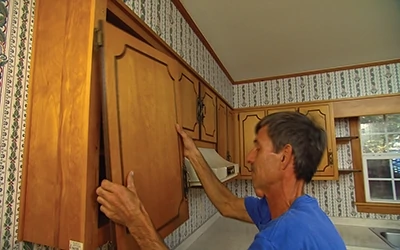
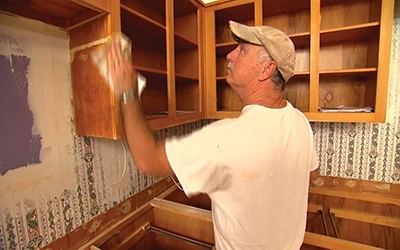
Use a degreaser to remove any grease or deposits on the cabinetry, then remove the cabinet doors.
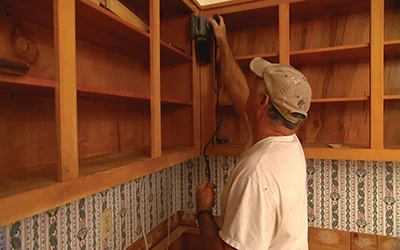
The next step is to sand the cabinet boxes and doors using a 220-grit paper. The purpose of sanding is to remove any gloss so that the primer will adhere well to the cabinet surface. You can do this by hand, but an electric pad sander will help the job go much faster.
When the sanding is completed, use a damp rag or towel to remove any dust.
The next step is to prime all surfaces of the cabinetry—boxes and doors. To achieve the most professional looking results, use an oil or alkyd-based primer. These types of primers seal in any stains that remain in the wood and create a surface that the topcoat of paint will bond to securely.
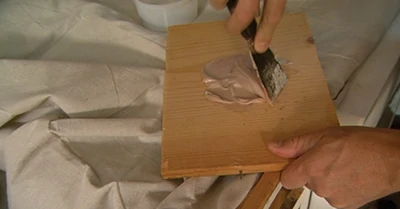
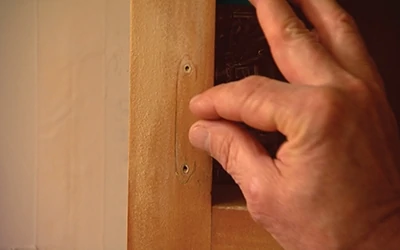
If you plan to upgrade hardware, pay special attention to the hole-spread measurement for knobs, handles and hinges. If you can match the measurements with new hardware it makes the job much easier. But if the new hardware isn’t a match, you’ll need to fill the holes using a two-part automotive body filler when the primer is dry. This product dries much harder than typical wood filler. Press the filler into the holes with a putty knife and take care to wipe off any excess. The filler dries quickly and once it does, sand it down with the surrounding surface.
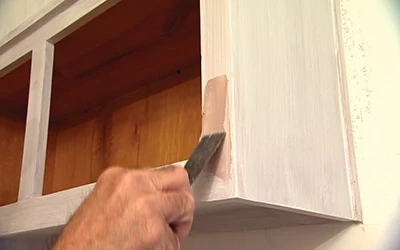
Lightly sand the primed cabinetry to give the surface “teeth”. This sanding will allow the topcoat of paint to adhere well. Use another damp rag or towel to remove dust.
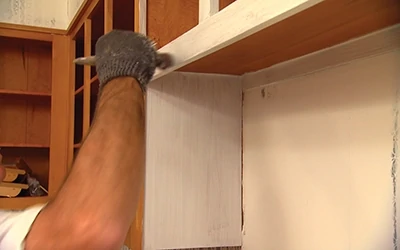
The final step is to give the cabinets two coats of quality oil-based or durable latex enamel paint. When painting it is key to keep a constant wet edge to minimize strokes and brush marks.
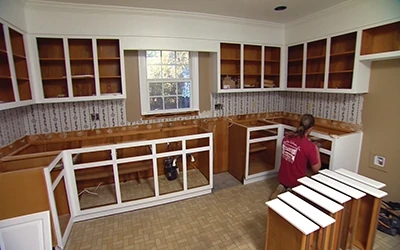
Once the paint is dry, add the hardware and you’re ready to reinstall the cabinet doors and enjoy your fresh, updated room.

In 2009, he became the host of the nationally syndicated Today’s Homeowner with Danny Lipford radio show. And, on top of all these activities, Danny has contributed this cool painting project to the latest issue of EHT. Keep up with all of Danny Lipford’s home-improvement tips and techniques at www.todayshomeowner.com.


