

By Larry Walton
Our first task for this loft project was to put in a new open rail, which made it look better and made it a lot safer. Next came the access ladder. The original ladder resembled a climbing wall more than a useful and easy access to the loft.
Our goal was to build a ladder with a comfortable angle, level flat steps, and rails that extended into the loft for safer handholds. A good way to get rail angles and step layouts is to measure a step ladder with a similar height to the loft floor.
We used kiln-dried framing material and some newel post mounting hardware to make the nice new loft ladder for this project.
Step by Step
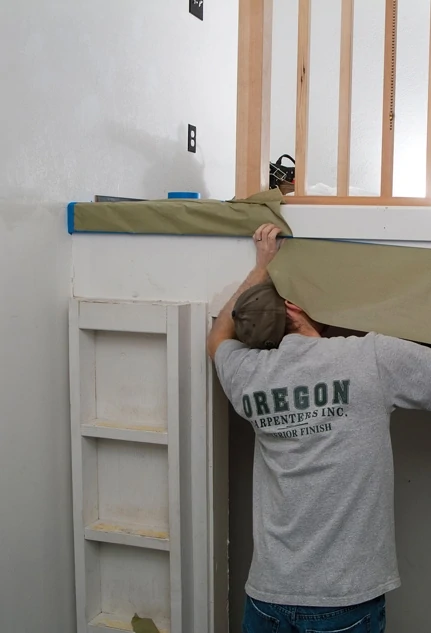
The loft’s existing ladder had all kinds of wrong going for it. It was mounted on the wall so you couldn’t get your feet onto the steps, plus it stopped short of the loft floor.
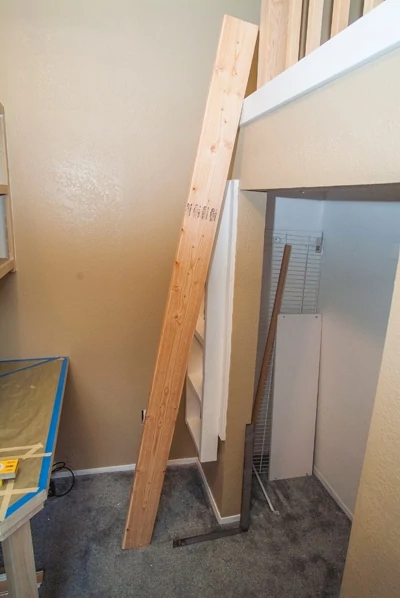
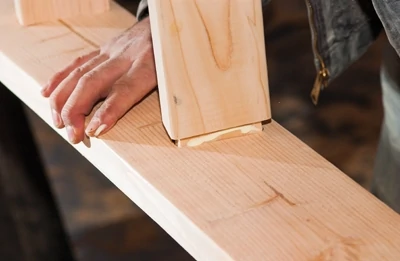
We left the rail boards long so we could experiment with different rail angles. We then made cuts parallel to the floor at the bottom and marked for a bird’s mouth at the contact point on top.
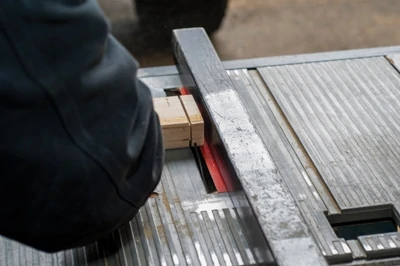
We measured from the wall to the newel post to get the outside width of the ladder. Factoring 3/4-in. penetration of the step tenons into the rails, we cut all of the 2×4 steps to length. For a close fit with no rubbing, we allowed 1/2 inch. The cut depth was 1/4 inch, and the saw fence was set at 3/4 inch to get the length of the tenons. Using the table saw’s miter gauge set at square, we cut the 2x4s on all four sides at both ends.
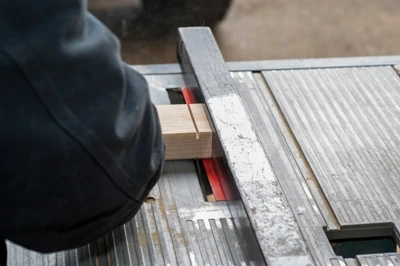
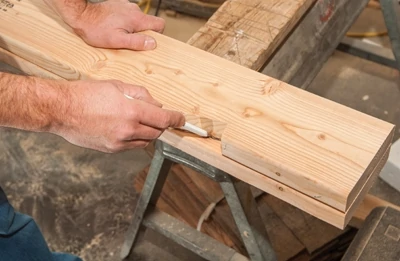
We didn’t have a dado blade set on the jobsite so we made quick passes at about 1/4-in. intervals and cleaned up with a chisel to shape the tenons.
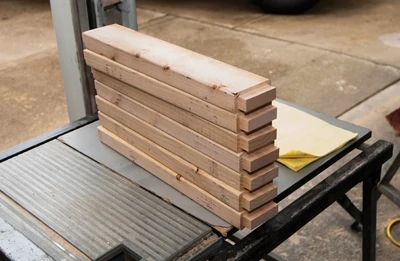
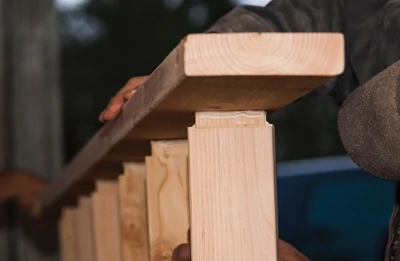
The completed stack of steps all matched in length and tenon cuts.
After cutting the first rail to length with the right angle at the floor and a bird’s mouth notch to the loft trim, we used it as a template to make the other rail.
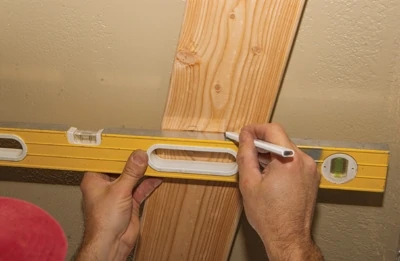
With one of the rails in place, we determined our step intervals using a step ladder as a model. All of the steps (including floor to first step, and top step to loft floor) were adjusted so they had the same interval between. We used a level to mark a line representing where one of the steps would be.
We then used two scraps of 1×2 to make a jig, with one side along the bottom of the rail and the other lined up with the step layout line. With the intersecting boards pinned together, the jig was used to lay out all the step lines on the rail.

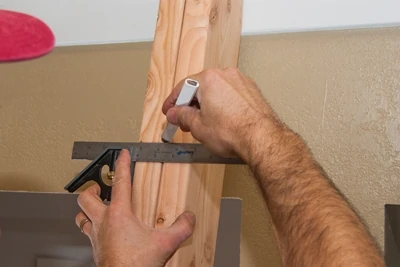
A combo square works well for transferring all of the step layout lines from one rail to the other.
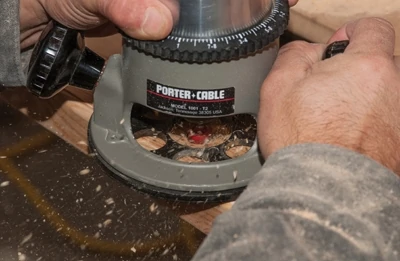
We marked all of the mortise locations parallel with the step layout lines and free-handed the mortises with a two-flute straight bit in a router.
One tenon on each step was glued and inserted into a mortise on one rail.
Next came the juggling act of getting each of the step tenons started in the mortises of the second rail.
We positioned the loft ladder and marked the locations of the newel post mounting plates for each rail.
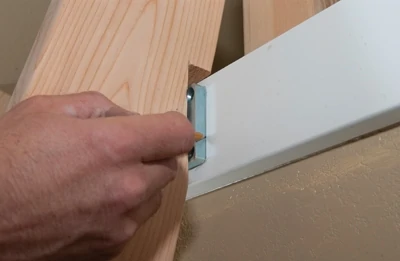
We used a multi-tool with masking tape as a depth gauge (along with a chisel) to cut out a mortise for the newel mounting plates.

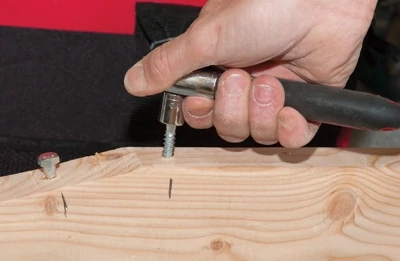
The mounting plate receives a bolt head. As the bolt head slides down the wedge-shaped groove, it pulls the ladder rails closer to the loft, locking it in tight.
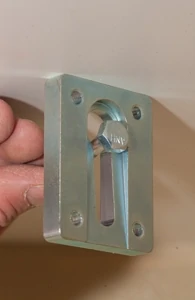
Four-inch screws anchor the plate to the framing on the edge of the loft.

We put bolts for the locking plate in two different locations for two different ladder positions: one to store the ladder when not in use, the other for when the ladder is in use.
The finished ladder is locked in position. It’s a big improvement in foot position, hand hold and looks.

