By Monte Burch
Putting your woodworking skills to work by building an Oak and Walnut Nightstand.
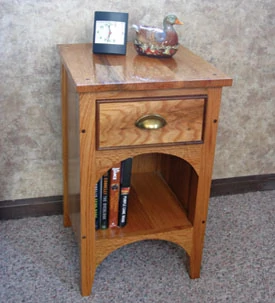
Quarter-sawn oak and figured walnut combine to make this nightstand unique and elegant. The design of the stand takes some from both Craftsman and Green and Green styles, along with a touch of “Shaker” in the clean, crisp lines. A shelf holds books for those night-readers and a drawer provides hidden storage for numerous night-time items. The drawer front features a crotch oak center with walnut cockbeading around the edges. Although the nightstand is assembled mostly with glue and biscuits, screws covered with walnut plugs add to the strength, as well as design.
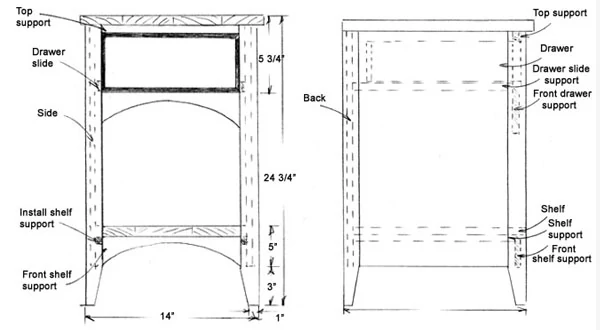
The construction is fairly straight-forward, but at the same time a bit challenging. Both the quarter-sawn red oak and the walnut were from trees cut from our timberlands. We used a TimberKing Bandsaw mill to mill the woods, which were air-dried for about five years. They were acclimated in my shop for about 6 months. These woods, however, are also available at specialty hardwood stores, or from numerous mail-order firms. The woods were planed to thickness using a Woodmaster planer. When planing highly figured woods, it’s extremely important to plane with the grain of the wood not against it to prevent tearing out.
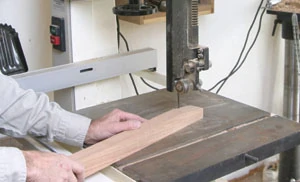
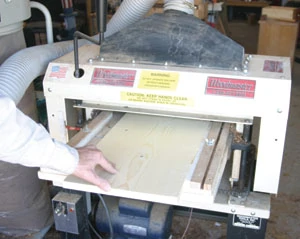
Table Assembly
Once the stock was planed to thickness, the sides, back, shelf and top were glued up from several widths of stock, because the quarter-sawn oak pieces were not very wide. Biscuit joinery and TiteBond glue were used to join the pieces together to create the widths needed. Actually, the boards were glued up overwide and then ripped, their ends cut to length and their edges planed to create the final widths needed. The glued-up stock is then belt-sanded to smooth up joints and remove any dried glue runs. After belt-sanding, the stock is then sanded with an orbital sander, followed by a quarter-sheet finish sander. It’s easier to sand the flat stock before assembly, although some sanding will be required after assembly.
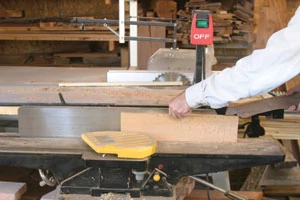
The insides of the legs are cut on an angle. Mark the cuts with a straight edge, or metal ruler, and then cut using a bandsaw or handsaw, and sand smooth. Position a side piece between two legs; mark the locations for the biscuits on both the legs and the matching locations on the side piece. Cut the biscuit slots with a biscuit cutter, and then glue and clamp the side assembly. Assemble the opposite side in the same manner.
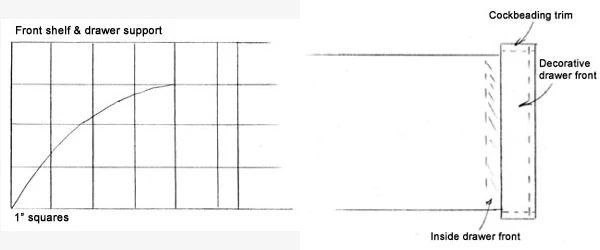
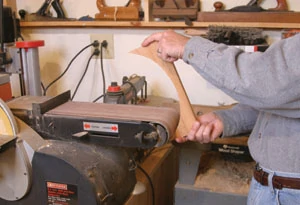
Cut the top and drawer support strips to width and length. Enlarge the squared drawing, make a pattern and saw the drawer support and shelf support pieces to shape using a bandsaw. Sand the cut bottom edge.
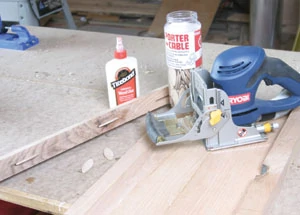
Lay the back in place on a smooth flat surface and position a side assembly against it. Mark the locations for the biscuits. Repeat the operation for the opposite side assembly, then cut all biscuit slots. Mark the locations for the top and drawer support strips, as well as the shelf support on the front legs.
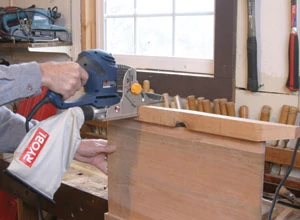
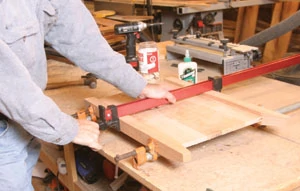
Now comes the tricky part, fastening the back and front pieces between the side assemblies. Place glue in the biscuit slots on both back legs, as well in the slots on the back. Stand one side assembly up on a smooth, flat surface and hold it upright using a wooden clamp. Stand the other assembly upright in the same manner and position the back between the sides, forcing the biscuits into the slots in the back legs and back. Make sure the top of the back is flush with the top of the legs, and the entire assembly sits straight, with the legs flat on the work surface. Clamp in place with bar clamps.
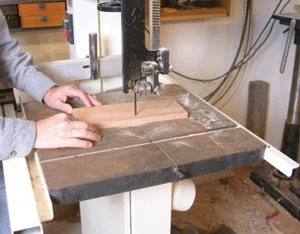
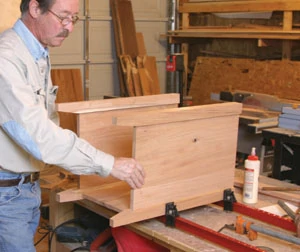
Smear glue on the ends of the top support, drawer support and shelf support. Place them between the front legs in their proper locations and clamp the front assembly together, again making sure the stand sits level. Use a carpenter’s square to make sure the stand is square as well. Allow the assembly to set overnight.
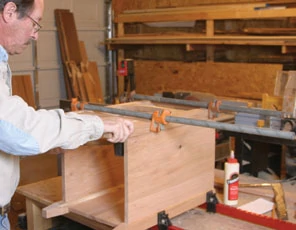
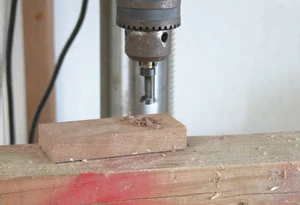
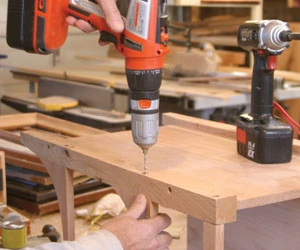
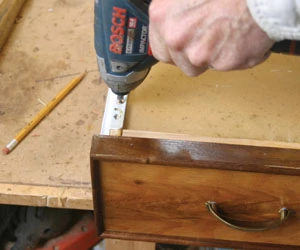
Once the assembly has dried, install the screws. First step is to bore the screw plug holes using a 3/8-inch forstner bit to about 3/8-inch depth. Then bore 1/8-inch holes through the joining pieces for the screws. Drive 3/8-inch Kreg Maxi-Loc fine thread self-tapping screws in place. Cut the walnut plugs using a 3/8-inch plug cutter in a drill press. Pop out the plugs with a screwdriver and glue them in place.
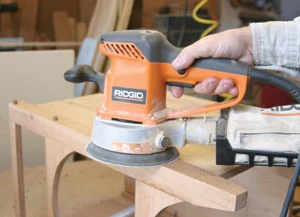
Cut the shelf to the correct width and length and then cut the notches to allow the shelf to fit around the back and front legs. These notches can be cut with a fine-toothed backsaw or on a bandsaw. Glue the shelf support strips in place to the inside of the side pieces and then glue the shelf in place. Again allow the assembly to set overnight. Fill in any open cracks with oak wood putty. Cut the plugs about 1/8-inch higher than the surrounding wood and then sand the entire stand assembly with an orbital sander, followed by a finishing sander.
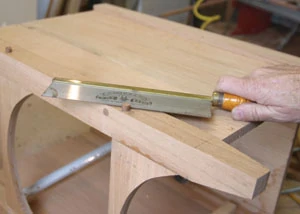
Drawer Assembly
Next step is to assemble and install the drawer. The drawer is actually assembled with an inside front, then the decorative front assembled and added. Three-quarter inch white pine is planed down to 1/2 inch for the drawer sides, inside front and back.
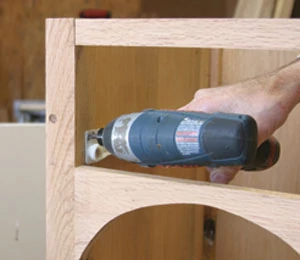

Cut the sides to width and length and then cut the inside front and back to width and length. Cut a 1/4-by-1/4-inch dado 1/4-inch up from the bottom inside edges on the inside front and sides. Fasten the inside front, back and sides together. Cut the bottom from ¼-inch hardboard and place it in the dadoes in the inside front and sides. Use a square to make sure the drawer is square and then fasten the bottom to the bottom edge of the back with flat-head nails.
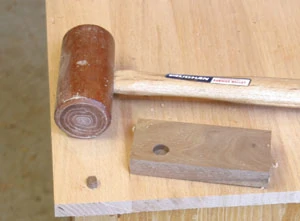

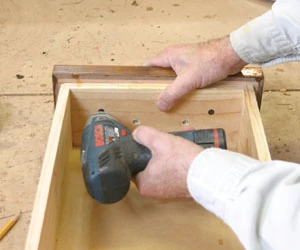
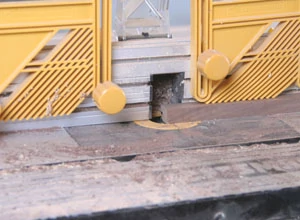
Cut the decorative drawer front center piece to width and length and sand it thoroughly. Cut the walnut cockbeading using a 1/4-inch bull-nose beading router bit, available from Grizzly, in a router table. Edge around the center with the cockbeading, joining the cockbeading at the corners with miter joints. Brad and glue in place. Then fasten the decorative front to the drawer with glue and screws from the inner front piece into the decorative front. Add the drawer pull. The drawer slides are Shop-Fox from Grizzly and are epoxy-coated white slides. You will need to add a filler strip between the legs for attaching the slides in place. Install the slides, and then fasten the matching pieces to the drawer sides.
Top it Off
The last step is to install the top with screws and walnut plugs. Cut the plugs almost flush, and then sand the top smooth. The entire case, inside and out is then given three coats of polyurethane semi-gloss varnish. The top of the stand is given two additional coats of H. Behlen Rockhard Table Top Varnish available from Grizzly. You will never have to worry about water marks on this nightstand top—it’s glass smooth and easy to clean. Now, you just have to make a matching stand. You will probably want to do many of the preliminary steps for both nightstands at the same time.
Materials List
Legs: 1-1/2 x 1-1/2 x 24”, 4 req’d.
Sides: 3/4 x 12 x 21”, 2 req’d.
Back: 3/4 x 11 x 21”, 1 req’d.
Shelf: 3/4 x 12 x 14”, 1 req’d.
Drawer and shelf front supports: 3/4 x 4 x 11”, 2 req’d.
Top support: 3/4 x 1 x 11”, 1 req’d.
Top: 3/4 x 15 x 16”, 1 req’d.
Inside shelf supports: 3/4 x 1 x 12”, 2 req’d.
Drawer slide supports: 1/2 x 1 x 12”, 2 req’d.
Drawer sides: 1/2 x 4-1/2 x 13”, 2 req’d.
Drawer back: 1/2 x 3-3/4 x 8 7/8”, 1 req’d.
Drawer inside front: 1/2 x 4 1/2 x 8 7/8”, 1 req’d.
Drawer bottom: 1/4” hardboard x 9-1/4 x 13”, 1 req’d.
Decorative drawer front center piece: 3/4 x 4-1/2 x 10-3/8”, 1 req’d.
Decorative drawer cockbeading: 1/4 x 1 x 36”, cut to fit.
Drawer Pull, 1 req’d.


