Creative Curb Appeal for Window Gardens.
By Rob Robillard
There is much to say about the humble window box. As a low-tech garden and home beautifier, it is peerless! Fill it with a few bright flowering plants from your local nursery and, voilà, you look like a gardening wizard.
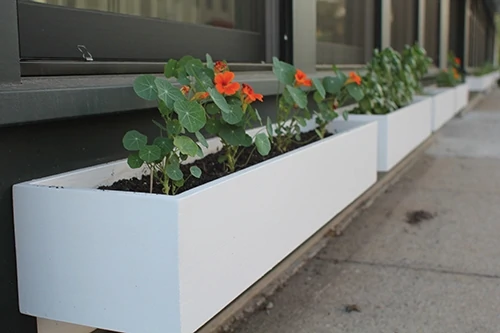
Window boxes can add an array of seasonal color and enhance the curb appeal of almost any structure. Window box gardening can be a fun and relaxing way to express your creativity or create a small garden in a cityscape.
I even know a guy in my neighborhood who grows his medicinal marijuana in a 3rd floor window box.
For the landless city dweller, window boxes provide a way to garden and even provide a source for seasonal herbs and vegetables.
Of course there are a few details to consider. It’s not simply a matter of getting any old box and nailing it to the window-sill. As with all home improvements, decisions must be made and certain materials and techniques are better than others.
History of the Window Box
The use of window boxes dates as far back as the first century B.C in ancient Rome where they were used to keep small gardens for cooking herbs, medicinal herbs, and flowers for rituals and decoration.
They were also seen among the lower classes, in small villas where peasants had little gardening space. Many people used window boxes to grow plants for food, medicine and religious uses.
Window boxes come in all shapes and sizes, from traditional wall-mounted window boxes to freestanding boxes and even indoor window boxes.
Build Your Own
This article will explain how to build a cedar window box and customize the dimensions to fit your desired window space. Window boxes are relatively easy projects. Because our boxes were extra large, we added some features to the design that some folks may choose not to do. Either way, the project requires only a few tools to complete.
Before you get started here’s a few things to ask yourself:
- What materials do you want your window box be made of?
- How big does your window box need to be?
- What height and depth is best for the plants that you want to pair with your home?
Material Choices
Name a construction material and no doubt someone, somewhere out here has made a window box out of it. Wood, plastic, zinc, copper, iron, tin, ceramic, terra cotta, wire, rubber tires, fiberglass—you name it, it’s been used. After you’ve selected the style you want, take a look at the materials available. If your windows get bright sun all day, it’s a good idea to avoid dark-colored or solid metal boxes, which could heat up and dry out your plants.
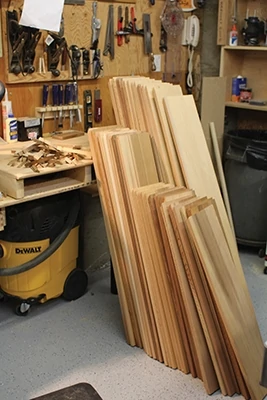
For my project, I chose 1×8 Cedar, mostly because the species is inherently insect and rot resistant. Additionally Cedar is lightweight, paints well, and has an attractive natural color if left unpainted.
Pine, Fir and Poplar all work, but simply do not last long in the elements, especially when you consider window boxes receive water almost daily.
Size and Depth
Window boxes can be constructed big or small, and both sizes have their advantages. Bigger boxes hold more soil and tend not to dry out as quickly, allowing you to plant perennial or more delicate plants. They also hold more plants, allowing you to create layers of color.
Shallower boxes are lighter, easier to lift, do not overpower a home’s architectural features, and are better suited for drought-tolerant plants. Window boxes this size are an excellent choice for planting annuals, herbs and artificial plants.
Once you’ve decided what types of plants you will use in the window boxes it’s time to measure your windows. Sometimes when determining box size, using a cardboard cutout taped in place can be a useful visual aid.
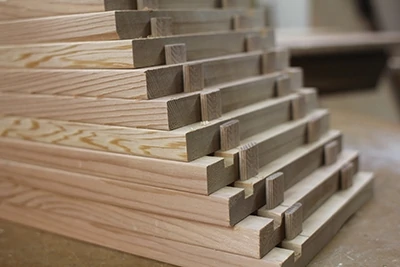
Generally speaking, window boxes are the same width or slightly smaller than the window they will be mounted beneath. If your home has shutters or wide exterior trim pieces, you may want your window boxes to run under those architectural features or sit slightly inside them. You may also choose to go smaller and center the box under the window. It depends on your aesthetical eye and the house décor.
Choosing a length that spans the full inside width of your window should give you a window box that looks right.
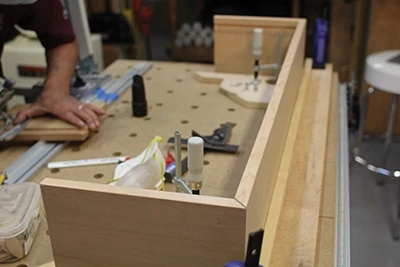
As far as height is concerned, you can follow a rule of thumb: the window box should be about 25 percent of the height of the window or 20 percent if the windows are very tall. It’s a good idea to measure your windows and run the numbers.
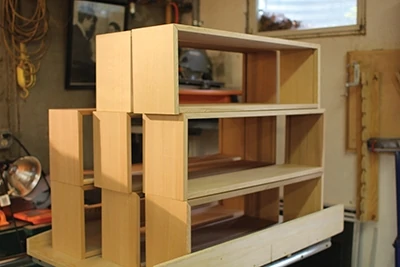
Window boxes should be a minimum of 8 inches in depth and 8 inches from front to back to have enough room for a selection of plants. Larger boxes, such as 12 inches in depth and width, are particularly better if you want to include a lot of plants, and want them to fill out enough to overflow the box.
Mounting Methods
During the design phase you should think about how you will mount your window box. There are several methods of mounting, which include but are not limited to:
- Using structural screws
- Small lag bolts
- Combination of screws and brackets
- Window box holders
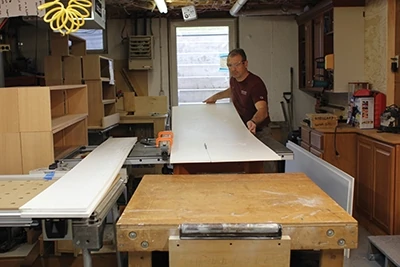
French Cleat Hanger
A French cleat is way of securing window boxes and involves using two “cleat” boards, each with an opposing 45-degree bevel. One cleat is mounted to the wall and the other to the window box, which is lifted onto it. A French cleat typically adds an additional 3/4 inch to the depth or projection of the window box.
Tip: If the wall cleat is left slightly shorter than the window box cleat, you will have some left or right adjustment, after it is hung, for perfect positioning.
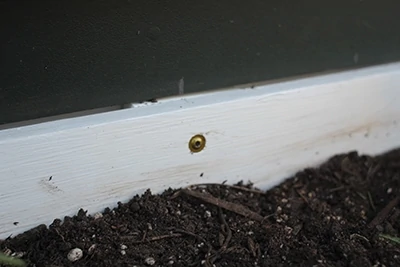
On the project shown we were able to mount securely to MDO plywood and pine trim with GRK structural screws. Paired top and bottom, and spaced approximately 16 inches apart, these screws are plenty strong to hold a fully loaded large window box.
Determining Joinery
Prior to building your boxes you need to think about how you will assemble them. Many simple boxes are constructed with butt joints and nails or screws.
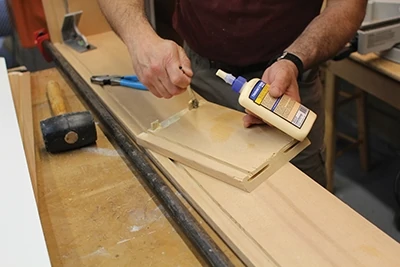
You can choose this simple method or you can miter your corners to eliminate and hide the boards’ end grain. Mitering is a more refined finished carpentry look but should include some mechanical fastening in the form of biscuits or tenons.
Cutting Materials
If you’re lucky, all of your window boxes will be the same size, and cutting will be a matter of production-cutting repetitive size pieces.
For each window box you will need to cut two long parts, the exact length of the window bow, two side parts and a bottom. Each box has 5 parts to assemble plus your mounting preference.
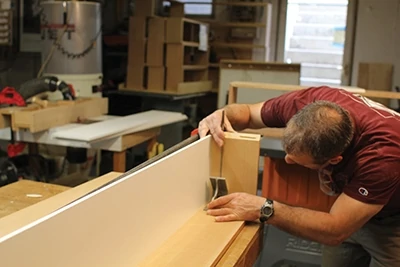
Measure each 1-by-8-inch board twice, and mark the required lengths. Cut all required sections. If all of your window box parts are the same, consider setting up and using a stop block. Stop blocks allow you to make accurate, repetitive cuts time after time, eliminating the need to measure each piece of wood. This saves time and ensures consistency when many of the components need to be the exact same size.
Bottom Panel
Most people simply fasten the front, back and sides to the bottom panel, which is a simple and completely acceptable way to build a window box.
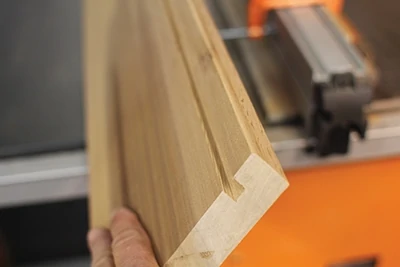
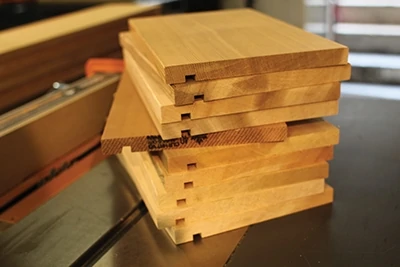
On our project, however, we used a dado cutter and cut 3/8-in. grooves in the front, back and two side panels. We chose to use a 1/2-in. PVC board as our bottom panel for rot-resistant longevity. The panel was routed with a rabbet bit so that it fit into and floated inside the cedar panel grooves. We left 3/16 of expansion room on all sides for expansion and contraction of materials. We liked this approach, because there are no mechanical fasteners holding this bottom panel in place that can rust.
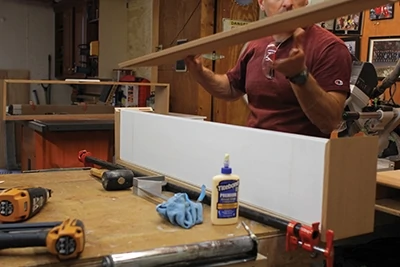
Assembling the Window Box
If you’re assembling butt joints, simply assemble your front and back boards to the side pieces using galvanized or stainless steel 1/2-inch wood screws in pilot holes predrilled through the sides. If you prefer, you can use a countersink and fill the holes later with cedar wood plugs. To do this you will need a countersink bit and matching plug cutter. Plug cutters will work in a power drill but for consistently better results, use a drill press.
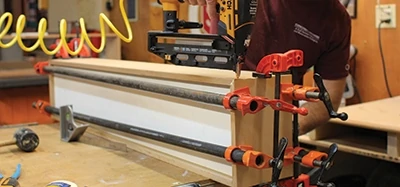
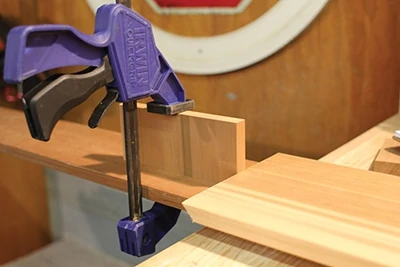
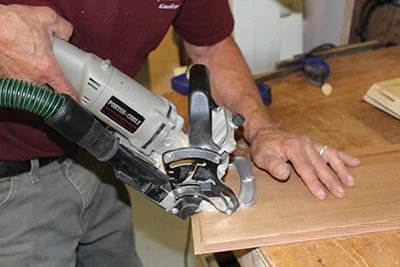
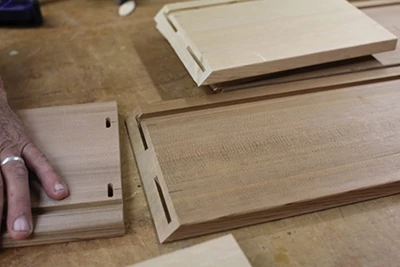
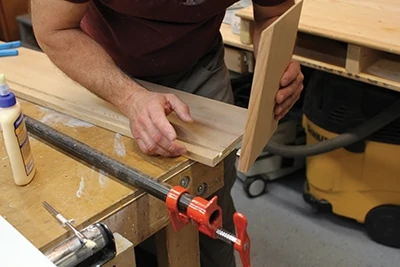
On our window boxes we mitered the front two joints. We used a biscuit cutter to cut matching biscuits in each piece of wood, inserted the biscuits with waterproof glue and then clamped the boxes tight overnight.
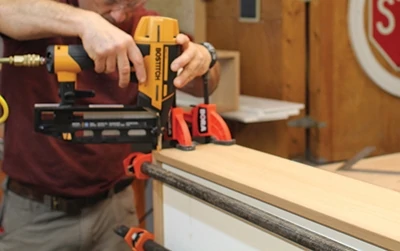
I also added some 16-gauge stainless steel nails to the mitered joints.
We used a tenon cutter to secure the back board to the two sides of our window box. Tenons are extremely strong and are used to join two mating mortises. These parts were also glued, clamped and pinned with finish nails. All nail holes were later filled and sanded.
If you decided on using a French cleat, this would be the time to install the cleat to the rear of the box.
Drainage Holes
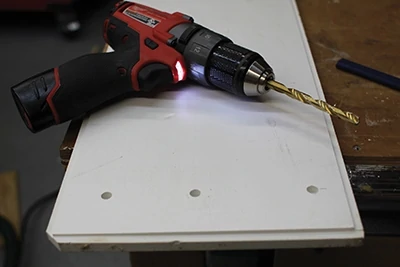
It’s absolutely necessary that a window box have drainage holes so plants do not sit in soggy soil. We drilled 3/8-inch drainage holes in several places along bottom board of each window box. The number or pattern is up to you, but drill one hole roughly every six square inches to give water plenty of room to escape.
Watering Tip: Water plants in the window box until you see water dripping out the bottom drain holes.
Finishing
We filled all nail holes, then sanded and primed all exposed wood with a quality oil primer. The window boxes were finished with two coats of latex top paint.
Mounting
As mentioned earlier there are several ways to mount a window box, from fasteners, cleats or a pair of window box brackets.
The first method is direct mounting, where the back wall of the window box is pre-drilled with holes and permanently secured in place with a fastener. The second is cleat mounting, where you attach a long, sturdy cleat to your wall and then hang the window flower box from the cleat. The advantage to using a cleat is you can easily lift the window box off for replanting or winter storage. The third is using brackets, which usually involve a combination of direct mounting and bracket support. This is a useful (and many times necessary) method when the window box is large and heavy.
The best choice will depend on the materials, design and construction of your window box and mounting needs of your house.
On our project we predrilled holes and mounted our window boxes and used 6-8 RSS structural screw fasteners from GRK Fasteners. The RSS Screws are weather-resistant and made from case-hardened steel with high tensile, torque and shear strength.
Planting in a Window Box
Fill the window box with a 1- to 2-inch layer of gravel in the bottom of the window box to allow excess water to drain. Cover the gravel with potting soil, filling the box to about an inch from top.
We purchased plastic planters for our cedar window box rather than planting directly. If you do this you may want to buy the planters first to determine your window box depth, width and length. The plastic liners we purchased ended up being smaller than our window boxes.
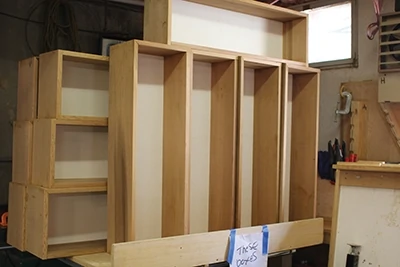
The advantage of using plastic planters is so you can lift the planter out of the box to change soil or plants. This method is best for second-story windows or any window too high to get to from the ground.
Choose plants that are tall and spiky for the center, surround them with round and full plants that cascade around or over the window box edge. Place larger flowers or plants in the rear of the box. Plants in window boxes, like those in any container garden, are subject to more dryness and heat than plants in the ground, so it helps to purchase nursery packs of young plants that will adapt directly to the box and suffer less transplant shock. Replant your window boxes seasonally.
From simple to ornate, traditional to contemporary and rustic to elegant, window box planters cover a large range of materials, sizes and styles that will fit your home’s décor or your personal style.
Why be ordinary when you can be extraordinary? Get building and start planting a small place to grow!
