

By Mark Clement
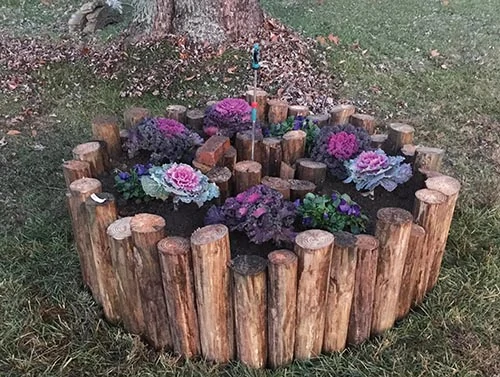
Inspired by Stonehenge, I call this project Plant-henge. I love projects that combine carpentry and landscaping; cool layout, dirt, big changes and my chainsaw. I get to use mac-daddy tools and make a year-round impact on my landscape.
Part of my design goal here was creating visual texture while filling an empty landscape and adding near-year round color. I used vertically oriented round Southern Yellow Pine poles for the structure.
The poles are affordable, scalable (you can make this project any size you want), and they’re easy to work with. Plus, they’re safe for flowers, food and whatever else you want to grow out of the ground. Let’s get into it.
Shopping List
My raised garden bed has two circles, a larger one with a small one inside it. The outside circle is 6-feet in diameter, the inner 2 feet in diameter.
Materials:
(4) 2x6x8 pressure-treated (PT) boards
(16) 5x8x8 PT round posts
(50) 8-in. structural screws
1# 3-in. deck screws
Tools: Chainsaw, Impact driver, Assorted hand tools
Plants: Plants obviously depend on climate and critters—like deer. Where I live, deer eat tulips like Chips Ahoy but leave daffodils alone, which we planted here for Spring color. Check with your garden center.
Also, think about winter color, which—despite this being a Spring issue—you’ll see here (it was shot last Fall so we could be ready for this issue). Ornamental cabbage and kale along with pansies keep vibrancy and color in the landscape once it gets cold. Bottom line, you can put whatever you want in there for nearly year-round color.
Construction
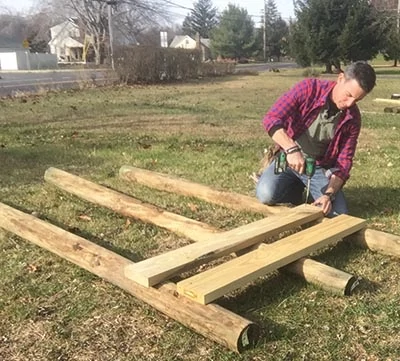
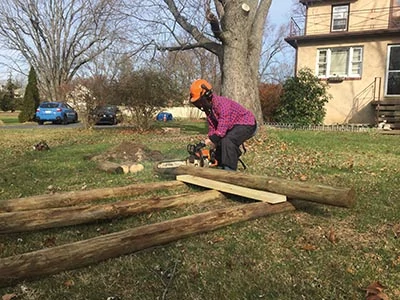
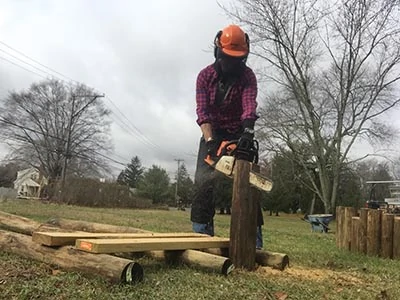
Build a Sawbuck. Since my chainsaw is my mainframe cutting tool here, I built a sawbuck to make cutting easier and faster.
I bridged three poles with 2×6 to create a workstation that would trap the round poles while I cut them. It kept the work stable and flat and kept my saw’s chain out of the dirt.
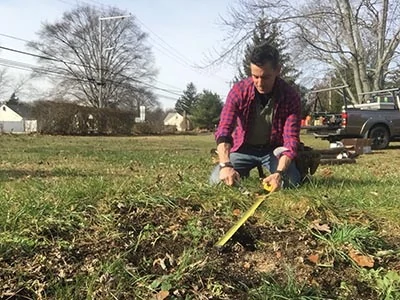
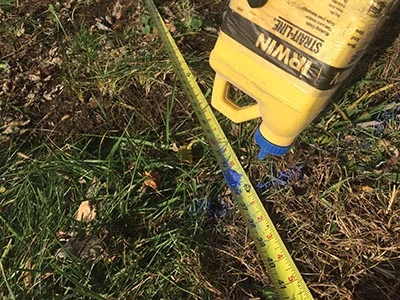
Focal Point. I’ve seen the willy-nilly garden hose layout some landscapers depend on. The carpenter in me has a tough time being that imprecise. For this micro-henge, I sunk a structural screw in the center of the circle location, then hooked my tape on it.
Pull your tape half the diameter of the circle (ex: 3 feet for a 6-foot circle) and “swing” it. Working alone, I gouged a path in the grass with my Hyde painters’ tool. Or, have someone follow you with a bottle of chalk. Alone or in tandem, chalk or spray-paint the line before digging.
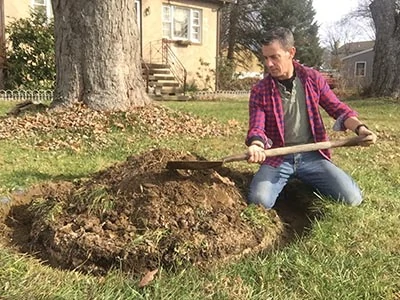
Dig a Moat. I cut an edge and dug a moat using a garden spade. The earth gives the bottoms of the poles some backing and support and makes them easier to set.
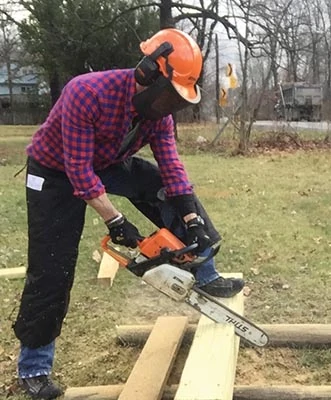
Measure and Cut. To get the Stonehenge (Planthenge) effect, I cut the poles between 22 and 28 inches and angled my chainsaw slightly differently in each cut. The sawbuck makes it easy to slash out quick marks and get four pieces out of an 8-ft. pole.
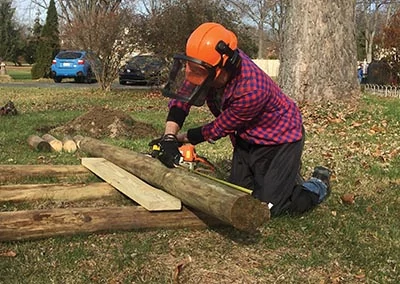
The chainsaw was fun to use on this project. There I no better tool for making quick cuts in big pieces of wood.
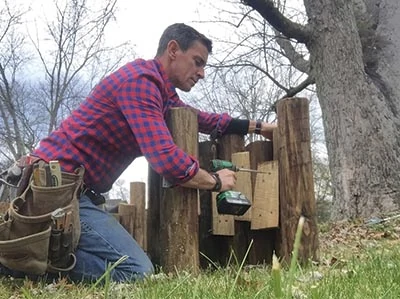
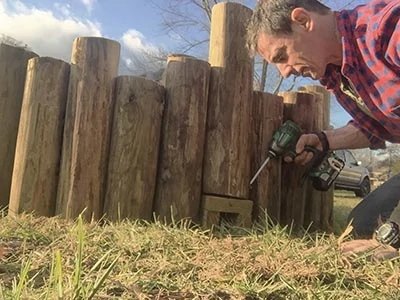
Setting Poles. Get two poles reasonable plumb, set them in the moat and bomb a structural screw in there to lock them together.
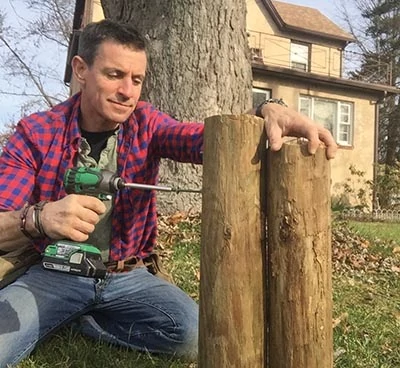
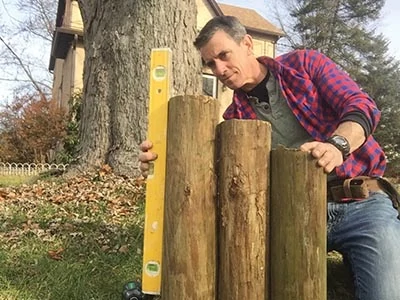
Eyeball it. We checked for plumb every few poles with a 2-foot level. However, they’re rough poles, not planed dimensional lumber, so we also stepped back every so often and took a glance to see if it looked right. This is one those times where the tool is a guide but in the end you trust your eye. It knows what looks right.
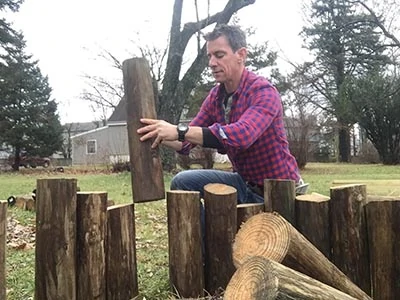
Outer Circle, Last Log. Since the poles I used varied in size from 4-5 inches or so, once I got to within about 2 feet of closing the circle, I did a mix and match of poles I already cut to see which combination of heights and widths fit best.
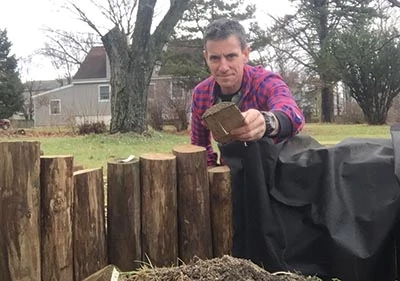
Rip Cuts and Wedges. Necessity being the mother of invention I realized, as I got tangled up in landscape fabric, that wedges would be a great way to hold the fabric in place against the inside of the outer circle. Luckily, the chainsaw—mine’s a Stihl—rips as well as it cross-cuts. After securing the bottom of the pole in my sawbuck, I ripped some semi-circles off the edges of the poles.
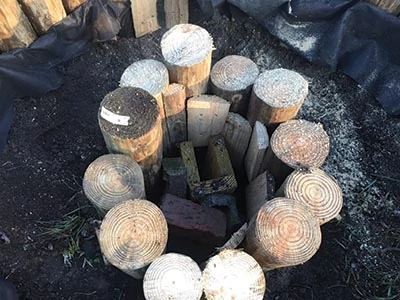
Inner Circle. I built the inner circle outside the larger circle so I had enough room to move around. I built it in two halves, using wedges and structural screws to cobble it together. I then lifted each half into the larger henge and connected everything.
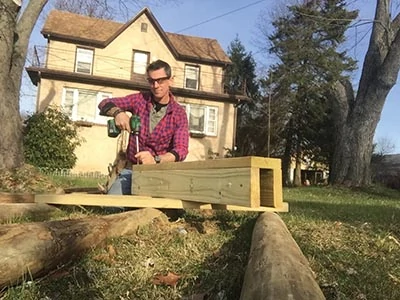
Chase. I designed Planthenge with a vertical sprinkler in the center. In order to get the hose through the outer circle into the inner circle, I built a chase from pressure-treated 2×6. Here, I fastened the top onto the sides. In hindsight, I should have fastened the sides to the top to make it a little wider.
Then I ran my hose chase from the outer circle (where I left a single pole loose) to the inner circle. Once I knew the length of my chase, I cut it to fit. I installed those final poles on top of the chase.
Upon seeing everything in place, I though it would work better to prop the Gilmour vertical sprinkler up a foot, so I extended the chase with a vertical section. Easy. And I’m glad I did, because the sprinkler can spray further, and it’s easier to take in and out.
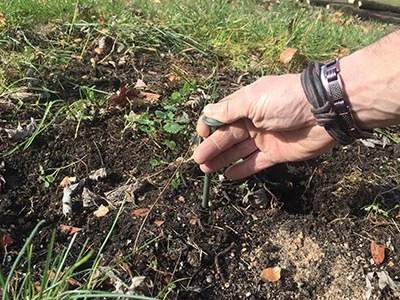
Plants. For cold weather color it’s hard to beat ornamental kale and cabbage, and the near miraculous pansy that manages to flower even in the snow. But for warm weather color, know your critters and what they like to eat.
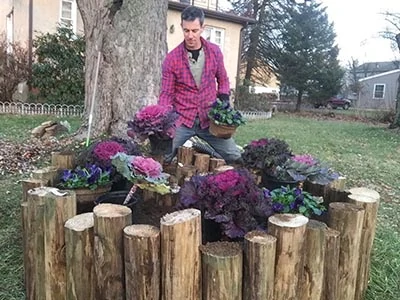
As for layout, it’s not like TV. Plants like to grow, so give them good spacing and let nature do the rest.
Side Note
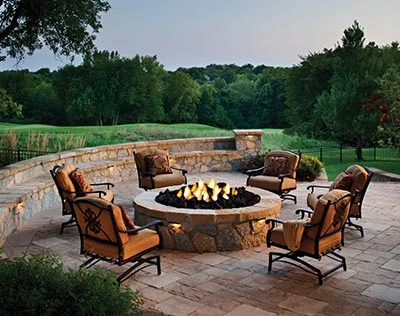
Outdoor Living Trends
As you begin to spend more time outdoors, the overall outdoor living trends continue to revolve around creating homey, attractive, livable outdoor spaces that are an extension of the indoor environment. Landscape pavers and segmental retaining-wall blocks offer a DIY-friendly building material. And unlike wood, masonry materials are fireproof, which comes in handy for applications such as fire pits.
Mega Lafitt – Dansville Beige
- Create a multi-level back yard. Dimensional, multi-level design is the leading trend of the season in modern poolscapes. To create the effect, companies such as Belgard offer a versatile selection of retaining-wall blocks.
- Outdoor grilling is a favorite summertime activity, and you can construct a simple stone-built barbecue pit or install exterior-grade appliances to create a full-fledged outdoor kitchen.
- Proper lighting is a key component to the design and overall mood of an outdoor living area. For the perfect ambiance, consider incorporating low-voltage landscape lighting, illuminated planters, pendant lights or hardscape lighting.
- Heat will be trending this season, especially for those chilly nights when the neighbors are visiting. Fire pits provide a popular feature of the outdoor entertainment area. Plus, the smoke of a wood fire keeps mosquitoes at bay!
