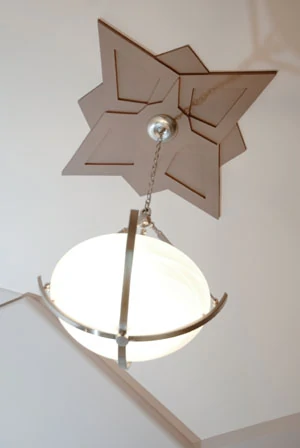
Using Gypsum Board for Creative Interior Décor.
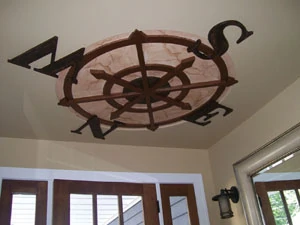
One of the often overlooked (underlooked?) areas of the home is the ceiling, which can present a prime location to add a little decorative flair. Popular ceiling treatments range from panels, beams and textures to tray-ceiling effects. Decorative highlights fashioned from drywall shouldn’t be limited to tray ceilings, however. With a little creativity and attention to detail, drywall contractors and skilled DIY’ers can construct three-dimensional drywall ceiling accents such as artistic medallions, both large and small.
Design and Detail
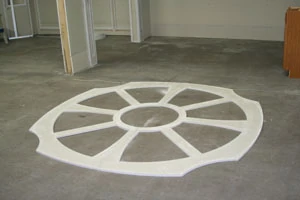
Experiment by drawing artistic patterns on construction paper. Choose from angular geometric designs, classical circular patterns or anything in between. Your designs are only limited by your imagination. Once satisfied with your overlay or pattern, draw the design directly onto the drywall sheets you plan to use as material. For large patterns, split the design symmetrically over two sheets of drywall, which will reduce the risk of breaking the drywall when cutting the pattern and installing.
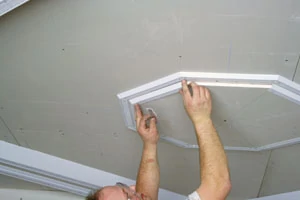

Using a sharp utility knife or jab saw, cut out the pattern and check its dimensions to make sure all the pieces fit together. It’s important to completely score through the paper face of the drywall to prevent tears and breaks when separating the waste pieces from your design.

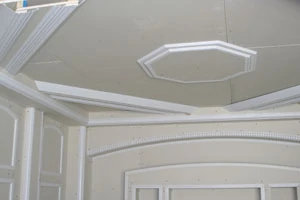
Secure the drywall to the ceiling with a combination of construction adhesive and dry-wall screws spaced 12 to 16 in. apart. Drive the screws through the drywall and at least 1/2 in. into solid ceiling framing wherever possible. To prevent cracking, fasten the screws no closer than 3/8 in. from the drywall edges. Set the screw heads flush or slightly below the face of the drywall, but try not to break the paper facing.
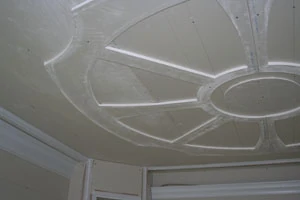
Lifting large ceiling pieces into place can be a two-person job. In some cases it helps to brace the drywall with a homemade 2×4 T-shaped support (also called a “deadman”). When working alone, you may need to rent a cradle lift, a device that rolls on casters and safely lifts panels as high as 11 feet.
To add a layered effect to your ceiling accent, install a second layer of drywall, making the new layer slightly smaller to fit on top of the base design and create contrasting shadow lines.
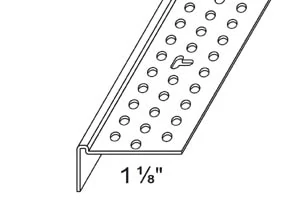
Dress the exposed panel edges with the appropriate drywall beads for your particular design. Much like traditional drywall corner bead, an assortment of rigid vinyl drywall beads is available to conceal exposed panel edges, minimizing cracks and providing a clean, finished appearance. Drywall bead manufacturer, Trim-Tex Inc., offers options such as Archway L-bead, 90-deg. corner bead, chamfer bead, J-beads, L-beads, layering beads and more.
Drywall Bead Installation
To attach the bead to the molded corners, apply a dab of drywall stud adhesive on the tabs of the corners. Where the beads meet at the corners, snip them back so they miter loosely and do not overlap. Dry-fit the beads as needed. For the highest strength bond, spray the bead and the drywall with a medium coat of 847 Spray Adhesive (the only adhesive approved for Trim-Tex bead installation).
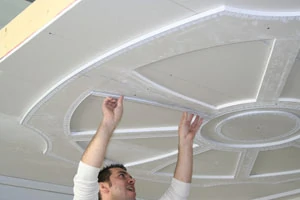
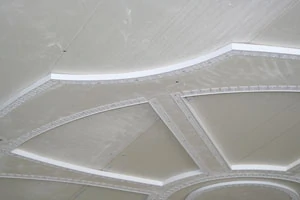
To ensure proper bonding, press the bead into the adhesive twice, using the installation tool that is included with the 847 Spray Adhesive (or the handle of your hammer). Staple the bead every 6 in. into the drywall using 1/2-in. divergent staples. Reapply pressure to the legs of the bead as necessary to guarantee a proper bond. Arched beads may require you to staple every tab. Securing the bead with divergent staples reduces the chance of cracking. Do not use nails or drywall screws to fasten the bead.
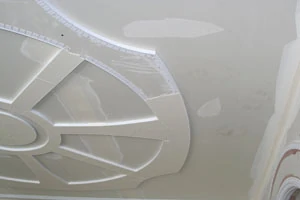
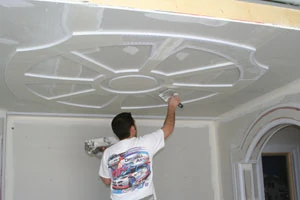
To improve the bonding of joint compound to the drywall beads, Trim-Tex recommends using Mud-Max drywall compound additive on the first coat. Finish the drywall accent using the joint compound and standard drywall finishing techniques. Finally, prime and paint the accent to suit the room décor.
(Editor’s Note: For more information on the Trim-Tex drywall bead products featured in this article, visit www.trim-tex.com.)


