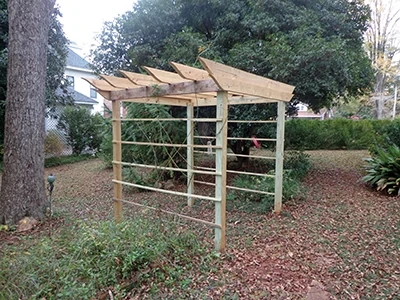
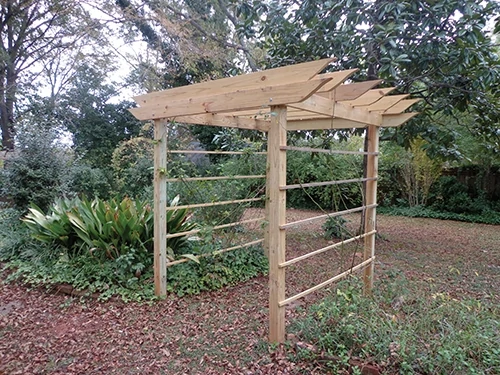
Grow Vertical with a Backyard Arbor
By Clint C. Thomas, Esq.
My wife and I are blessed to live in a Victorian home that was built circa 1890. Much of the home retains its original charm and architecture, however, the landscaping has been sorely neglected at different points over the past 123 years. Local lore has it that a prior owner of the home during the 1960s was renowned for her gardening abilities and had a menagerie of botanical specimens planted all around the house. Sadly, most of those ornamentals have been lost over the years. However, a few running rose bushes, despite decades of neglect, have survived the passage of time. In an effort to preserve those historic plants, my wife asked that I build two arbors for these running plants to get them off the ground and protect them.
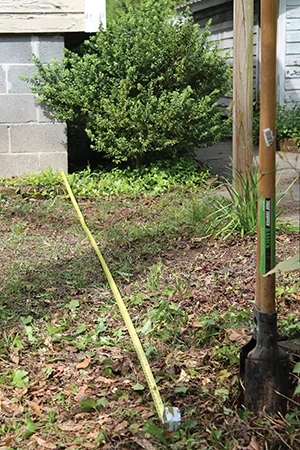
Starting Point
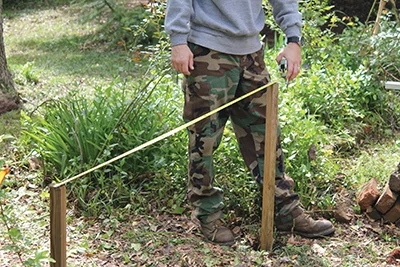
I began my task by clearing back the unnecessary ground cover and then laying out the four holes for each of the posts.
I took measurements for each post off the exterior wall of the house that was closest to the arbor’s location to ensure that they were the same distance from the house. I made each post measurement to the centerline of the holes that I made in the ground. In order to make sure the arbor would be square, I measured each corner to its opposite corner in an “X” pattern. If both of the measurements are the same then the layout is square.
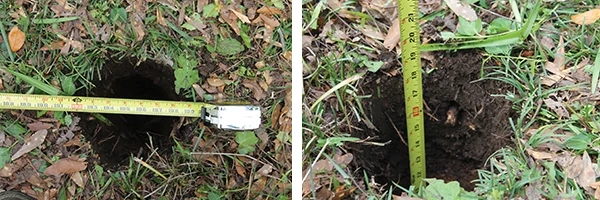
In Alabama, the post holes should be excavated a minimum of 16 inches. Check with your local building codes to find out how deep you’ll need to dig to get below the frost line in your area and prevent frost heave.
I dug each hole to a depth of 16 inches with posthole diggers, and I then inserted a scrap piece of 1×1 lumber into the center of each hole, that I will call a “marking post.” With a scrap piece of lumber standing vertically (plumb) in each hole, I measured the distance between all of the posts to verify an equal distance. The marking posts also had the benefit of allowing me to confirm that each hole was of a level height with the others. If one post were to be deeper than the others, it would cause the entire arbor not to be level.
Posting Up
With all four holes dug, I then inserted a pressure-treated 4×4 post in each and pounded it up and down several times to compact the dirt in the bottom of the hole.
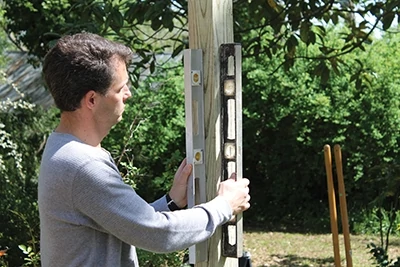
Begin the layout at one corner and use that post as a reference. Avoid trying to install two or more posts at the same time because it is too easy for them to end up being different heights.
Insert the first post in its respective corner. Use a post-level or two carpenter’s levels, by placing them on perpendicular sides of the post, to verify that the post is perfectly vertical. It is easiest to do this with two people because one person can hold the post and the level while the other person secures it in place. Assuming that you have another set of hands to hold the post perfectly vertical, secure the 4×4 in place with wooden braces and stakes driven into the ground. These supports allow for the insertion of concrete into the post holes without fear of the posts moving from their vertical position.
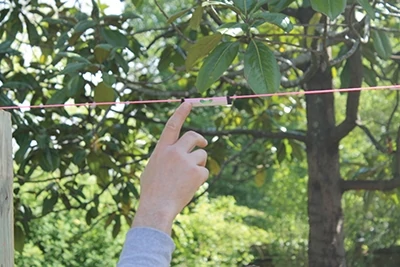
After the first post is secured in place, use it as a guide for the next post remembering to always work in straight lines and never diagonally. I like to put a small finishing nail in the top center of each post and then run a string between them with a line level. This guarantees that all of the posts are the same height, which is easily adjusted by adding or removing dirt from each hole. (Imagine a compass: If you begin at the southwest corner, the next post installed should be the northwest corner and then the southeast corner. The northeast corner post would be the last one put into position.)
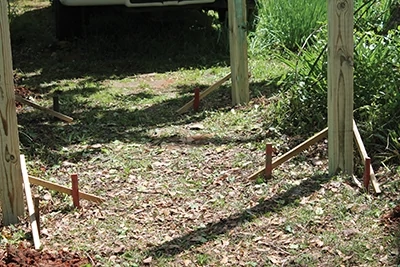
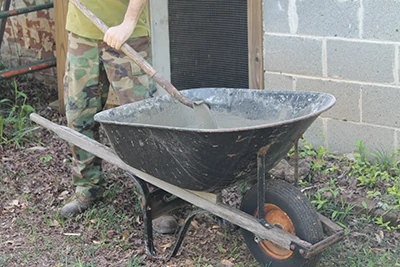
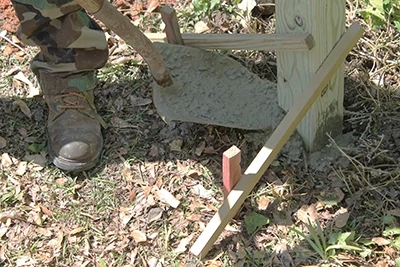
With all four of the corner posts held in place with support brackets and stakes, the next step is to fix them in place with cement. A ready-to-use concrete mix works best, and I have found that a 16-in. hole with a 4×4 post in it requires approximately 40-50 pounds of cement mix. Ready-mix concrete is typically sold in 40- or 60-lb. bags. Simply mix it in a wheel-barrel and then shovel it into the holes, or pour the dry cement mix into each hole and then spray in water from your hose as a “down-and-dirty” way. However, the mixing and shovel technique is the preferred method to ensure a uniform mix and proper adhesion. Always allow at least three days for concrete to completely cure and set up before commencing any future steps.
Cue the Band
Once the concrete is fully cured, attach pressure-treated 2×6 bands around the upper perimeter of the arbor. Depending on the layout of the structure, I prefer to attach the front and rear bands first and then fill in the two sides next. All of the 2×6 bands are secured in place using 6-in. carriage bolts, washers and nuts. I also like to toe-nail a 3-in. coated decking screw from the top of the side bands into the front and rear 2×6 pieces to help keep the side boards in place.
It is important to confirm that both the front and rear 2×6 pieces are equidistant from each side post, and this is most easily accomplished with the aid of a tape measure and an extra set of hands to hold the 2×6 in place while it is adjusted. Once its proper position has been determined, mark the location of each 4×4 post on the rear side of each 2×6.
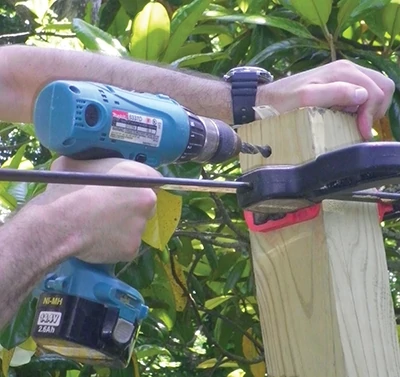
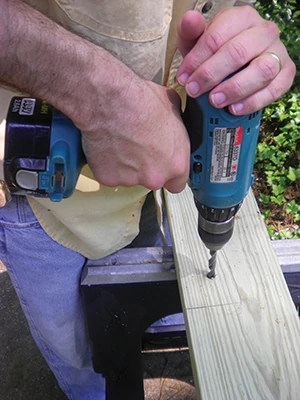
Next, take down the 2×6 band and drill a hole in each end in the center of the 4×4 post markings. Then, hold the band back in place and stick a pencil through each of the two holes and mark their location on the 4×4 support posts. With the exact location marked, drill holes through each post for the carriage bolts. A socket and ratchet, together with a box-end wrench, are then used to fasten the bolts into place. The same procedure is used for the side bands, with the exception that they easily fit between the front and rear bands and don’t require any measuring to determine whether the ends are equidistant apart.
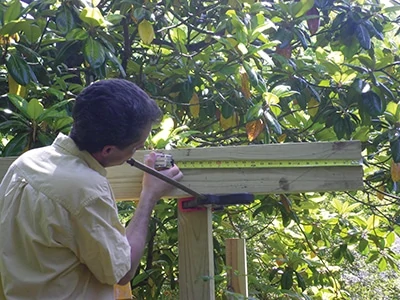
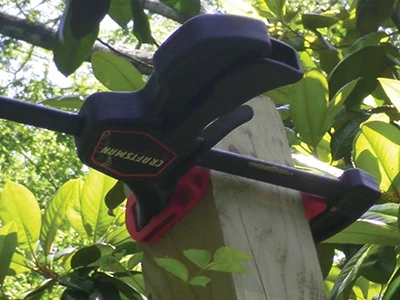
If you happen to be working alone, the upper bands can be supported in place by attaching clamps to the 4×4 posts themselves and resting the 2×6 band on the upper edge of the clamps.
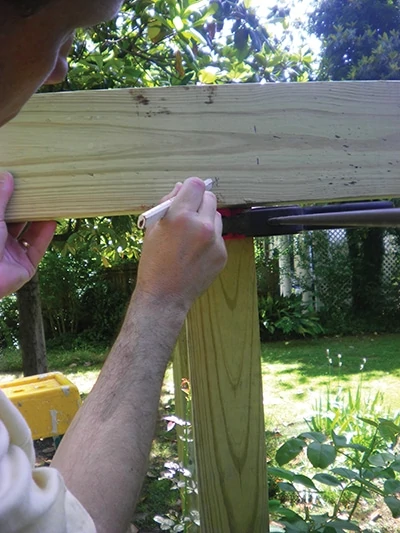
It is still usually necessary to keep your free hand on the band, but the clamps will at least support most of the weight and keep the opposite end of the 2×6 suspended in the air.
Top & Sides
After the upper perimeter bands are in place, attach 2×6 treated boards to the top of the arbor every 16 inches on center. These pieces are attached vertically, or to say it another way, standing on edge, to the top of the arbor’s band. In order for these boards to be 16 inches on center, one outside edge should begin at 15-1/4 inches and the opposite outside edge should land at 16-3/4 inches. This places the dead-center of each board at exactly 16 inches.
The final step in the construction of an arbor is to attach side pieces for the plants to grow up. These pieces can be as simple as horizontal strips spaced evenly apart, as I did, or they can be complicated geometric patterns. There is no correct answer other than one’s own personal tastes.
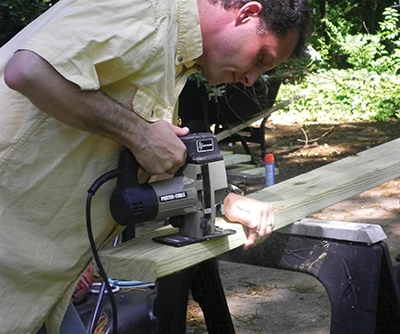
I made wood strips by running 8-ft. pieces of pressure-treated 1×6 lumber through my table saw, cutting them into inch-wide strips.
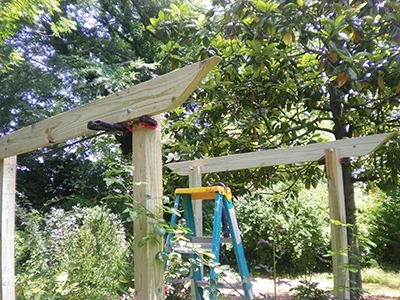
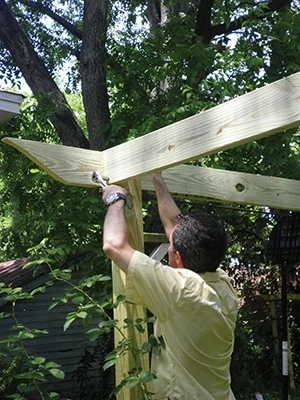
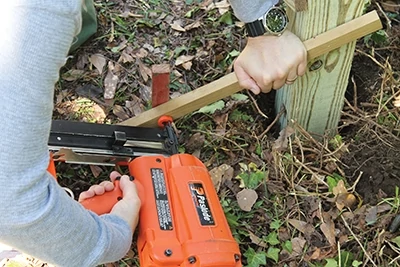
I nailed them in place with a 16-gauge cordless finish-nailer after placing marking points every 12 inches down from the bottom of the upper band. I nailed one end and then used a bubble level to verify that each strip was level.
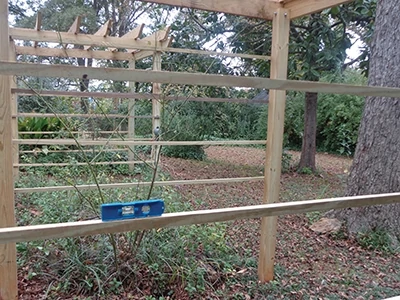

Construction of an arbor is very easy and does not require any fancy carpentry skills. A basic understanding of the concepts of square, level and plumb are sufficient for this type of project. Arbors can be as small or as large as you need or desire and they can be used for ornamental plants or running vegetable plants. If you like running plants, or if ground space is at a premium, consider building an arbor and growing some of your plants vertically.
